
The complete guide
How to Choose and Use a Bellows Sink and Drain Plunger
The slow drain nobody deals with until it is too late
A blocked drain almost never arrives without warning. First the sink takes a few extra seconds to empty. Then you notice the water pooling around your feet in the shower. A week later the basin holds a few centimetres of grey water and will not budge. By that point you are googling plumbers on a Sunday afternoon.
The frustrating part is that most of these blockages are soft. In a kitchen it is cooking fat that cooled in the pipe and started grabbing food scraps. In a bathroom it is hair tangled up with soap scum, sitting just below the plughole. Neither of those needs a plumber. They need something that can push a decent pulse of water through the trap and break the plug apart.
That is what a plunger does, and it is why the humble plunger is still the first tool worth reaching for. The catch is that a lot of cheap plungers do not seal properly and do not move much water, so people try once, see no change, and give up.
What a bellows plunger does differently
A traditional plunger is a rubber dome on a stick. You press, the dome squashes, and some air and water get shoved down the pipe. It works, but a lot of the energy goes into deforming the rubber rather than moving water.
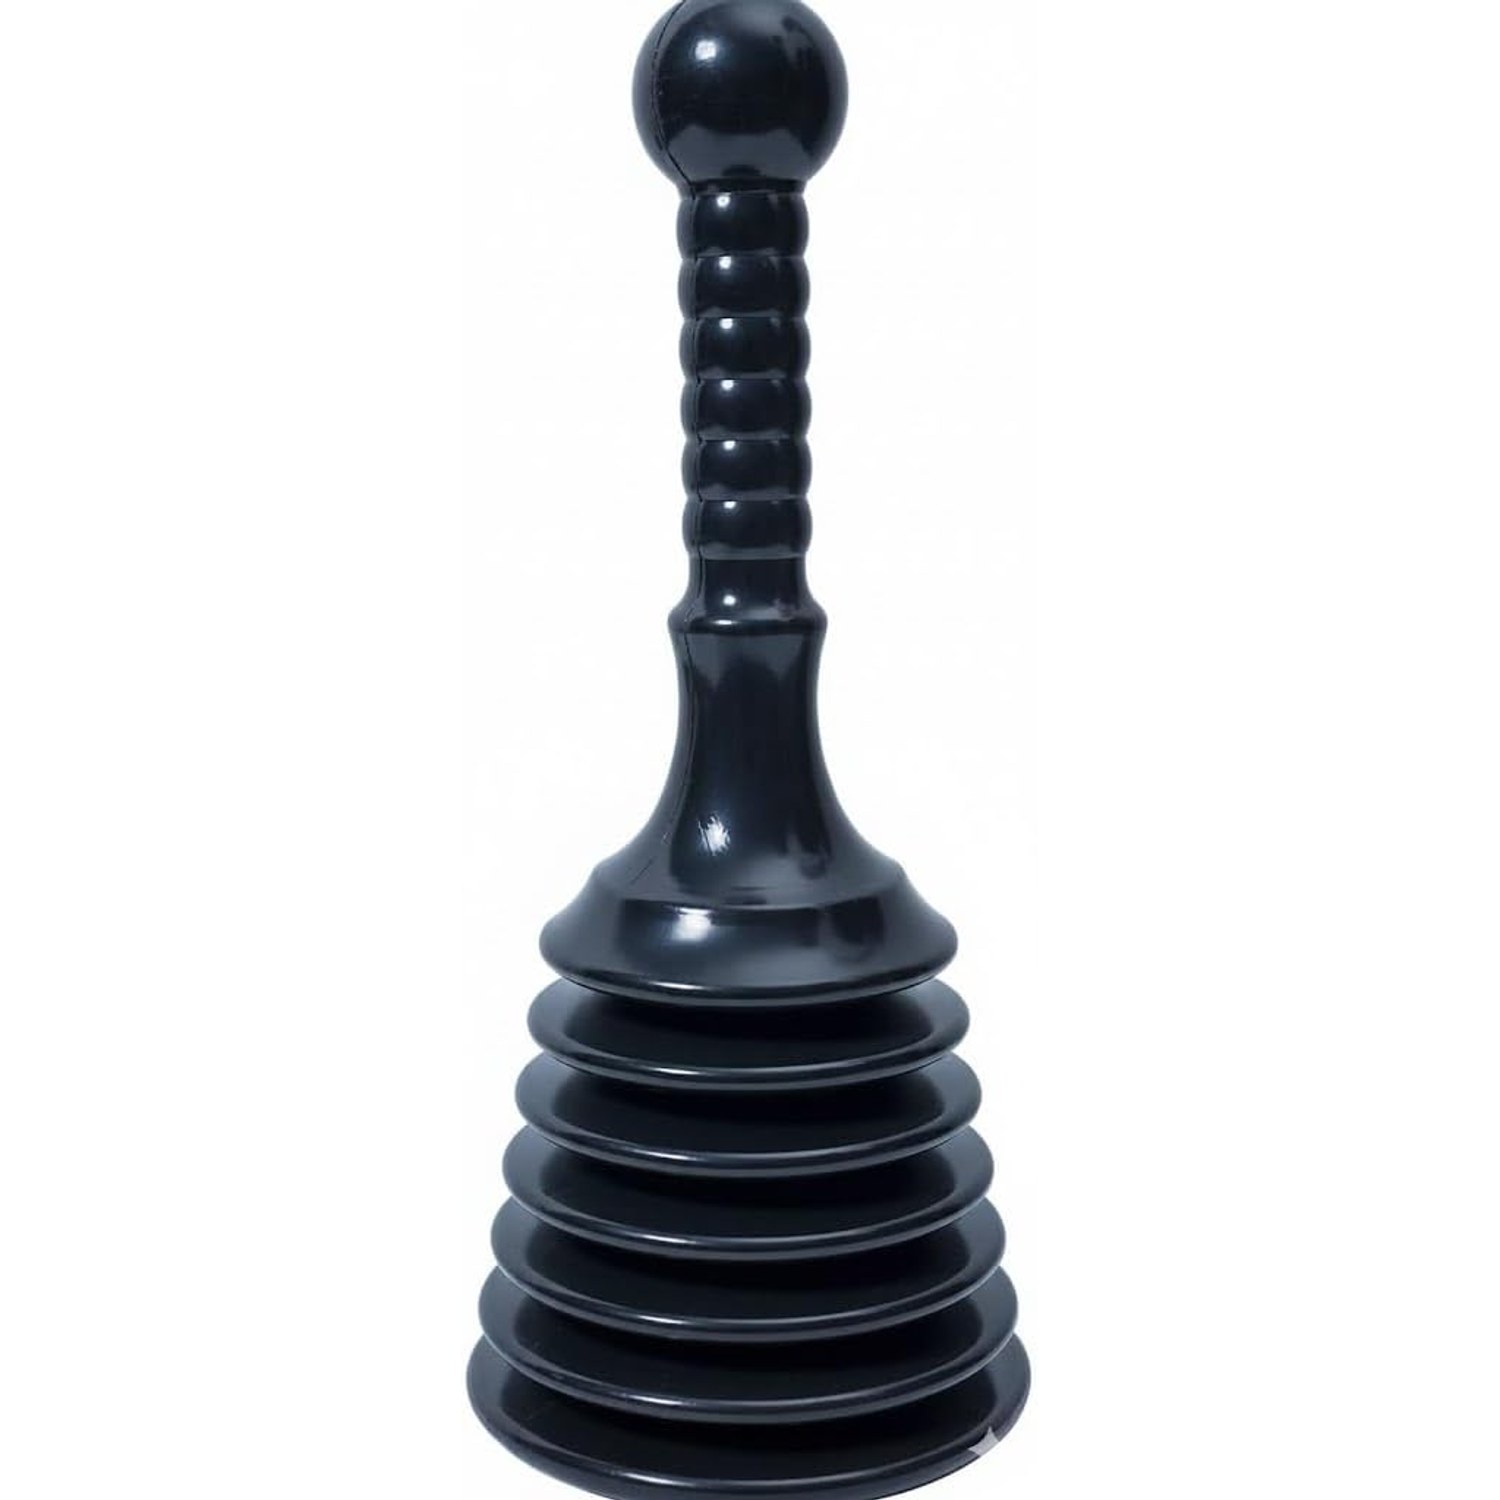
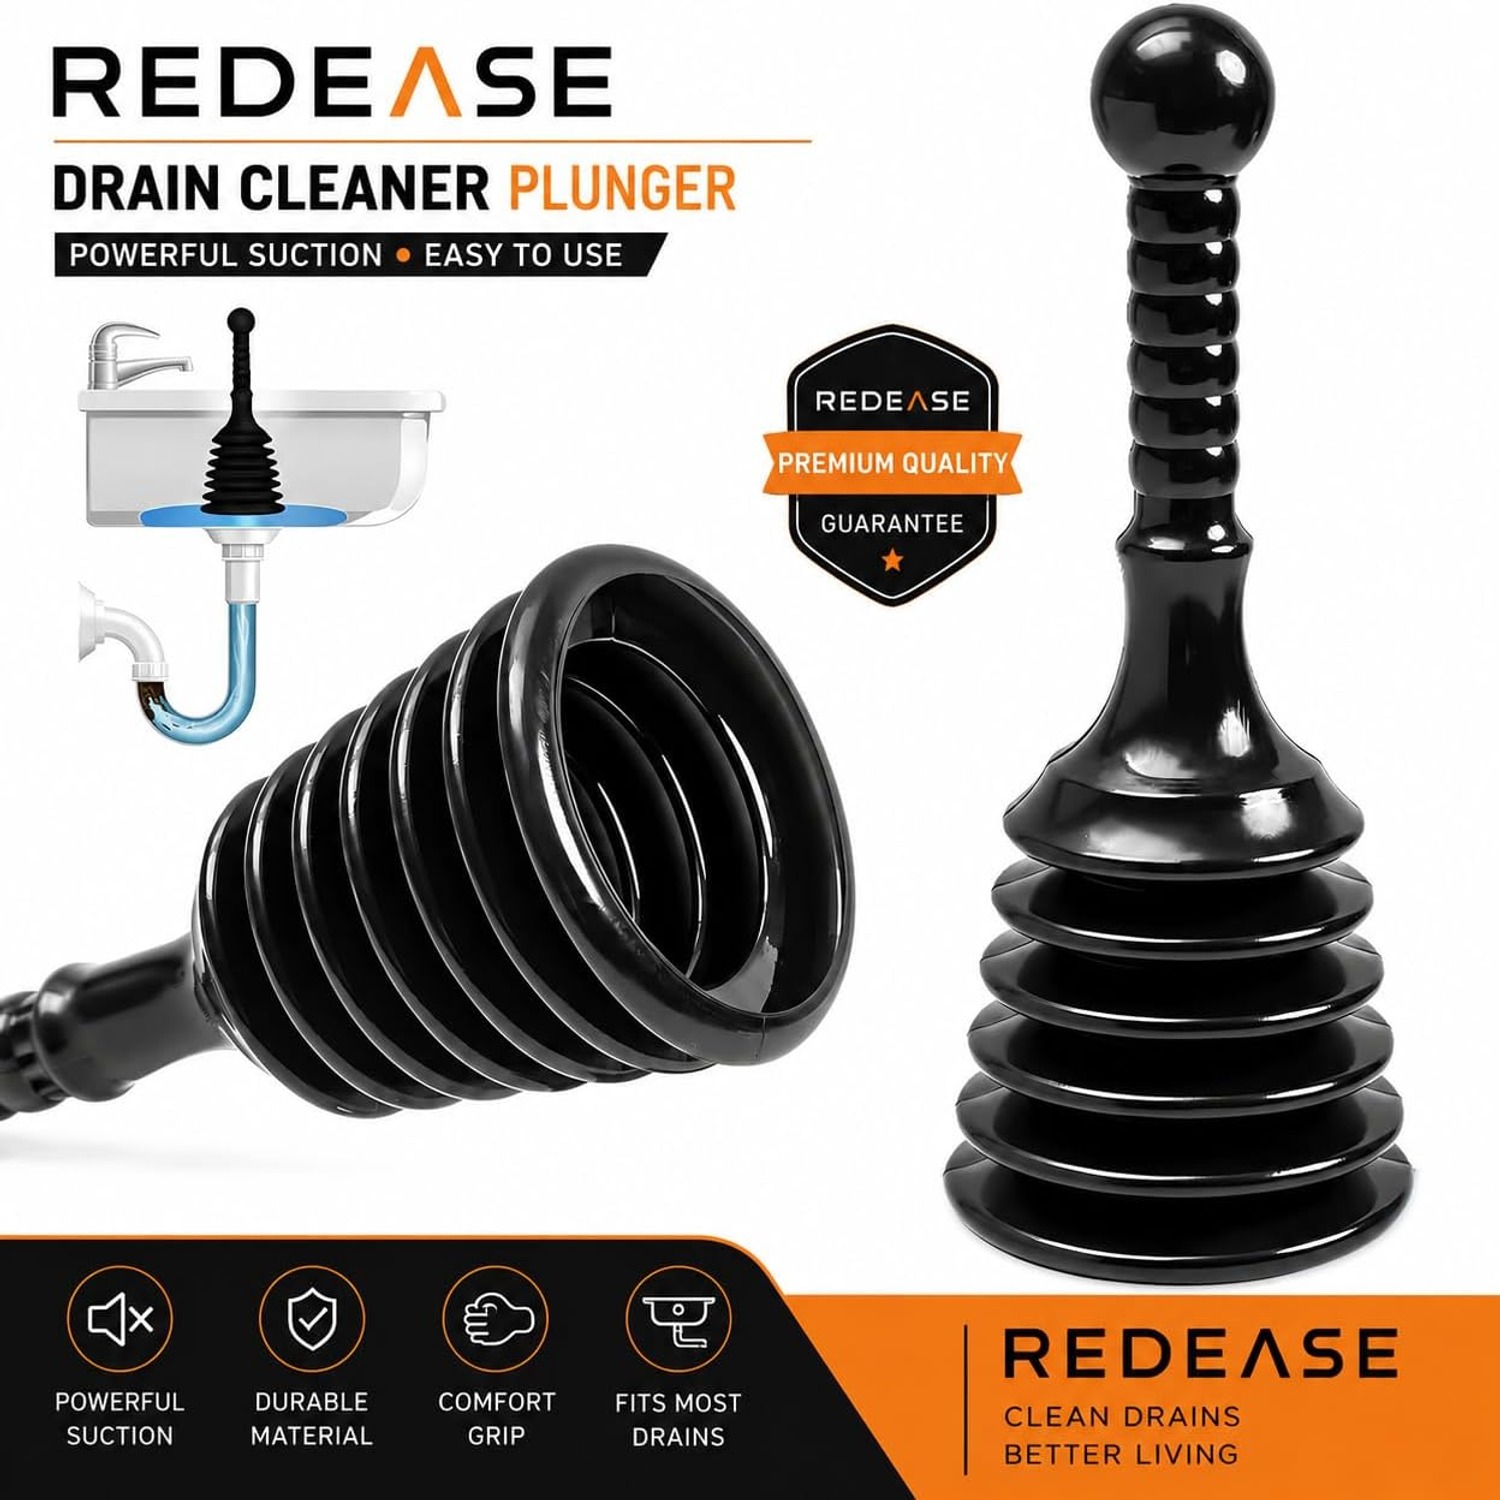
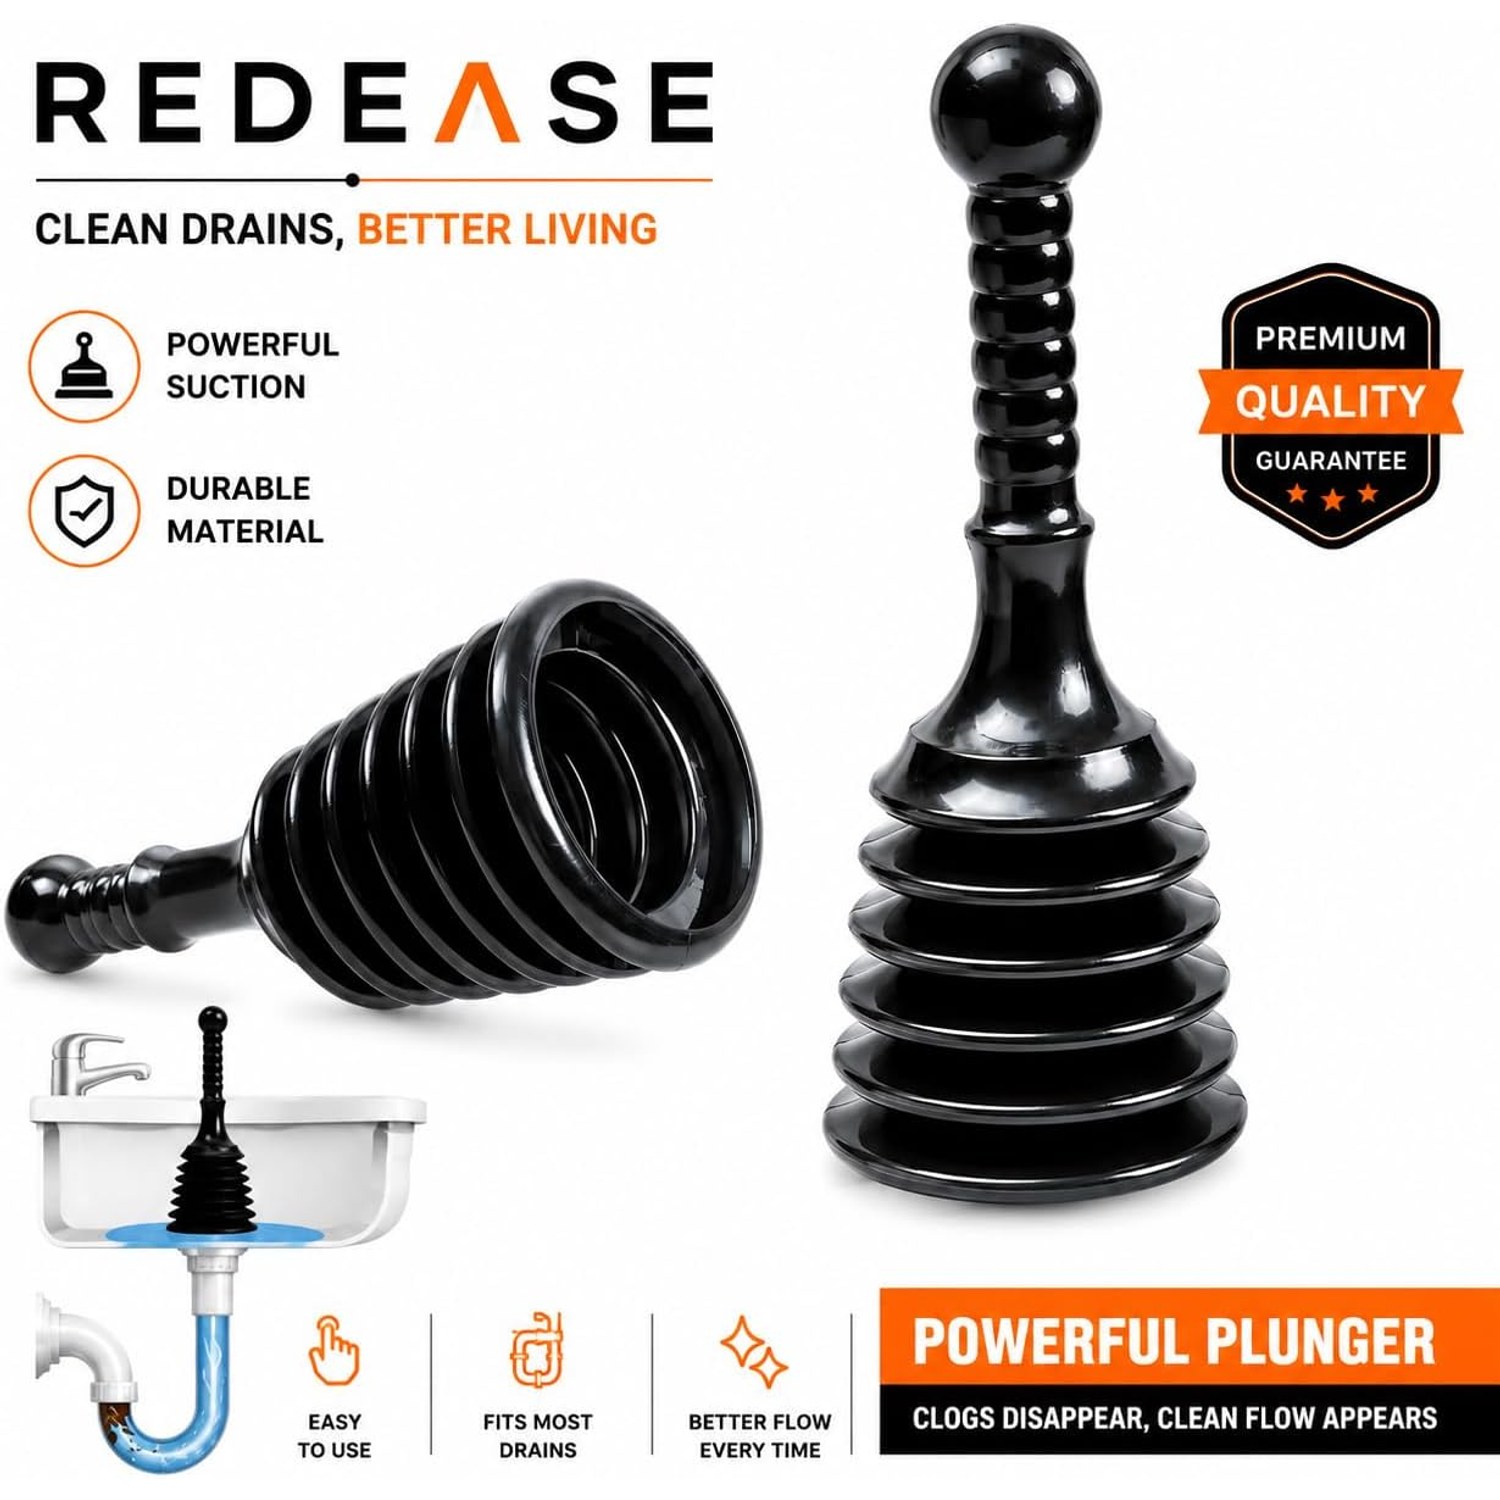
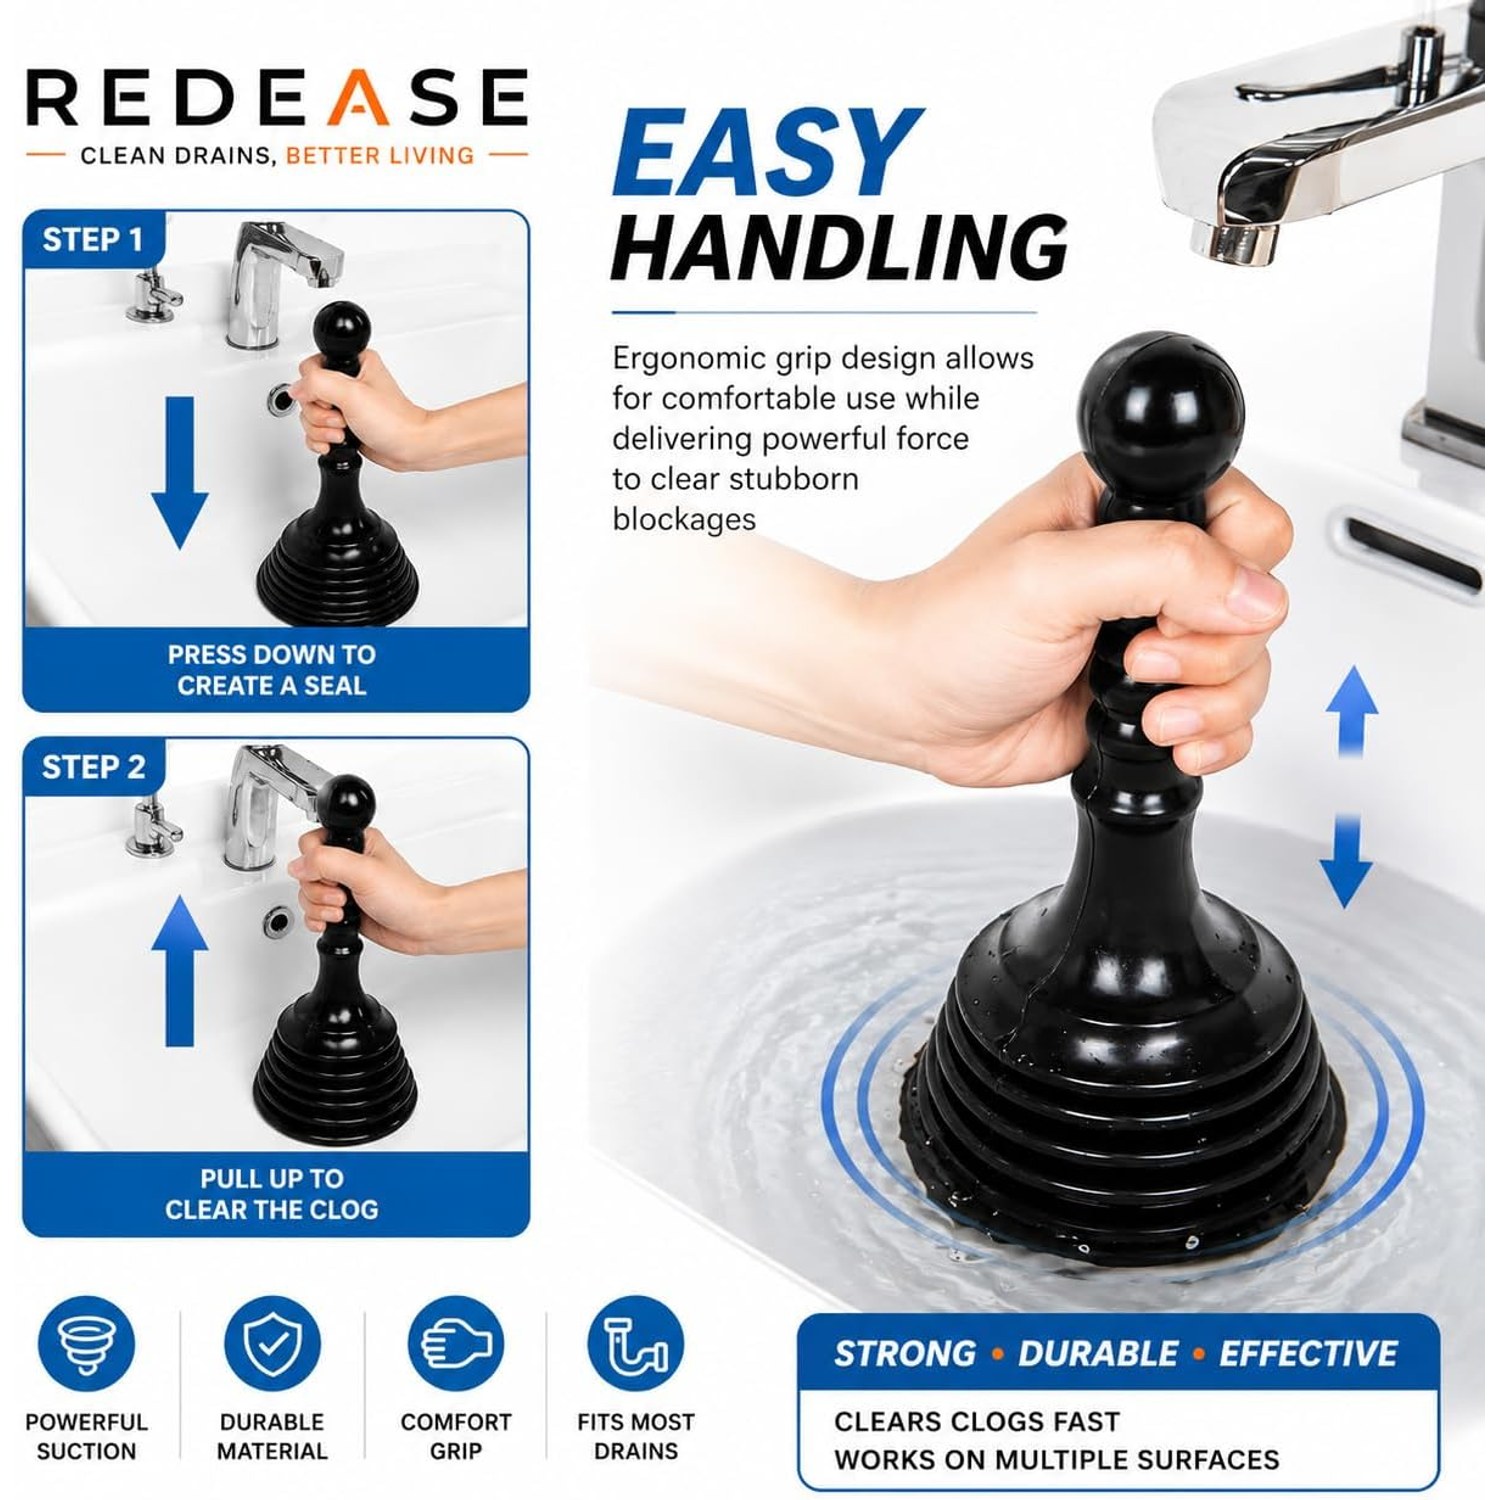
A bellows plunger uses a concertina body instead. When you push down, the folds collapse in a controlled way and force a measured slug of water into the drain. When you release, the bellows springs back and pulls water the other direction. That back-and-forth is often more effective than pressure alone, because it rocks the blockage loose rather than just trying to shove it further along the pipe.
This particular model is rated at around four cups of water displacement per stroke. That is a useful number to hold on to, because it tells you the tool is moving real volume despite being small. You get the force of a bigger plunger from something that weighs 120 grams and fits under the sink.
Why the flat bottom matters
Plunging is all about the seal. If air can leak around the edge of the base, the pressure escapes sideways instead of heading down the pipe, and you will plunge for ten minutes with nothing to show for it.
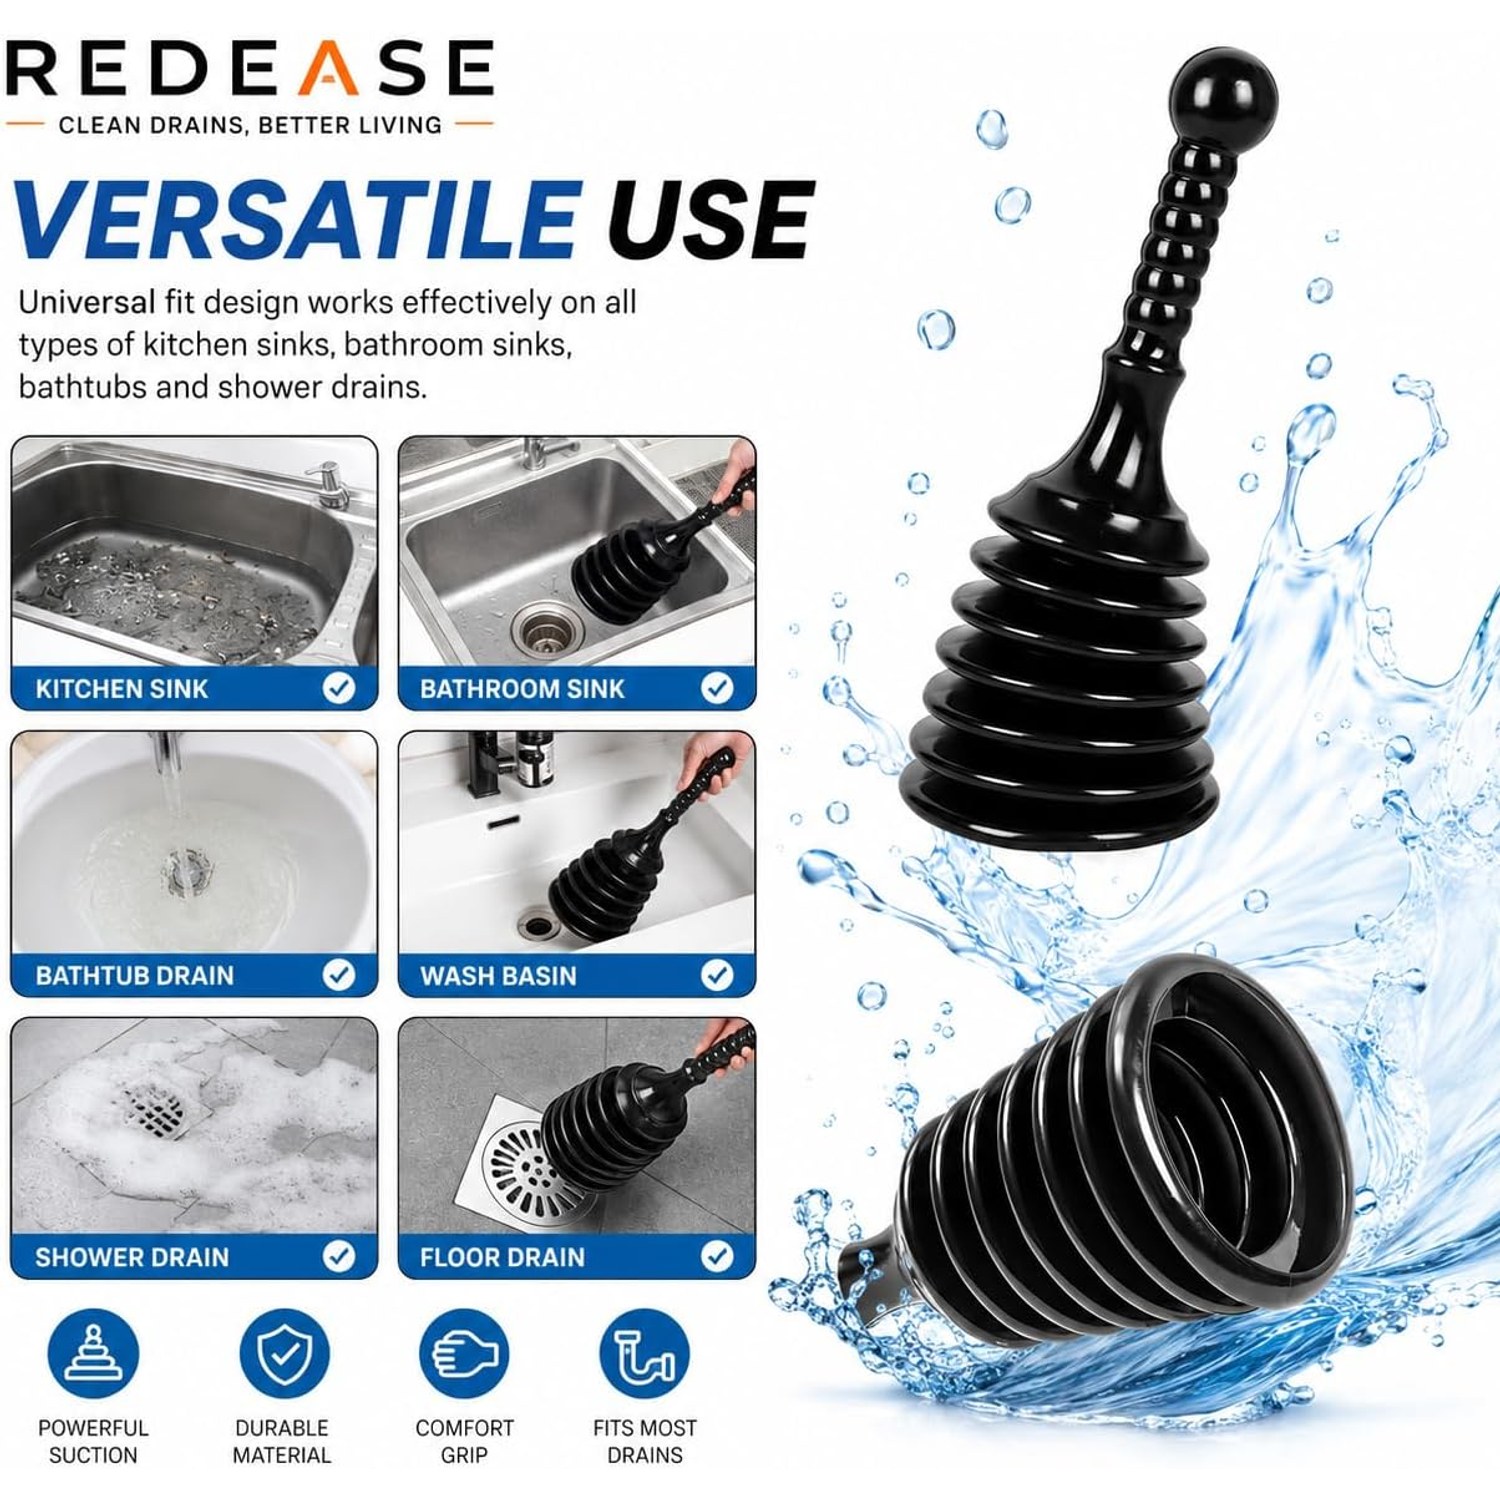
Flat-bottom plungers are made for flat surfaces, and that describes most modern drains. The base of a stainless steel sink, a ceramic basin, an acrylic shower tray, a bath outlet, a tiled floor around a floor waste: all of them give a plunger something flat to press against. A flanged plunger, the kind with the rubber lip that folds out, is shaped for a toilet outlet and does not sit well on any of those surfaces.
So the rule is simple. Flat surface, flat-bottom plunger. Toilet bowl, flanged plunger. Keeping the two separate is also better hygiene, and most households end up with one of each.
Who this suits
If you rent, you probably do not want to call a tradesperson or your agent over a slow basin. A compact plunger lives in the cupboard and handles it in five minutes.
If you have long hair in the house, your shower drain will clog on a predictable schedule, and a small plunger for sinks and showers saves you repeated misery.
If you cook a lot, your kitchen trap collects grease whether you are careful or not. Even people who never pour oil down the sink end up with a film from washing pans.
And if you own an older home, a mechanical tool is kinder on the plumbing than repeated doses of caustic cleaner, which can attack old seals and pipework over time.
Getting a result the first time
Most failed plunging attempts come down to three or four small mistakes.
Start by running some water into the fixture, just enough to cover the base of the plunger. Water transmits pressure much better than air does, so plunging a dry sink is working with one hand tied behind your back. A couple of centimetres is plenty.
Next, block the overflow. Nearly every bathroom basin and most baths have a small hole near the rim that connects back into the waste pipe. If you leave it open, a large share of your pressure vents straight out of it. Push a damp cloth in firmly before you begin. This one step fixes more "my plunger does not work" complaints than anything else.
If you have a double-bowl kitchen sink, seal the second drain too. The two bowls share a waste, so pressure will take the easy route and bubble up on the other side. A stopper or a wet rag held down with your free hand will do.
Then set the plunger flat over the drain and press down to squeeze out trapped air. Work in a steady rhythm, firm but not frantic, for fifteen or twenty strokes. On the last push, pull the plunger away sharply. That sudden release can be the thing that finally drags the plug free. Check whether the water has started moving, then repeat if needed.
If three full sets of strokes produce no change at all, stop. You are probably dealing with something a plunger cannot reach, like a solid object further down the line or a problem in the main drain. At that point a drain snake or a professional is the right call.
Looking after it
A plunger that has been used on a greasy kitchen blockage and then shoved damp into a dark cupboard will smell, and the residue can harden around the rim where you need a clean edge.
Rinse it under running water after every use, inside the bellows as well as outside. If it has been in the kitchen, give it a wash with warm soapy water. Shake out any water trapped in the folds, then stand it upright or hang it so it dries properly before you store it.
Every so often, run a finger around the rim and check for grit, nicks or hardened gunk. The rim is the part that does the sealing, so it is the part worth keeping clean. Store it away from heaters and long hours of strong sun, which are hard on any flexible material over time.
A note on chemicals
It is tempting to pour something caustic down a slow drain and walk away. Sometimes it works. Often it half works, leaving you with a trap full of chemical water and a blockage that is still there.
That is the worst outcome, because now you cannot safely plunge without risking splashback onto your skin and eyes. Mechanical first is the better order of operations. Try the plunger, and if it fails, you have lost nothing and the pipe is still clean to work on. If you have already used a chemical, flush with plenty of cold water and wait before reaching for any tool.
What you are getting
This is a one-piece bellows plunger, listed at 12 x 12 x 33 cm and 120 grams, in black. The included component is noted as the MS Plunger MSS4, with model number 78686 and part number Redease786. Country of origin is China. There is nothing to assemble, no batteries and no moving parts beyond the bellows itself.
Material composition and any manufacturer warranty are not listed by the maker, so we have not claimed either. The specification table above shows exactly what the supplier states.
The short version
Slow drains are usually soft blockages near the plughole, and a plunger that seals well and moves real water will clear most of them in a few minutes. A bellows design does that in a smaller package than a traditional cup, displacing around four cups per stroke, and the flat bottom suits sinks, showers, baths and floor drains.
Cover the base with water, block the overflow, plunge in steady sets, and finish with a sharp pull. Rinse it, dry it, and keep it close to the sink rather than buried in a garage. For the price of one call-out you get a tool that handles the next few years of kitchen and bathroom slowdowns without a drop of chemical.