

The complete guide
Choosing a Linear Shower Drain, a Plain-English Buyer's Guide
The problem with a hole in the middle of the floor
Think about a standard shower base. There is a round waste somewhere near the centre, and the floor has to tip towards it from all four sides. To make that work, the tiler has to cut the floor into four shallow slopes that meet in the middle. Small mosaic tiles cope with that because each tile is tiny enough to sit on a curve. A big tile cannot. It is flat, and a flat thing laid on a dished surface either rocks or leaves a gap.
So for decades, shower floors meant mosaics. Lots of grout lines. Lots of places for soap scum to build up. And a lot of scrubbing.
A linear channel solves it with a simple change of geometry. Instead of a point, the drain becomes a line. The floor only has to fall in one direction, towards that line, which means it can stay flat across its width. Now a large tile works. Fewer grout joints, less cleaning, and a floor that looks like it belongs to the rest of the room rather than a separate wet box.
That is the real reason linear drains became standard in new builds. The look came second.
How this one works
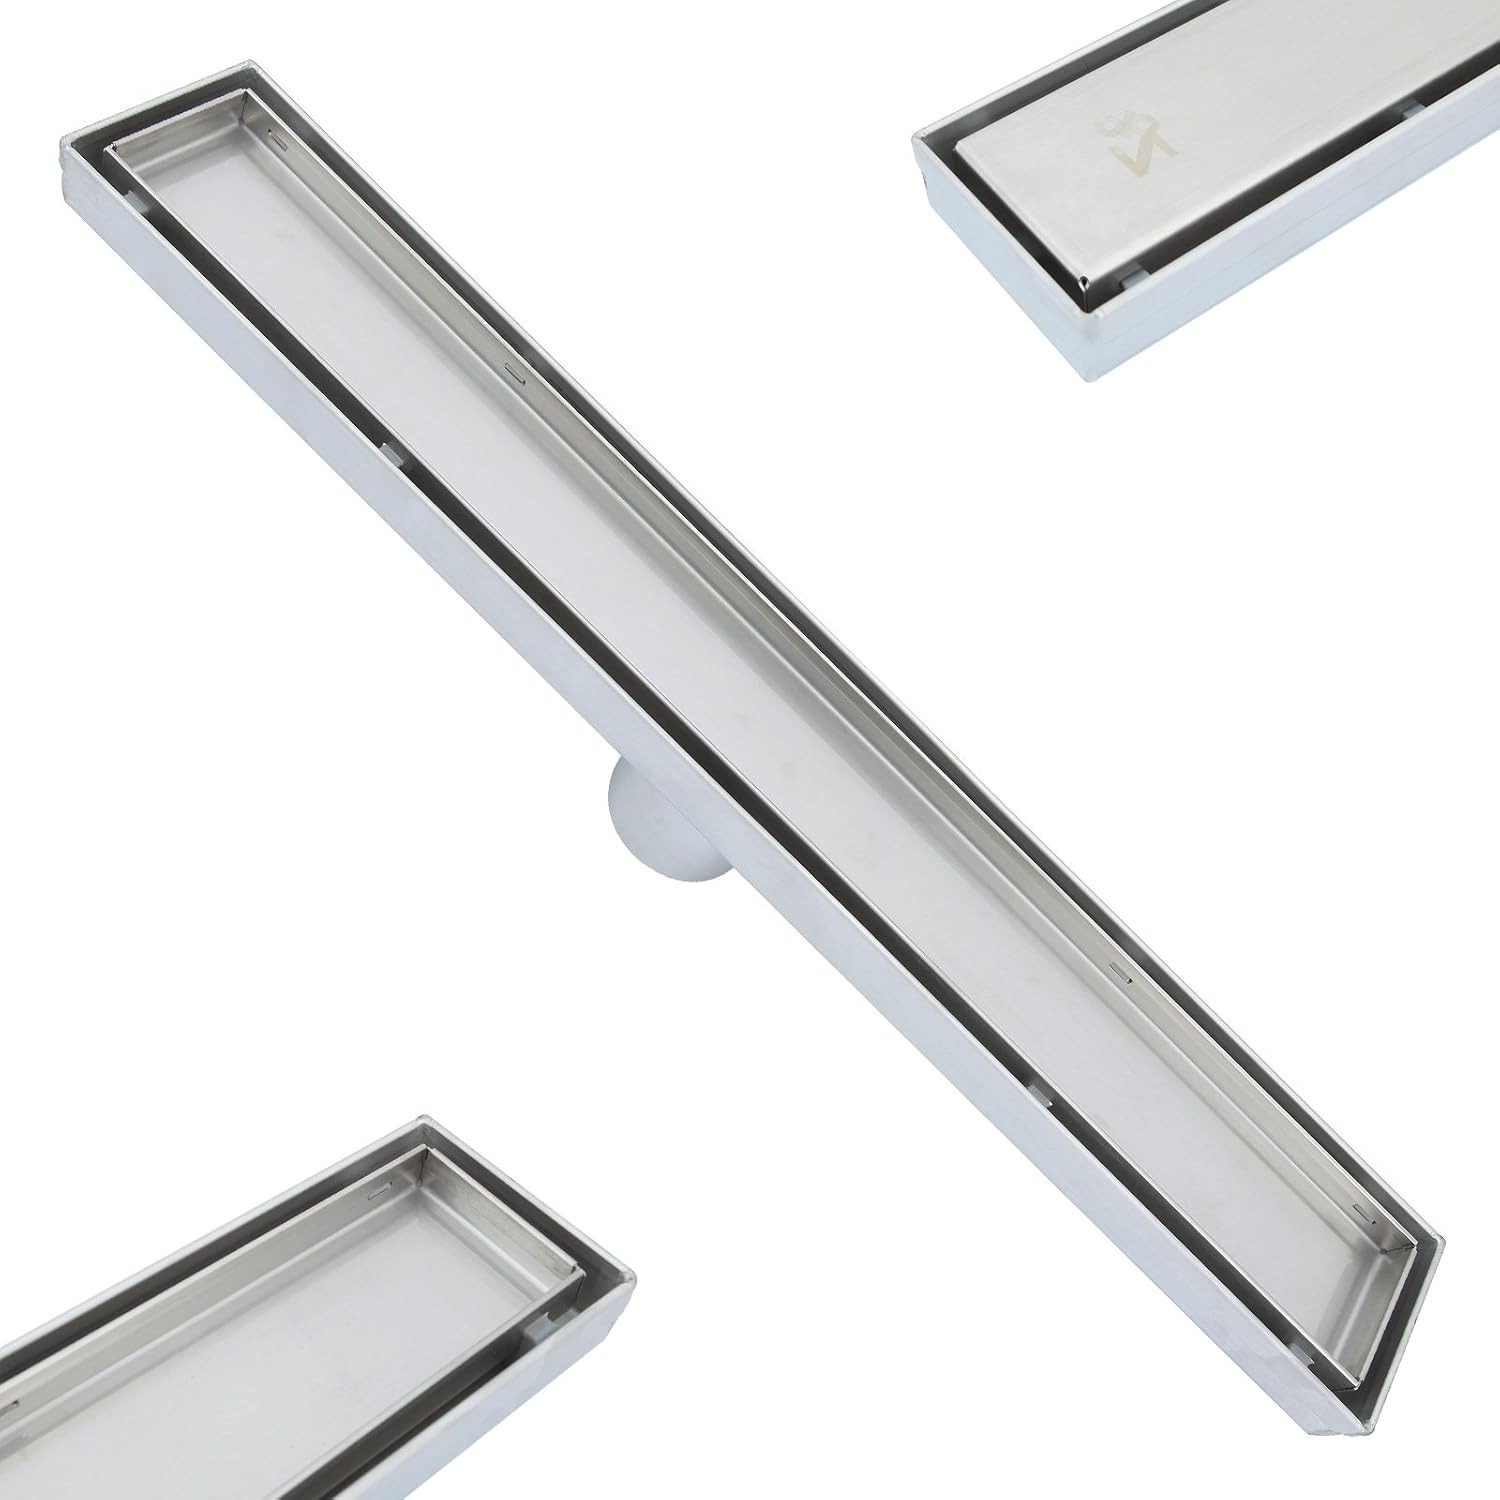
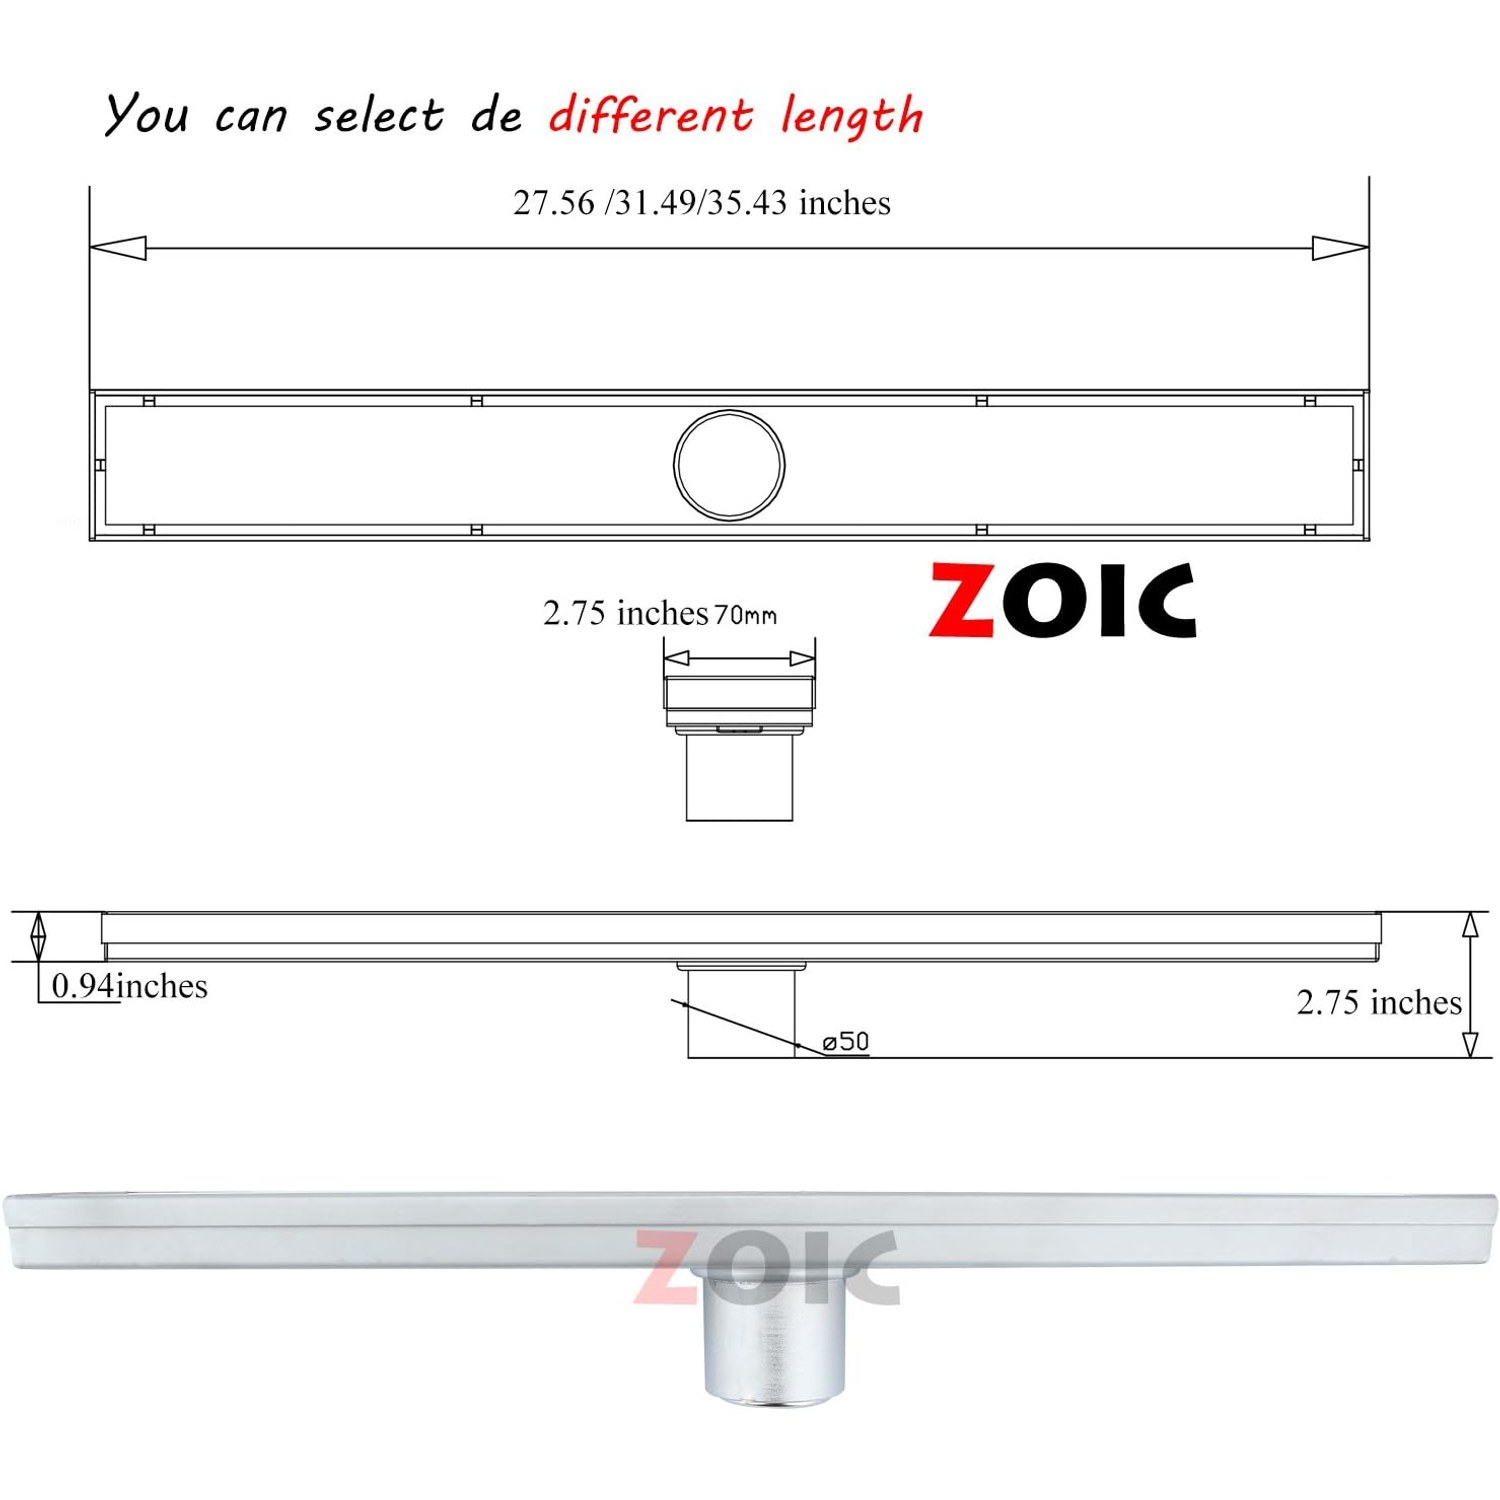
This is a 900mm stainless steel channel with a brushed silver finish. The length matters more than people expect. A channel that spans most of the shower wall collects water across a wide front, which means less chance of water tracking sideways and pooling in a corner.
Where it gets interesting is the top. You get two choices from the same unit.
The first is the closed stainless grate. Fit that and you see a clean metal slot across the floor. It is honest about what it is, and it suits bathrooms with a bit of visible metal elsewhere, like black or brushed tapware and a frameless screen. It is also the easiest option at install time, because there is no extra tile cutting.
The second is the tile insert tray. Your tiler cuts a piece of your floor tile to fit the tray and beds it in. From a standing position, all you see is a narrow grout-width line where the water runs away. The floor pattern keeps going straight through the shower. This is what people mean when they talk about an invisible drain, and it is the option most designers reach for when the floor tile is the feature.
Underneath either option sits a removable filter. This is the unglamorous part that actually determines whether you are happy in two years. Hair, soap film and the occasional bottle cap are what block showers. Not the pipe. The filter catches that material in a basket you can lift out by hand, rinse under the tap and drop back in. Thirty seconds, no tools, no plumber.
Who it suits
Renovators using large tiles. If you have chosen a 600mm or larger format floor tile, you need a linear drain. There is no sensible way to run big tiles into a centre waste.
Open wet rooms. No hob, no step, no screen on three sides. A linear channel along one edge handles that layout far better than a point drain, because the water has a long line to find rather than a single spot.
Accessible bathrooms. A level-entry shower with no lip is much easier to walk or roll into. A linear channel is the normal way to drain one.
Anyone sick of scrubbing grout. Fewer, bigger tiles means fewer joints. It is a small thing until you have cleaned a mosaic floor a few hundred times.
It is less suited to a straight swap in an existing shower where the waste pipe is already set in concrete in the middle of the floor. That can be done, but it becomes a plumbing job with concrete cutting, not a simple upgrade.
How to choose the right one
Length first. You want the channel to run most of the way across the wet area, or at least across the main splash zone. A 900mm channel suits a typical walk-in shower around 900mm to 1200mm wide. Too short and water hugs the edges. Too long and you are paying for channel that never sees water.
Position second. Against a wall is the most common, and the tidiest. Mid-floor placement, where the channel sits part way into the room, lets you fall the floor from both sides towards the line, which can be useful in a large wet room. Your plumber decides what is possible based on where the waste pipe can run.
Then the top. Grate or tile insert. If you are undecided, remember the tile insert costs a little more in tiling labour, because someone has to cut and bed that piece neatly. The stainless grate is quicker and still looks sharp.
Then the finish. Brushed stainless, like this one, is the forgiving choice. Polished looks great on day one and then shows every droplet. Brushed hides water spotting and soap film, and a wipe brings the whole surface back to an even tone.
Then the build-up. This is the part that catches people out. The channel sits inside the floor, so its height determines how thick your screed and tile layer need to be. Measure before you order, not after the floor is poured. Exact channel dimensions for this unit are not listed by the maker, so get your plumber to confirm what they need and check it against the item before anything is fixed in place.
Installation, briefly
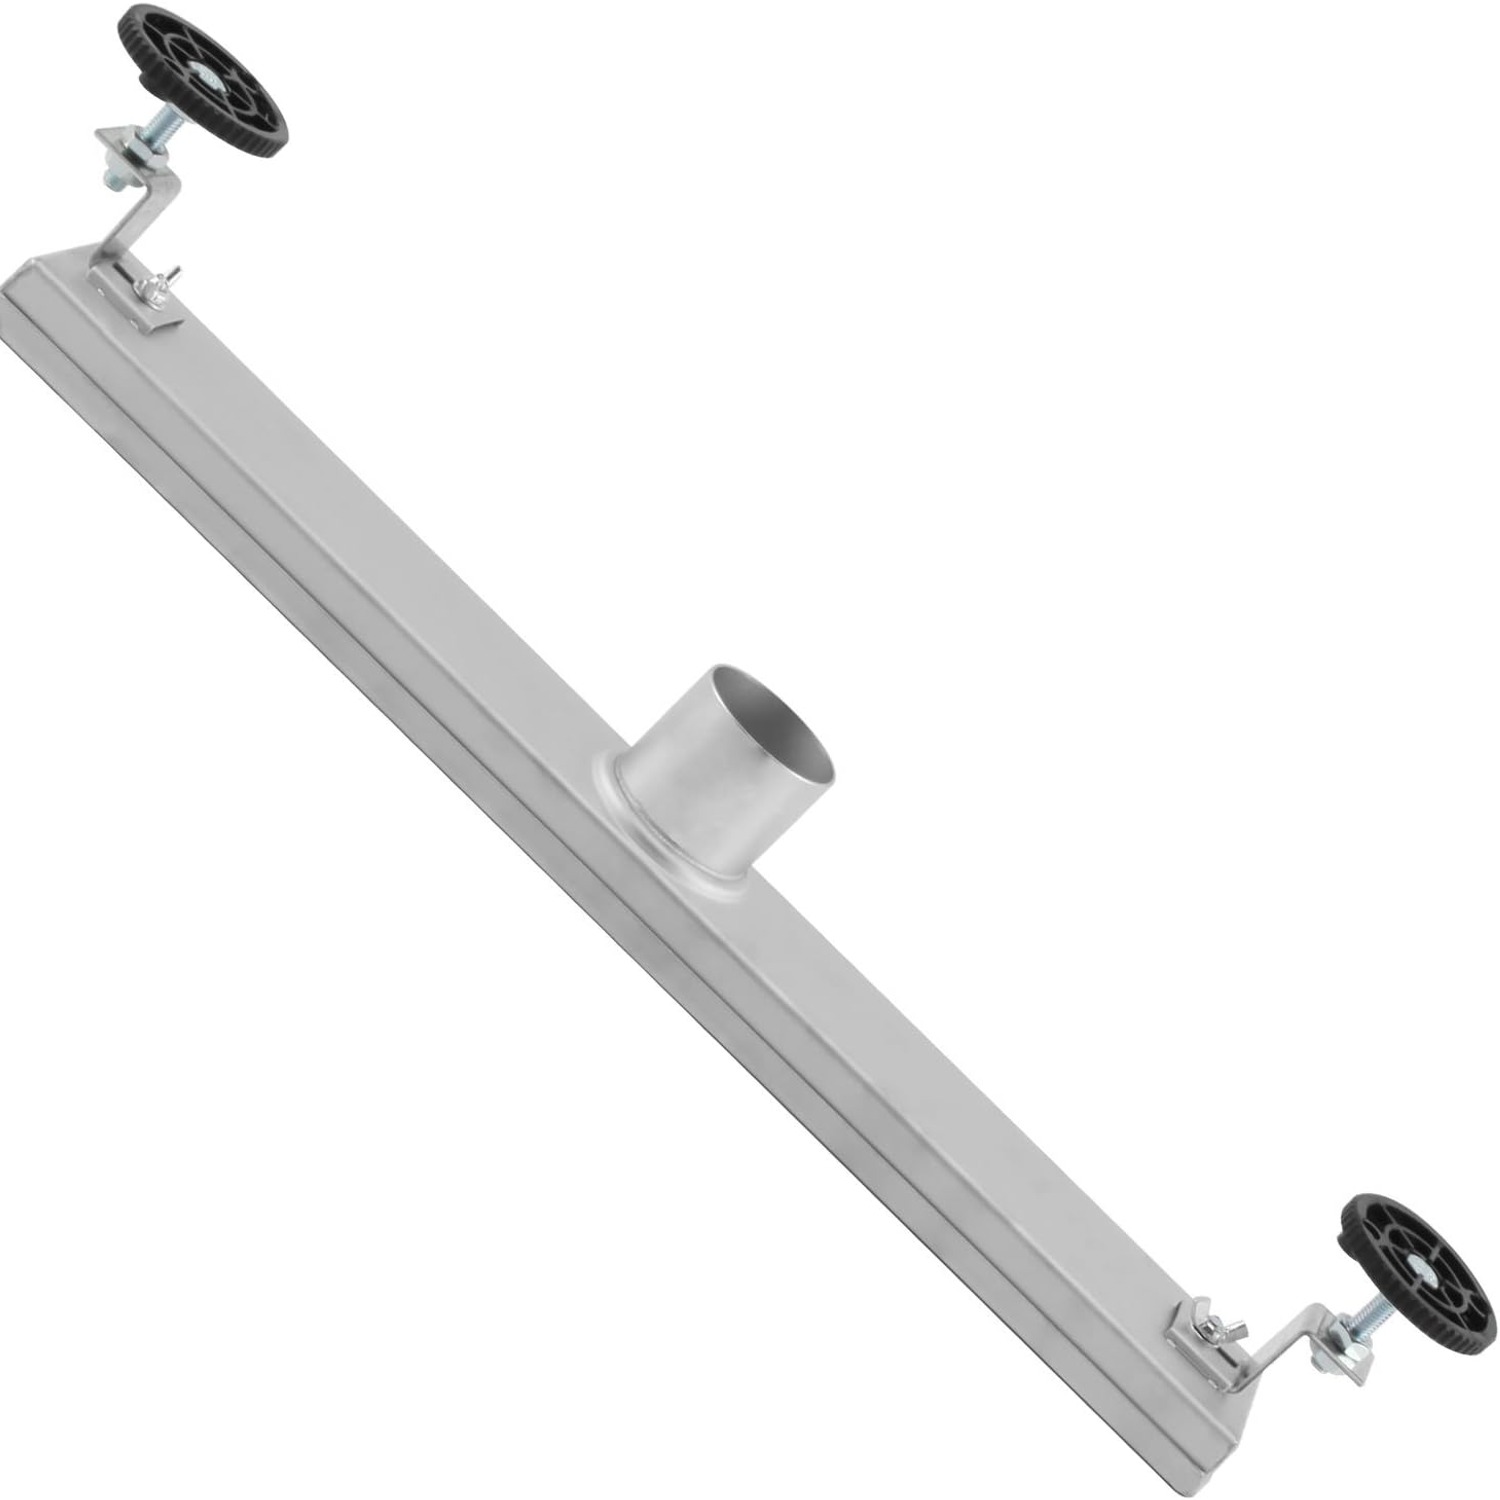
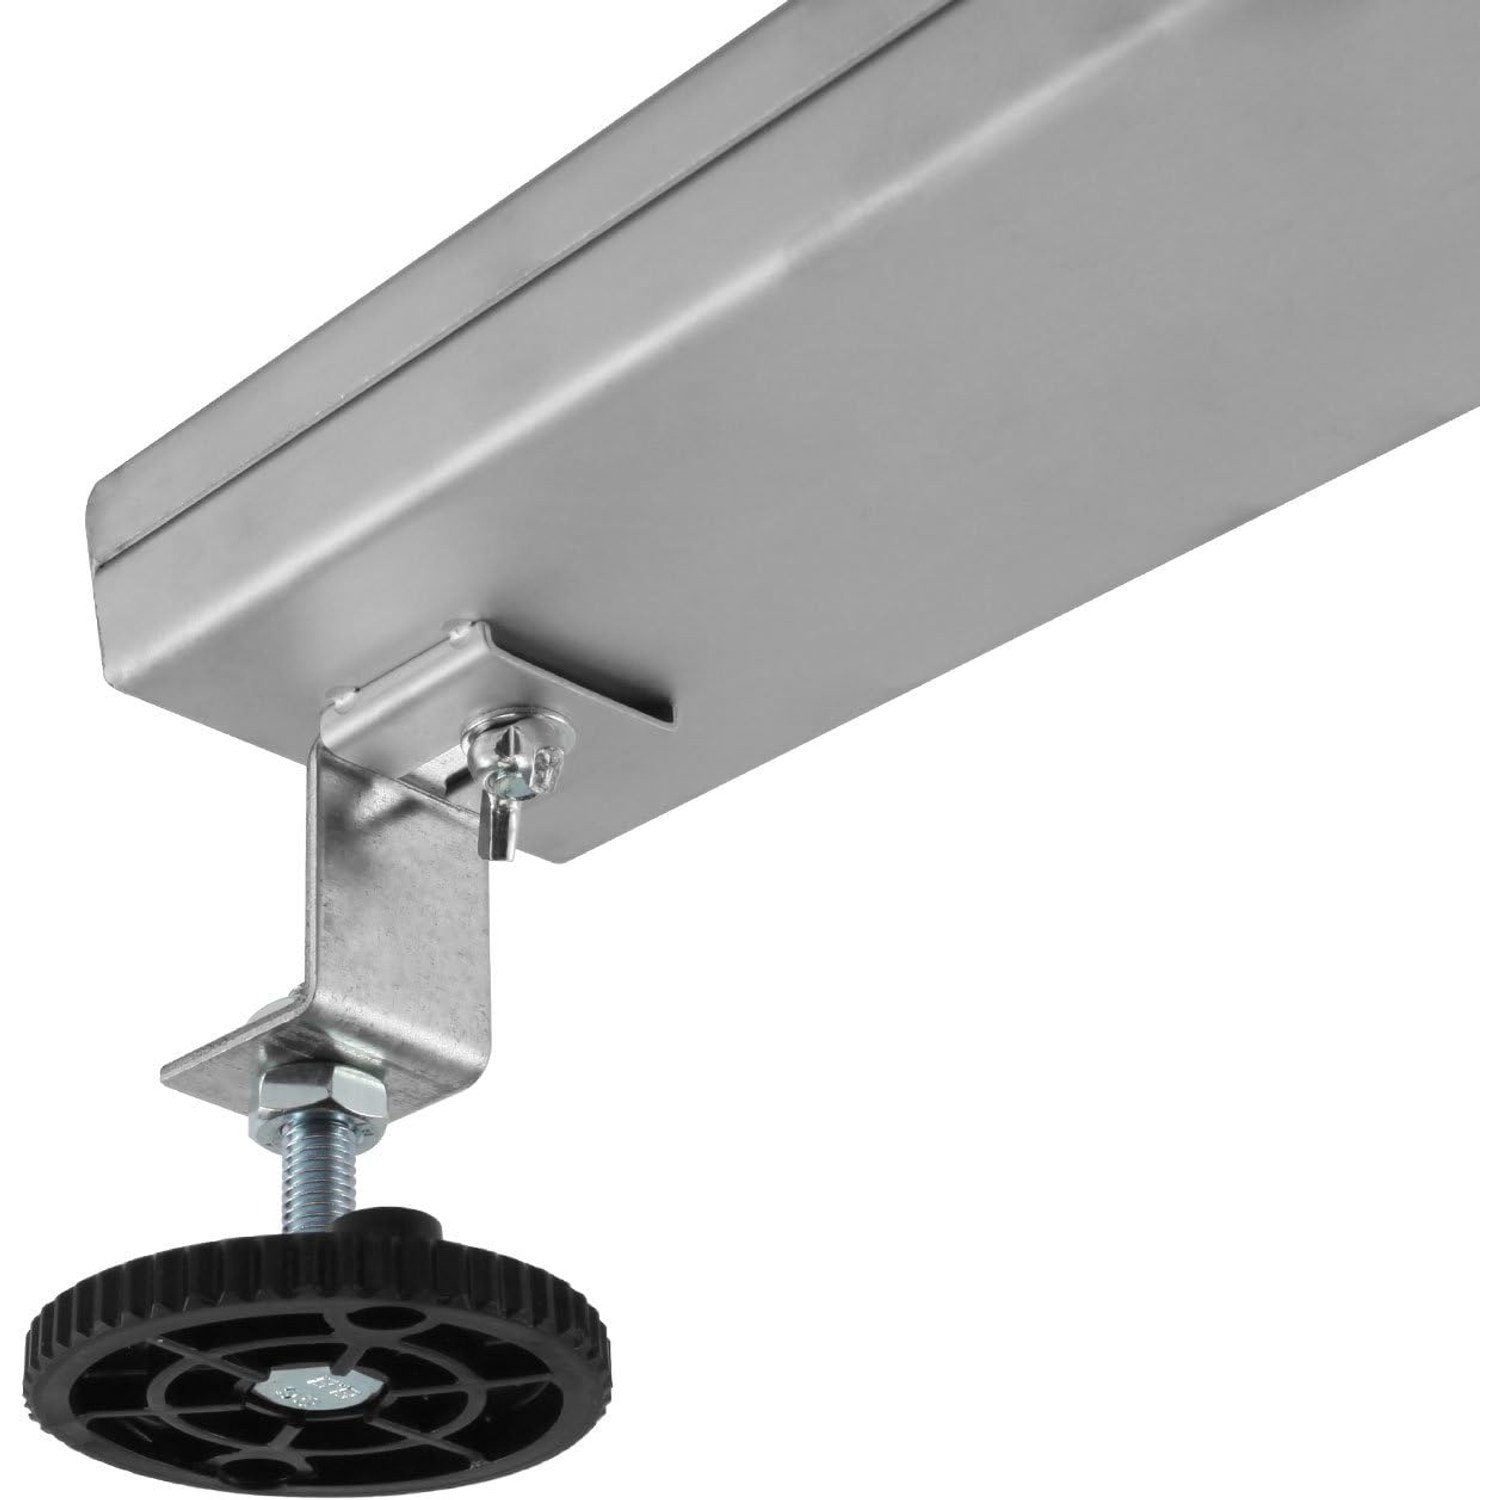
This is a licensed plumber's job in most places, and it needs to be sequenced with the waterproofing and the tiling. Roughly, the order is: set the channel at the correct height and connect the outlet, pour and shape the screed so it falls on a single plane towards the slot, apply the waterproof membrane, then tile up to the channel.
Get the sequence wrong and the fix involves breaking up a finished floor. That is why it is worth having the plumber, the waterproofer and the tiler agree on the levels before anyone starts.
One practical tip. Unbox the channel and inspect it as soon as it arrives. A bent or dented channel is a five minute replacement before install and a nightmare afterwards.
Keeping it clean
The routine is short. Lift out the grate, lift out the filter basket, rinse the hair into the bin, wipe the channel, put it back. Every week or two is enough for most homes. If there is long hair in the house, make it weekly.
For the stainless itself, warm water and a mild detergent on a soft cloth is all it needs. Dry it afterwards so the brushed grain stays even. What you want to avoid is bleach, abrasive pads, steel wool and harsh acidic tile cleaners. Those can dull or stain stainless over time, and the damage does not buff out.
If drainage slows, the filter is almost always the cause. Clear it first before assuming there is a problem further down the pipe.
The short version
A linear channel exists so your shower floor can be flat across its width and still drain properly. That unlocks large tiles, fewer grout lines, and a level-entry shower that does not look like an afterthought.
This 900mm unit is brushed stainless steel in silver, with a closed grate and a tileable insert tray so you can decide how visible the drain is. It weighs 2 kilograms and comes as a single item. The filter lifts out for cleaning, which is the feature you will actually appreciate in daily use.
Measure your shower, confirm the build-up height and outlet requirements with your plumber, and decide whether you want to see the metal or hide it under tile. Get those three things settled and the rest of the job is straightforward.