
The complete guide
How to Choose a Downpipe Extension with Catch Basin
The puddle that will not go away
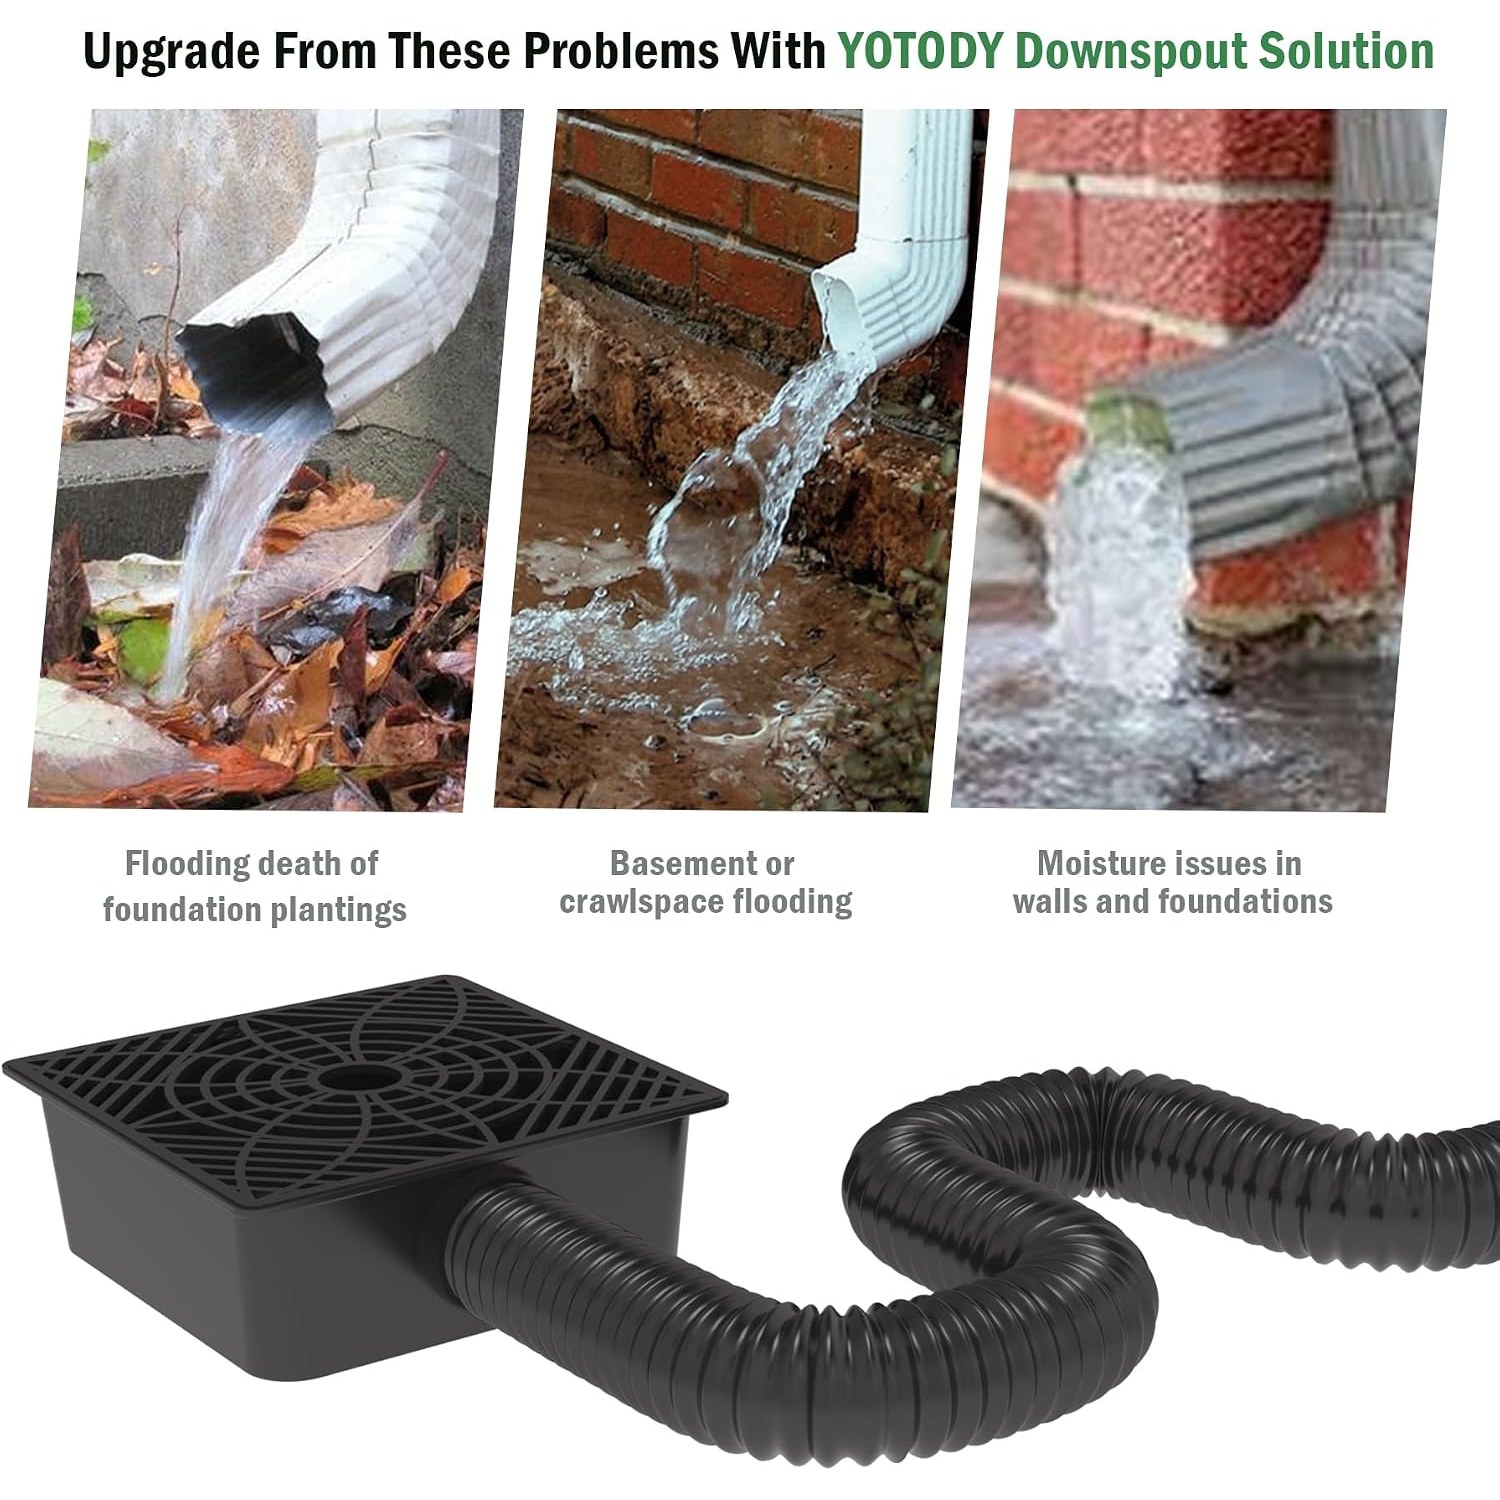
Most drainage problems start small. You notice the mulch has washed off one corner of the garden bed. Then there is a hollow in the lawn right under the downpipe. Then after a long wet week the brickwork near that corner looks darker than the rest, and it stays that way for days.
What is happening is simple. The roof is a big collection surface, and every downpipe concentrates a slice of it into one point. A short storm can send a lot of water through that one outlet in a few minutes. If there is nothing to receive it, the water hits bare ground, digs in, and soaks down right where you least want it, next to the footings.
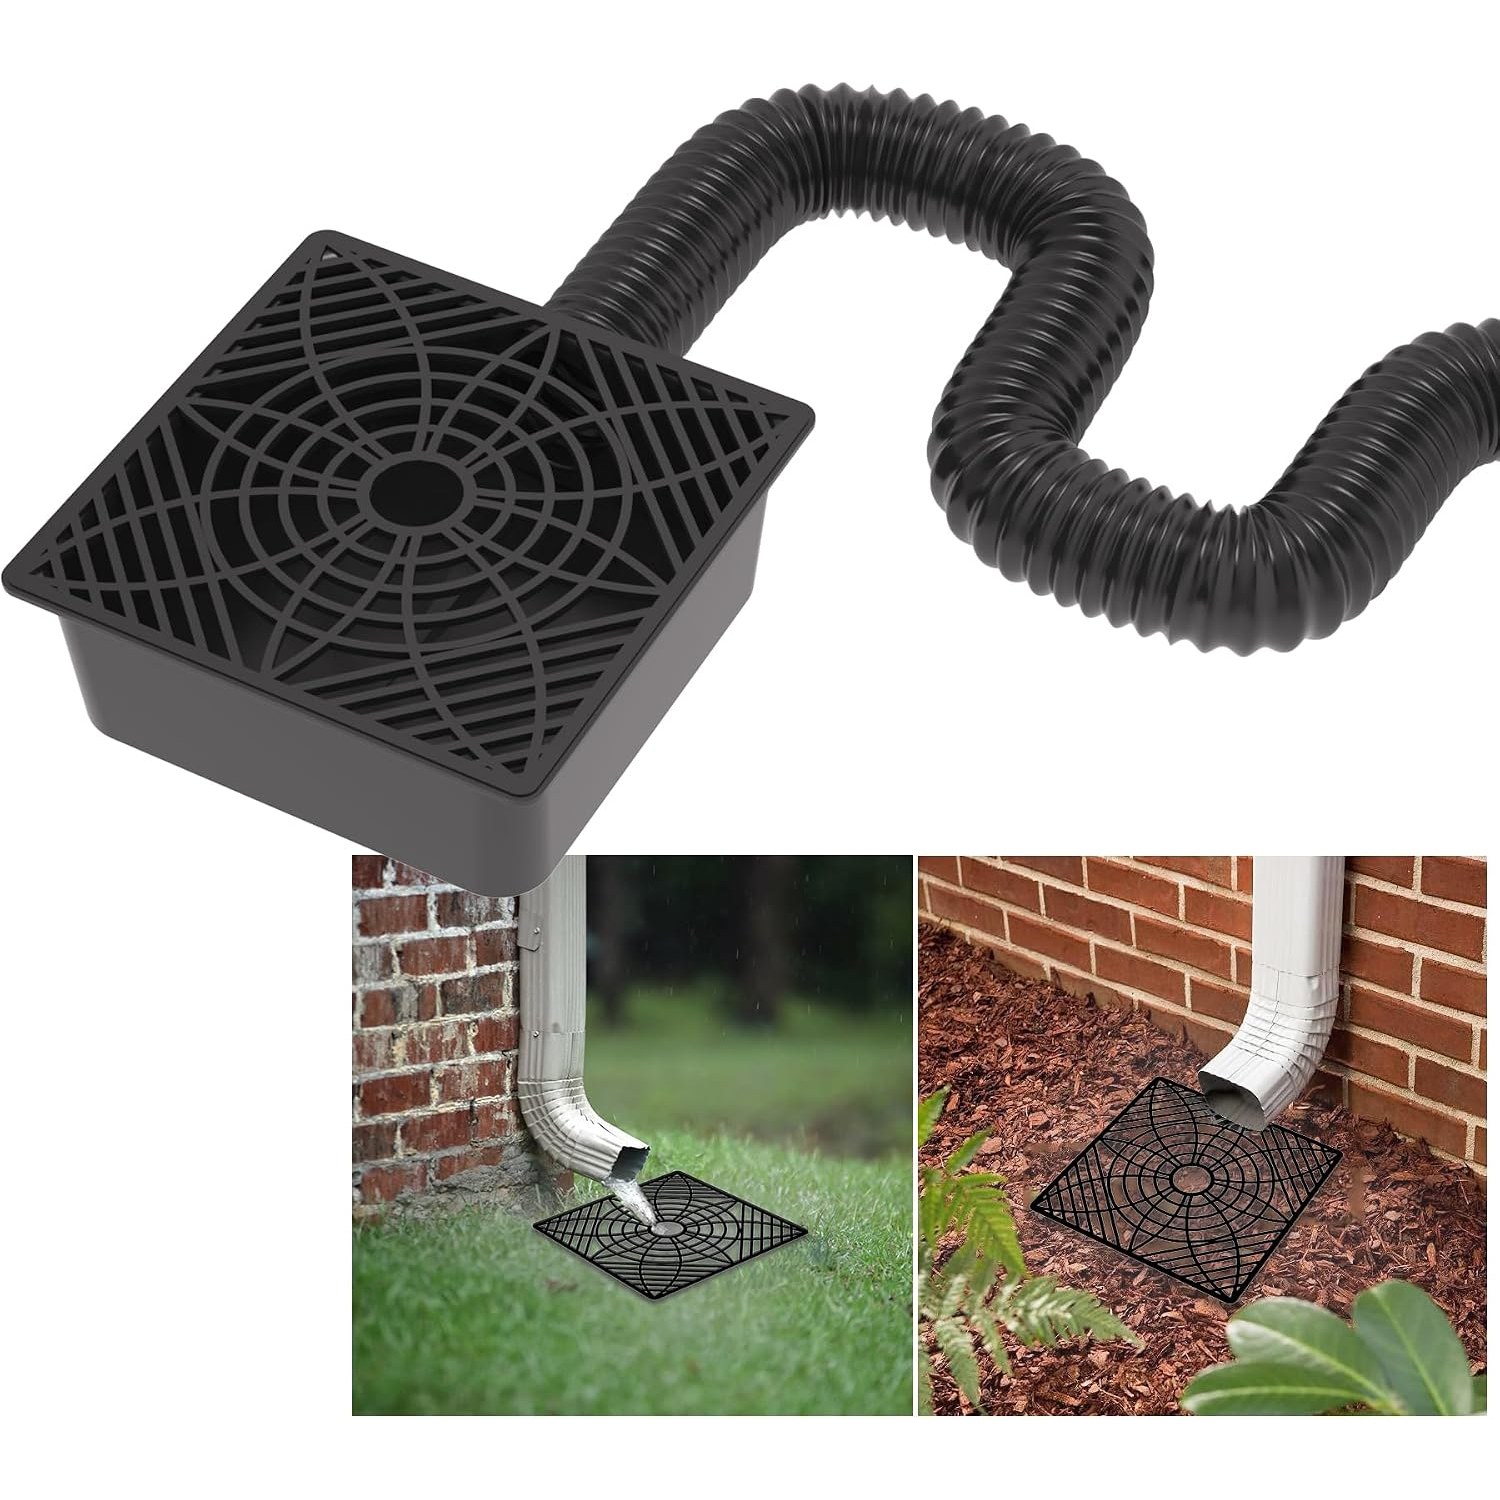
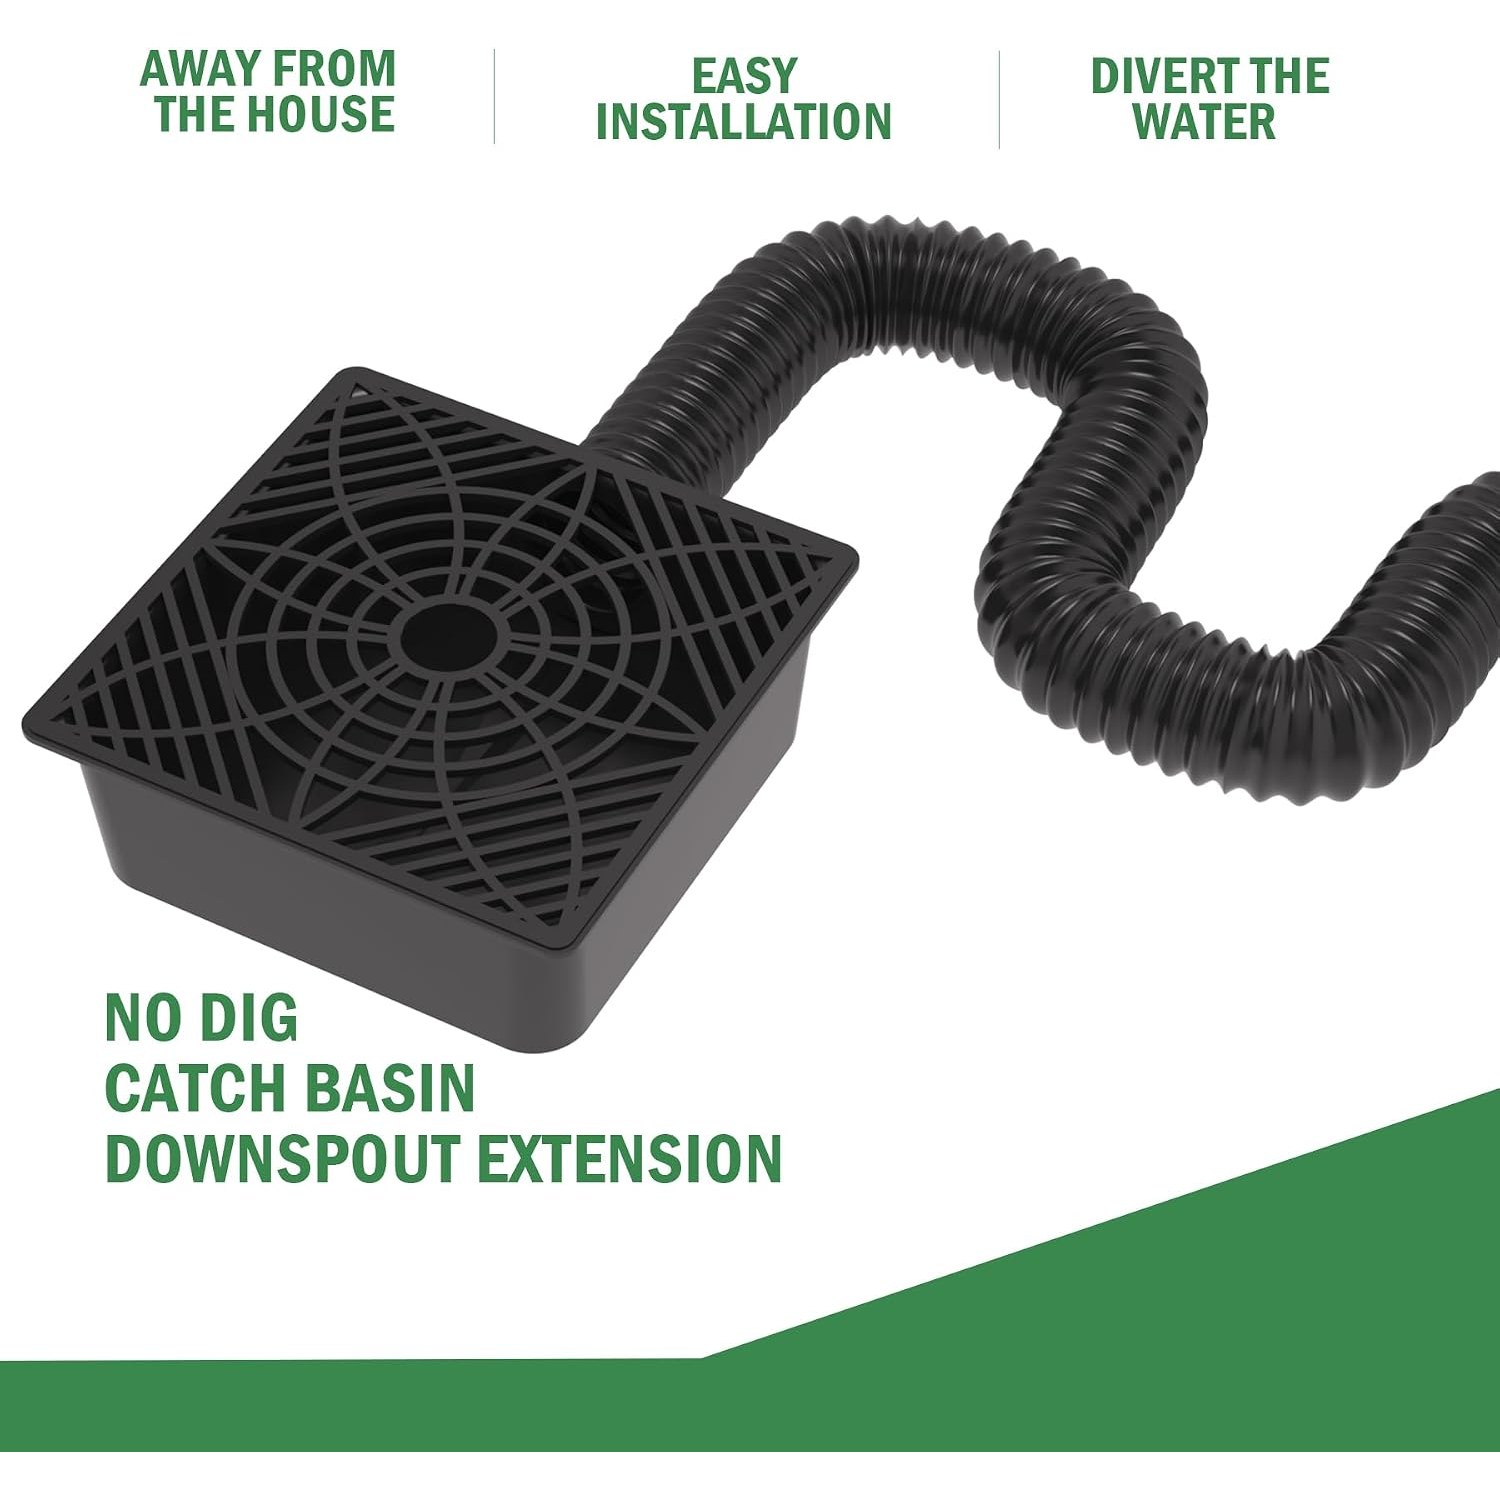
A downpipe extension with catch basin deals with both halves of that problem. The basin stops the impact and the splatter. The pipe takes the water somewhere better.
How the kit works
There are two pieces doing two jobs.
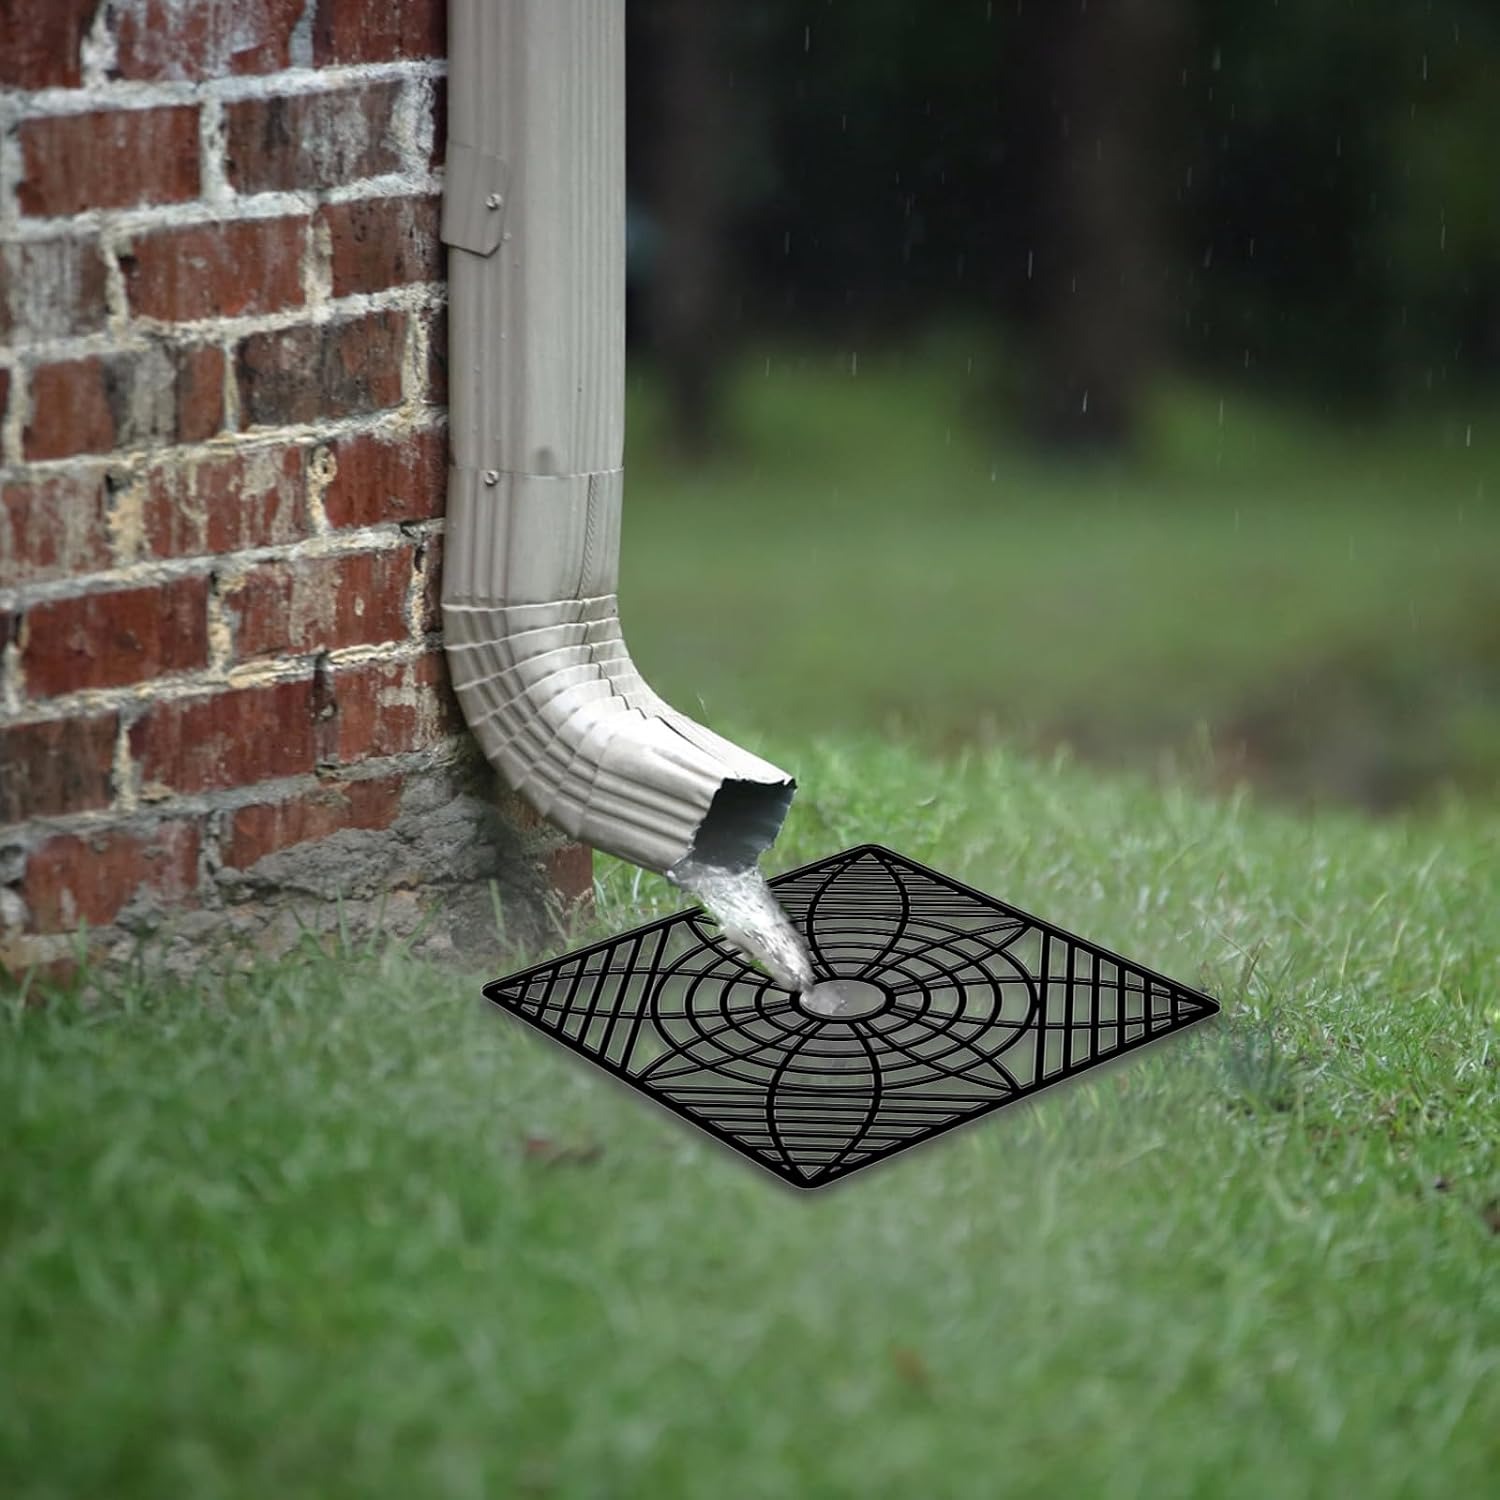
The basin is the receiver. It sits on the ground directly under the downpipe outlet or under a rain chain. Water drops into it instead of onto soil, so you get no crater, no mud splashed up the wall and no mulch migration. Because this one is a low profile design, it sits at surface level rather than needing a deep hole.
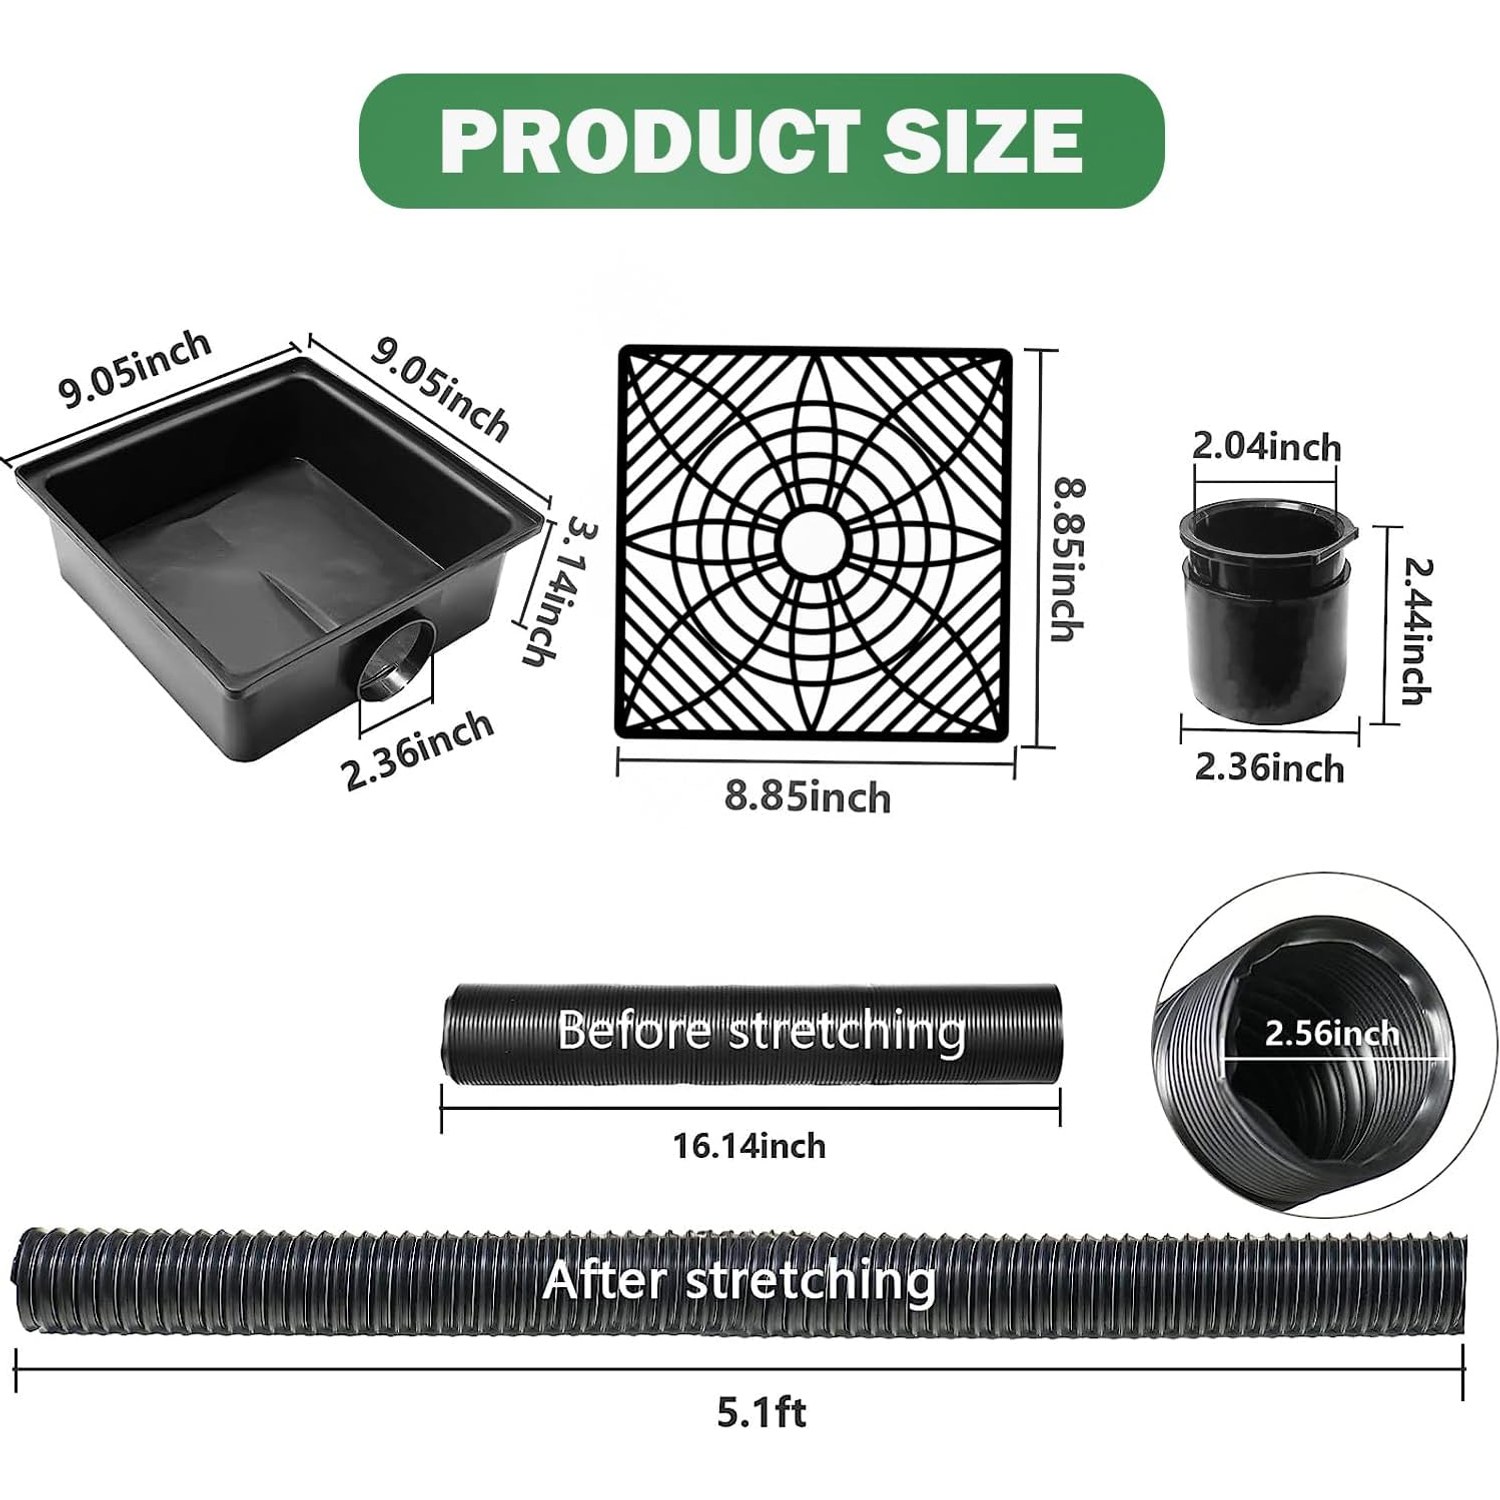
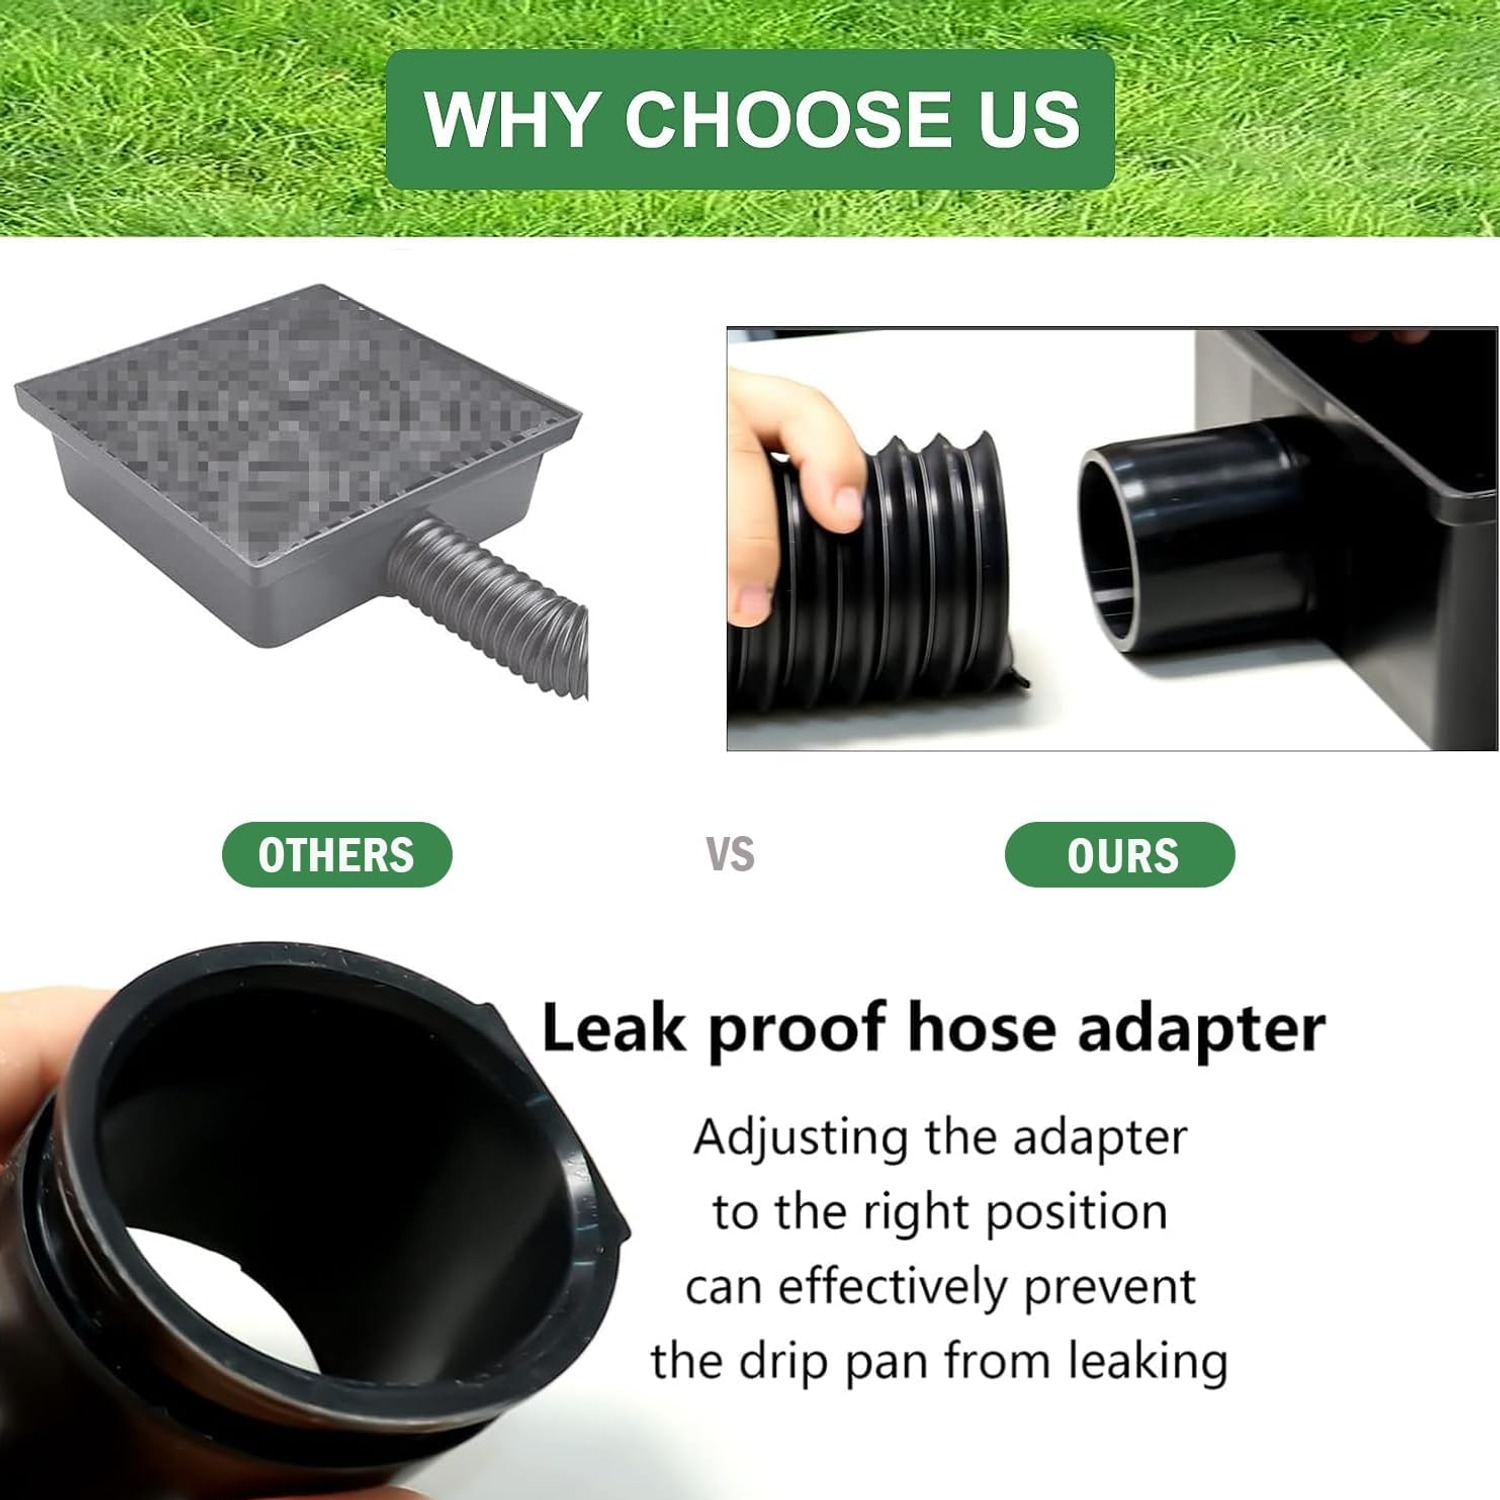
The flexible pipe is the exit route. It connects through a hose adapter that pushes into the hole in the basin, and from there it carries the collected water out to wherever you decide. The pipe extends to 5.1 feet, and it shortens back down again when you push it in. The corrugated wall means it bends and holds that bend, so you can shape the run around an obstacle rather than fighting a stiff pipe that wants to lie straight.
That combination is what makes the install so quick. There is nothing to glue, nothing to cut and nothing to dig.
Who it suits
This kit is a good match if:
- You have a damp patch, a hollow or washed-out garden bed at the base of a downpipe.
- You have a rain chain that splashes against the wall in anything heavier than a drizzle.
- You rent, or you simply do not want to start a trenching project to fix one corner of the yard.
- Your ground falls away from the house, even slightly, so gravity can help move the water.
It is less suited to a couple of situations. If the ground slopes back toward the building, you will need to regrade the soil as well, because a surface pipe cannot push water uphill. And if you are dealing with a serious ongoing flooding issue rather than a nuisance puddle, you are into proper subsurface drainage territory and should talk to a drainer.
Choosing the right one
Start with the outlet size. This is the single most common reason a drainage accessory gets returned. Go outside with a tape measure and check what shape and size your downpipe outlet is. This kit is described as suiting most residential downpipes, including 2 in. x 3 in., 3 in. x 4 in. and round. Most houses fall into one of those. Older or commercial buildings sometimes do not.
Then work out where the water should go. Walk the area after rain and look for the natural low point. You want somewhere at least a couple of metres from the wall, with soil that drains rather than sits. A lawn edge, a dip in the garden or an existing stormwater grate all work. Two things to avoid: a paved area that drains back toward the house, and a boundary where the runoff becomes your neighbour's problem.
Check the run length you actually need. The pipe gives you up to 5.1 feet. Measure from the downpipe to your chosen destination. If it is shorter, that is fine, you just leave the pipe partly collapsed. If it is a lot longer, you may need a different approach or more than one stage.
Think about the path. If the run crosses a walkway, plan to collapse it between storms or route it along an edge instead. The pipe holds a curve, which gives you more options than a rigid extension does.
Installing it
Clear a flat patch under the downpipe. You do not need to dig, but a level base stops the basin rocking. Remove loose stones and rake the soil flat.
Set the basin in place and check that it sits directly under the outlet. Water falling off centre will splash past the edge, which defeats the purpose.
Push the pipe into the hose adapter and seat the adapter into the hole in the basin. It is designed to go in without heavy force, but it does need to be pushed fully home or you will see water escaping at the joint.
Run the pipe out along your chosen route, bending it to shape as you go. Keep a consistent downhill fall if you can. Avoid creating a dip in the middle, because water will sit there and turn into a mosquito hotel.
Then wait for rain and watch. The first real storm tells you everything. If water backs up at the basin, something is blocking the inlet. If it leaks at the joint, push the connection in harder. If it pools halfway along the pipe, you have a dip to lift.
Looking after it
Maintenance is light but it is not zero.
Rinse the basin out with a garden hose a few times a year. Silt settles in the bottom over time, and silt plus leaves is what eventually chokes any surface drain. If you have trees nearby, especially anything that drops seed pods or needles, check more often during the heavy drop months.
To clear the pipe, disconnect it at the adapter and flush water through from the basin end. That shifts most blockages. Do not poke anything sharp through the corrugations.
In a cold climate, drain the pipe before hard frosts arrive. Tilt it, let the water run out and push it back to its short length. Ice forming inside a plastic pipe is the fastest way to damage one.
Check the joint after big storms. It is the only moving connection in the system, so it is the first place to look if something seems off.
Realistic expectations
Surface drainage has limits, and it is worth being clear about them. In an extreme downpour, some water may overflow the basin. That is normal for any surface product and it is still a far better outcome than the whole roof load landing on your footings.
This kit is a nuisance-solver and a prevention tool. It stops the slow damage that comes from repeated soaking in one spot. It is not a substitute for proper stormwater connection where that is required by local rules, and it will not fix ground that falls the wrong way.
The short version
If you have a downpipe dumping water against the house and you do not want to dig, this is the straightforward answer. The basin catches the flow and stops the splash. The flexible pipe stretches to 5.1 feet, holds whatever bend you give it, and sends the water to a better spot. The whole job takes about an hour and needs no special tools.
Measure your outlet first, pick your destination second, and keep the basin clear of leaves. Do those three things and it will quietly do its job for a long time.