
The complete guide
How To Choose A Pop Up Basin Plug That Actually Fits
The problem with a plug that will not hold
You turn the tap on, walk away for thirty seconds, and come back to a basin that is half empty. Or the plug sticks down and you have to fish it out with a fingernail. Or the chrome has gone cloudy and flaky and makes the whole vanity look older than it is.
Basin plugs take a beating. They sit in water, get hit with soap, toothpaste, face wash and whatever cleaning spray lands on them. The seal perishes. The spring gums up with hair. On older pop up systems, the rod behind the tap bends or the linkage underneath comes loose, and suddenly a five dollar part turns into a job you keep putting off.
The good news is that replacing the visible plug is usually the easiest plumbing job in the house. No water gets turned off. Nothing gets cut. You unscrew one part and screw another one in.
How a click clack plug works
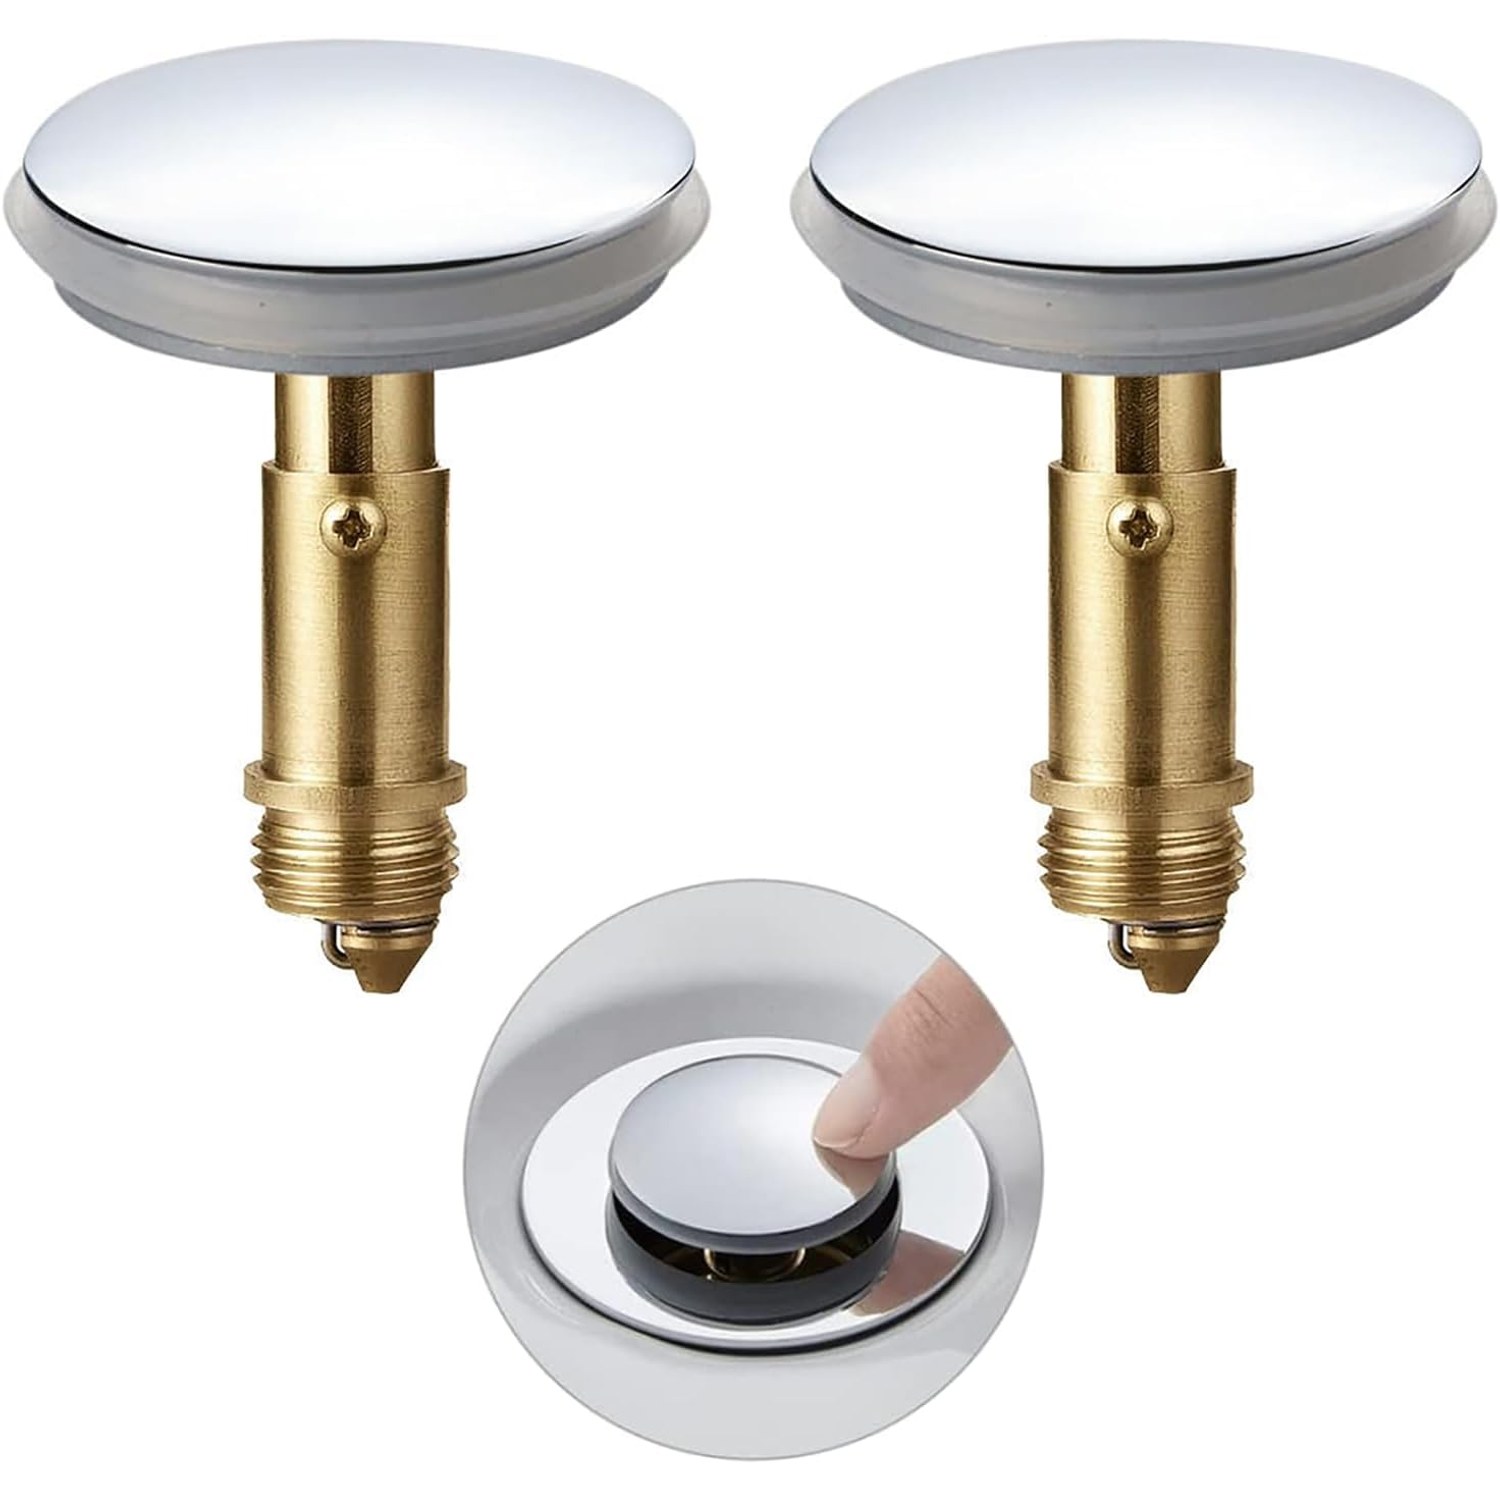
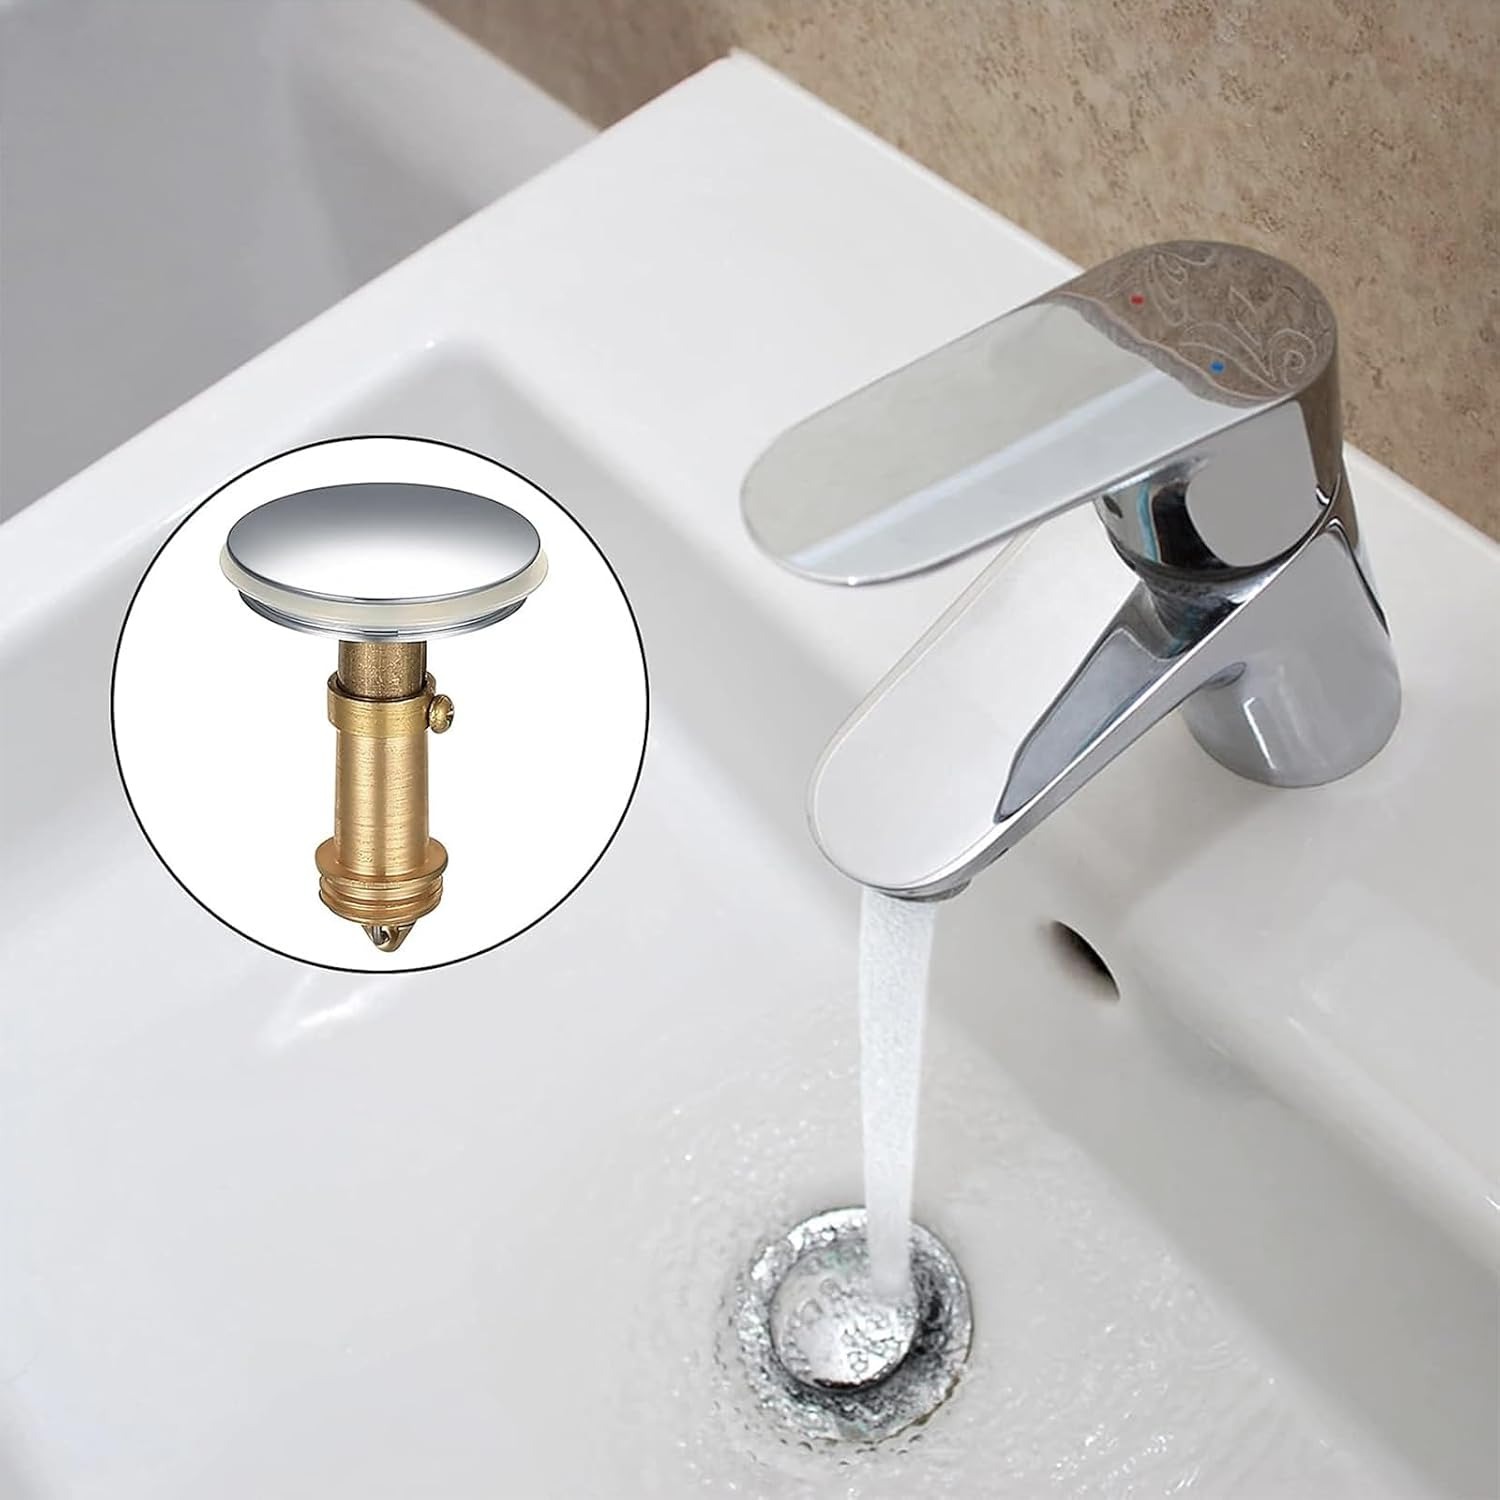
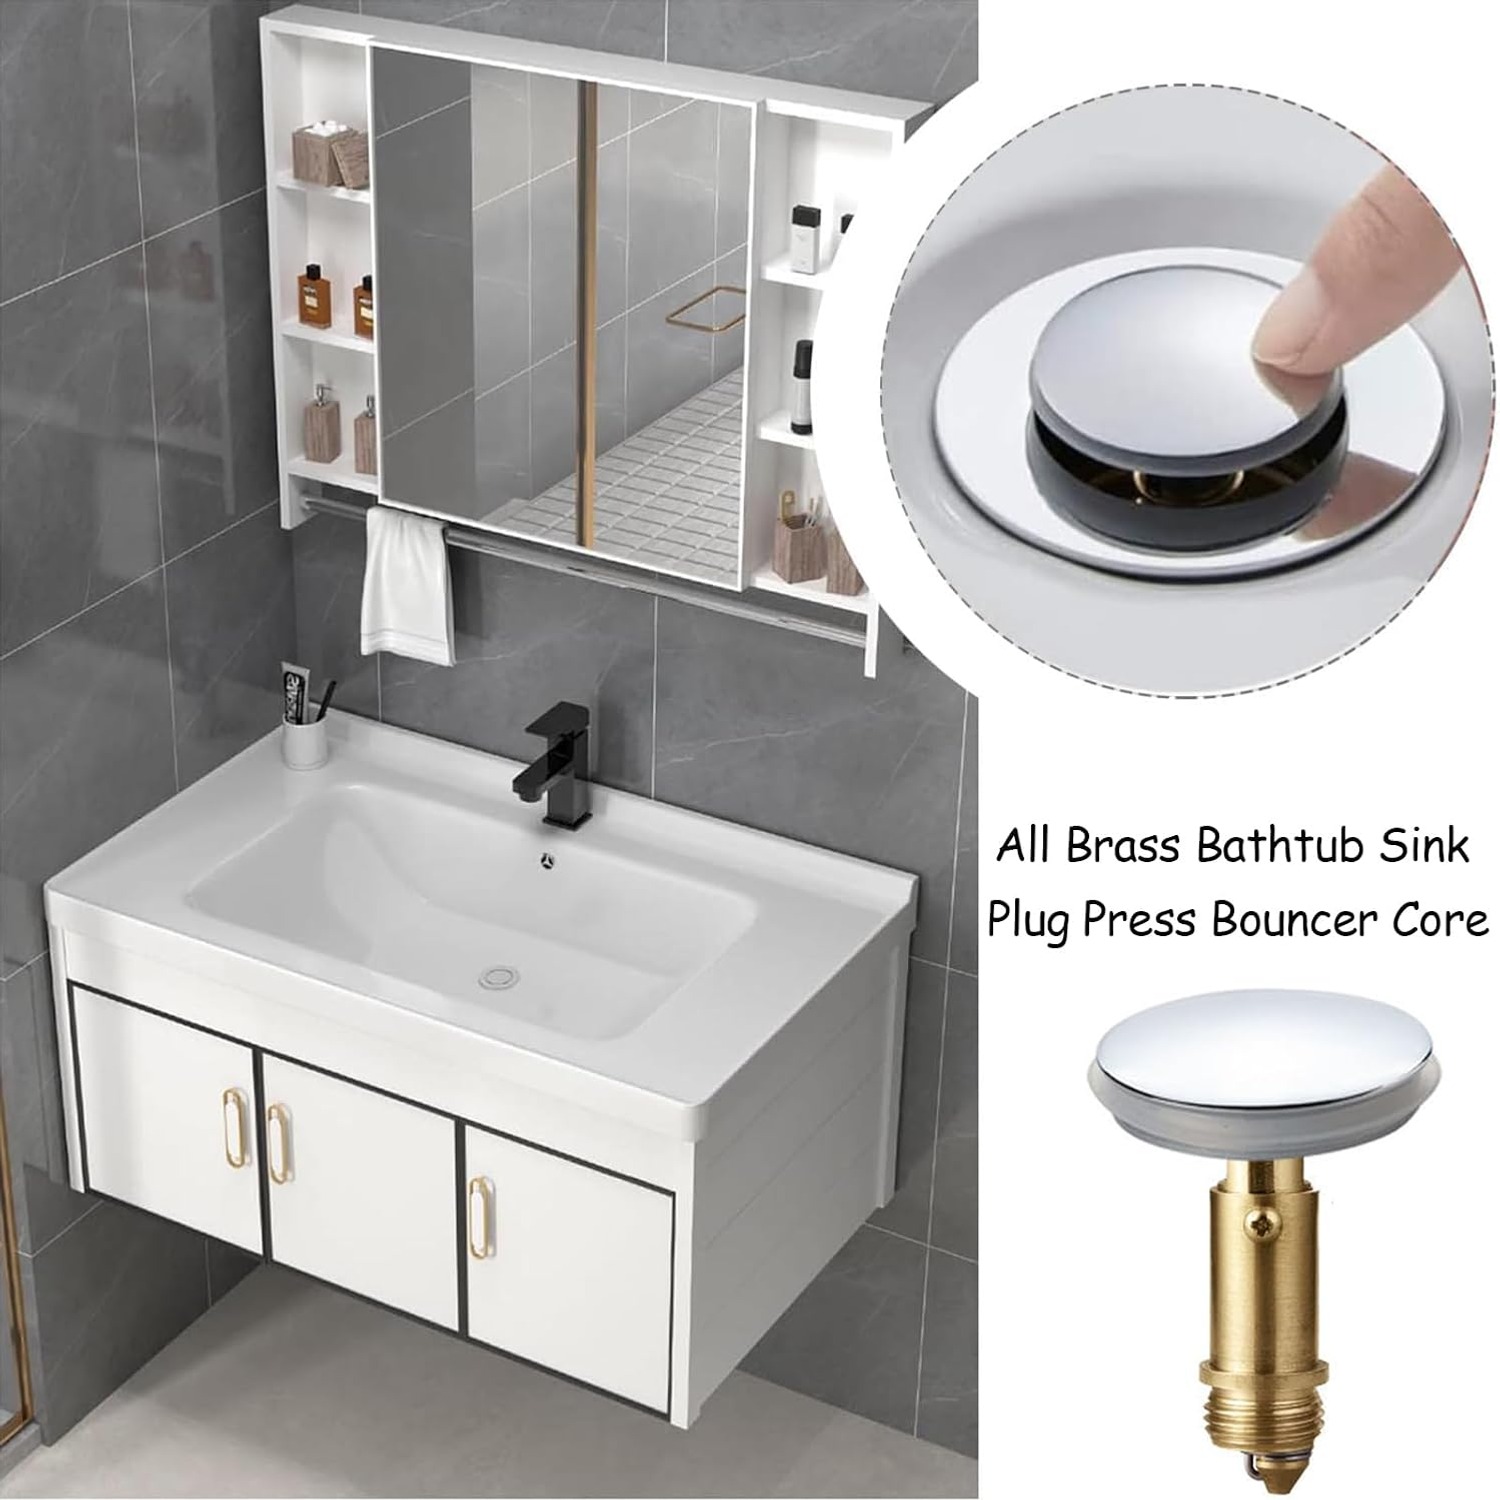
A click clack plug, sometimes called a push pop up, puts the mechanism inside the plug itself. A spring loaded core sits in the body. Press the top and the core latches down, pulling the seal against the waste and holding the water. Press again and the latch releases, the spring pushes the plug back up, and the water drains.
That is the whole system. There is no rod running behind the tap, no pivot arm under the basin, no little nut that works itself loose over time. Fewer parts means fewer things to go wrong, which is why click clack has quietly become the default on most new vanities.
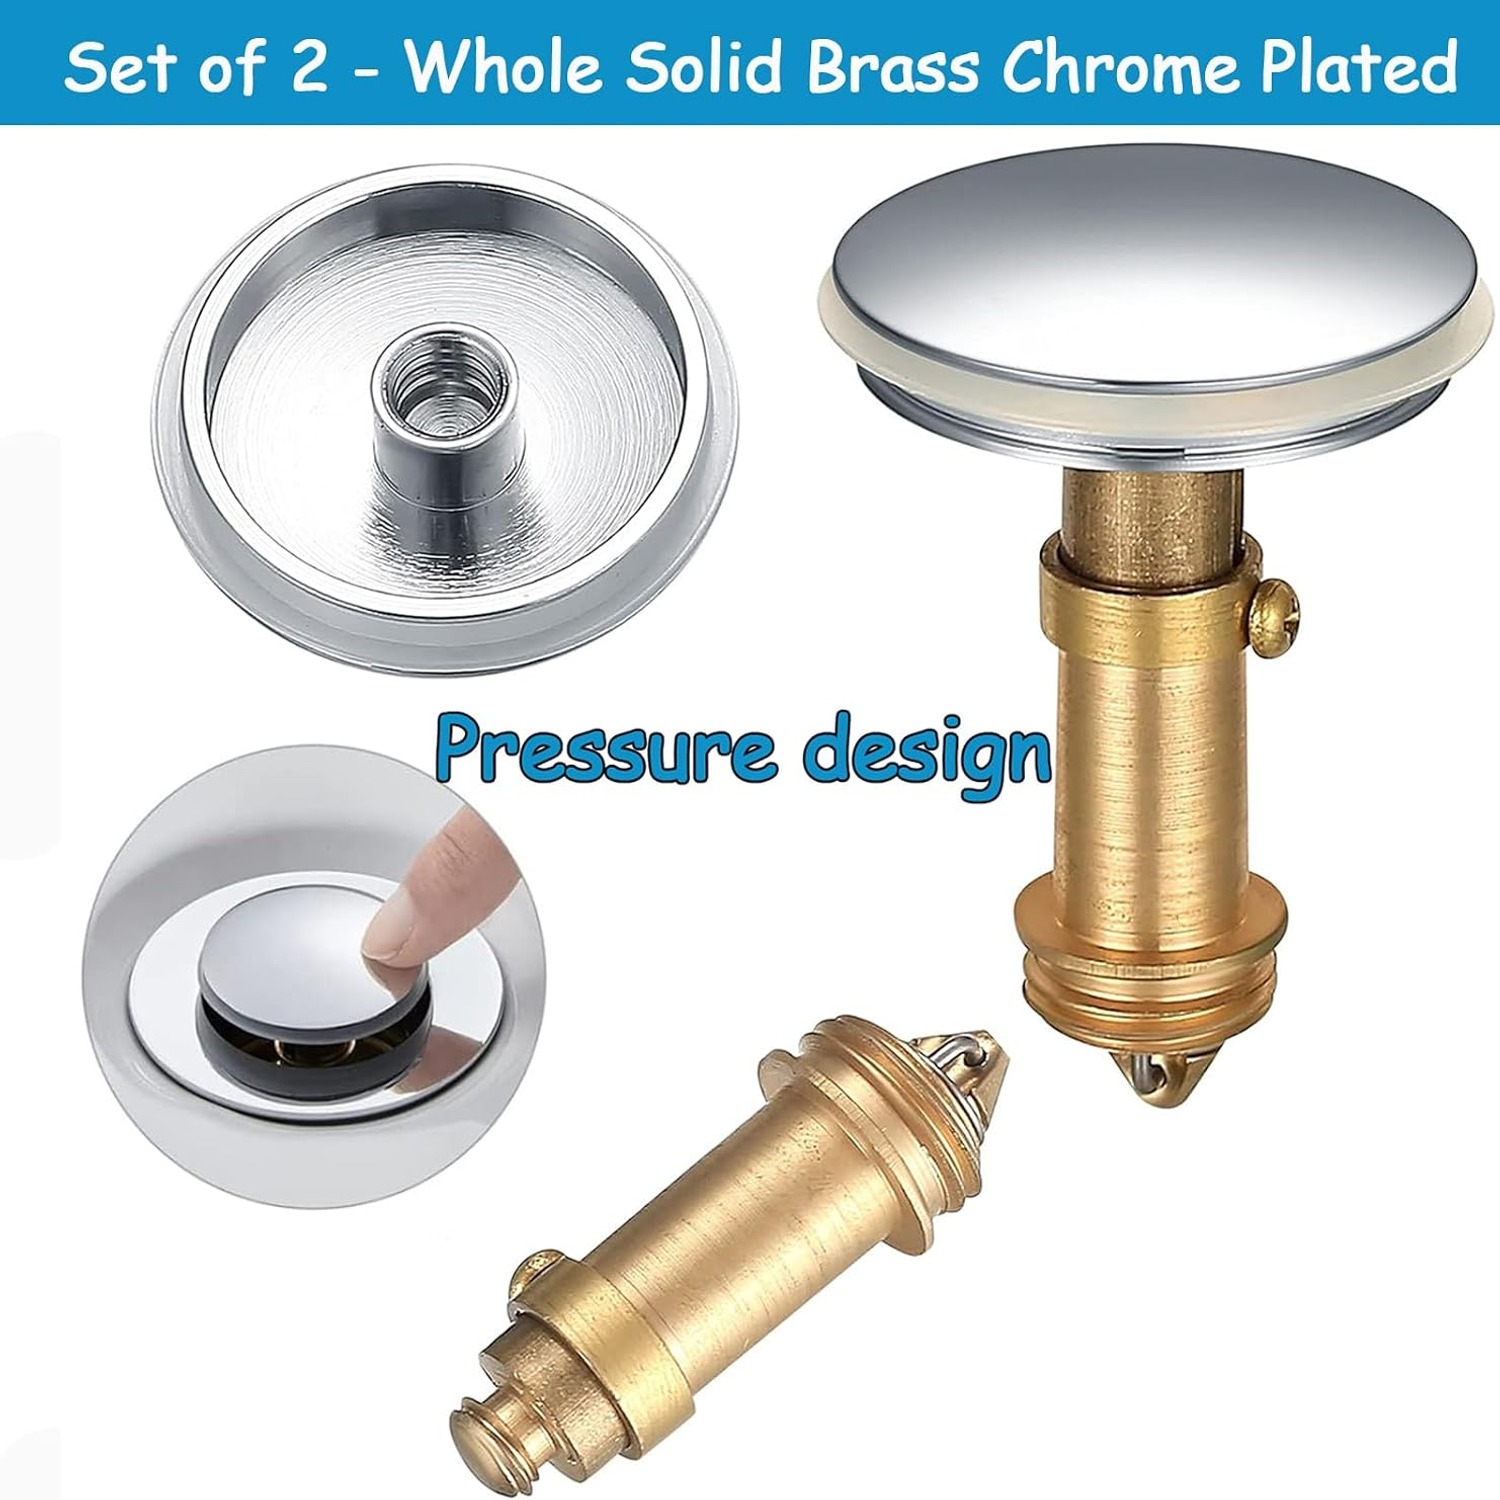
This particular plug is made of brass with a chrome finish. Brass matters more than it sounds. It is the standard material for basin wastes because it handles constant wetting without rusting, and it has enough weight to sit flat and seal properly. A light pressed metal plug tends to rock in the hole and dribble.
The two measurements that decide everything
Almost every basin plug return comes down to size. Get these two numbers right and the rest is easy.
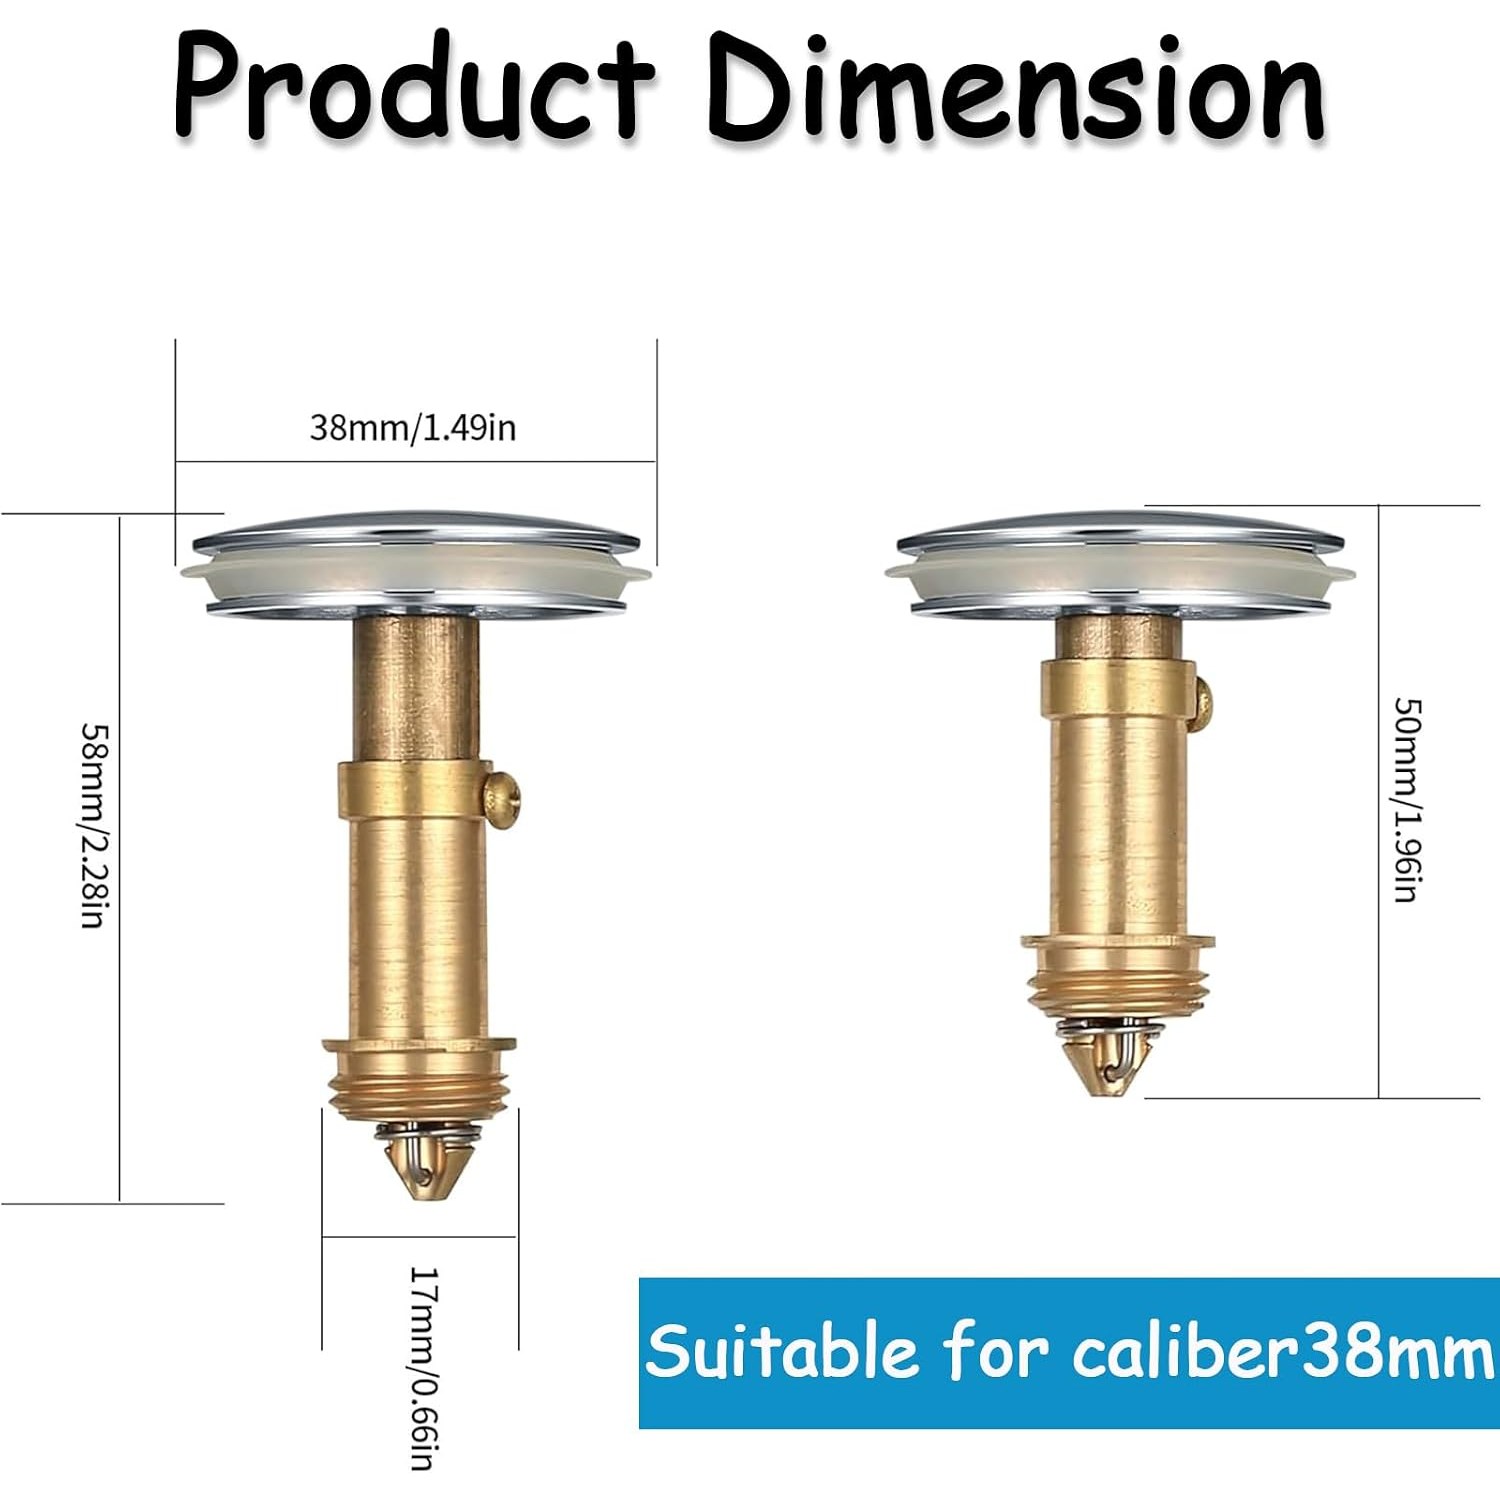
The first is the top diameter. This plug is 38mm across the face. That top has to cover your waste opening with a bit of overlap. If your hole is bigger than the plug face, the plug will sink or sit crooked, and no amount of tightening will fix it.
The second is the bottom thread. This one is M16 x 1.5mm, with an M8 thread at the top where the two halves join. That thread has to match the bolt on your existing waste body. Threads look similar to the eye and are not interchangeable, so compare them properly rather than guessing.
To check your own basin, lift the old plug out and measure the widest point of the top in millimetres. Then look at the threaded shaft underneath. If you are not confident reading a thread, take a clear photo with a ruler alongside it and ask before you buy.
One more thing worth knowing. The supplier is clear that a drainer with a built in filter basket is not suitable for this push pop up stopper. The basket sits where the spring needs to travel. If your waste has a fixed strainer in it, you need a different setup.
Who this suits
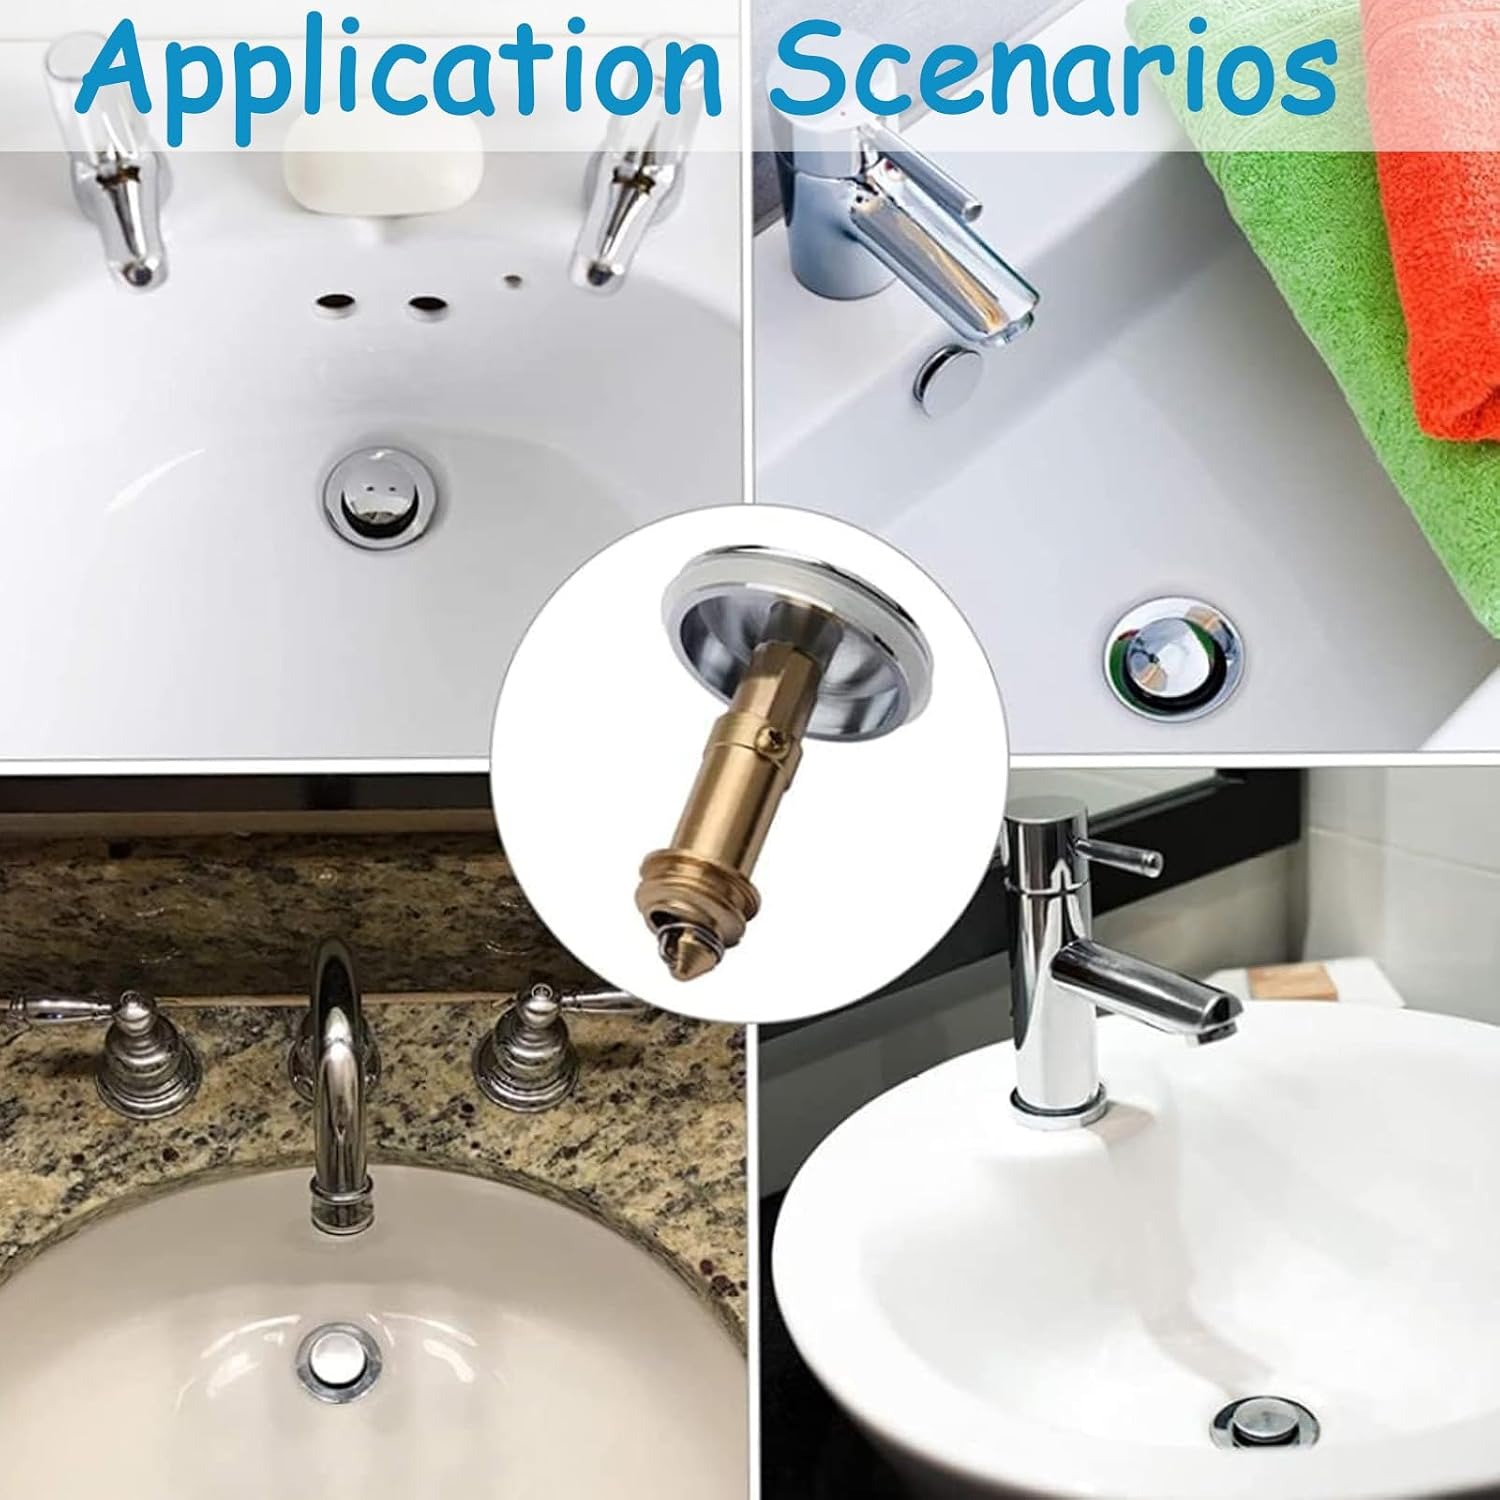
This plug works well for anyone replacing a worn stopper in a standard home bathroom basin, as long as the sizes line up. It is a common choice for vanity refreshes, where new taps go in and the old plug suddenly looks dull next to them.
Renters like it because nothing structural changes. The waste body stays where it is. You swap the visible part, keep the old one in a drawer, and put it back at the end of the lease if you need to.
Landlords and property managers tend to buy a two pack for the same reason. One basin gets fixed today, the spare sits in the toolbox for the next call. A brass sink stopper lasts long enough that the spare often waits a year or two before it is needed.
It also suits a kitchen washbasin if the hole and thread match. Larger kitchen sinks with a 90mm basket waste are a different beast and need a different part.
Fitting it without a fuss
Put a towel in the cabinet under the basin first. Not because water will pour out, but because small parts love drains and dark corners.
Unscrew or lift out the old plug. Have a quick look at the waste body while it is open. If there is heavy corrosion, cracking or a wobble in the body itself, that is a sign the whole waste needs attention and a plumber is the better call.
If it looks sound, separate your new plug into its two parts. Drop the bolt down through the hole, then screw the top section onto it from above. Hand tight. Turn until it feels snug and sits flat, then stop.
Test it before you pack up. Fill the basin, press the plug closed, and watch the water line for a minute or two. If it creeps down, back the top off a fraction, reseat it and try again. A seal that is pinched or sitting on a bit of grit will leak slowly, and both are easy fixes.
Keeping it working
The single biggest cause of a click clack plug going bad is hair. It wraps around the core, builds up under the seal, and stops the plug sitting flush. The water starts dropping overnight and people assume the plug is faulty when it just needs a rinse.
Once a month in a busy bathroom, unscrew the top, pull the two parts apart and rinse them under the tap. Thirty seconds, maybe less. That one habit does more for the life of the plug than anything else.
For the chrome itself, a soft damp cloth and a dry wipe afterwards is all it needs. Water spots come from letting droplets dry on the surface, not from the metal failing. Stay away from abrasive pads, scouring powder, bleach and strong drain chemicals on the visible finish. If you ever need to pour something down the drain to clear a blockage, take the plug out first so the chemical does not sit against the metal.
If the action ever feels sticky, clean before you assume the spring has gone. Nine times out of ten, soap scum is the culprit.
A few honest limits
This is a replacement plug, not a full waste kit. If your waste body is the problem, this will not fix it.
The thread and diameter are fixed. There is no adapter in the box and no way to make an M16 x 1.5mm plug fit a different thread. Measure first.
The finish is chrome silver. It matches chrome tapware. It will not match matt black, brushed brass or brushed nickel fittings, and no amount of good lighting will change that.
And it will not work with a drainer that already has a filter in it.
The short version
Lift out your old plug. Measure the top across the face and check it is 38mm or close. Check the bolt underneath is M16 x 1.5mm. Make sure your waste has no built in filter basket.
If those line up, this is a simple, solid fix. Brass body, chrome finish, one press to seal and one press to drain, and it comes apart in two pieces so cleaning takes seconds. Two in the pack means you can do a second basin or keep a spare for the next time.
Small part, small job, and a basin that holds water again.