
The complete guide
How to Choose a Washing Machine Drain Hose That Actually Fits
The problem nobody plans for
Washing machines come with a drain hose that is just long enough for one layout. Usually the one the factory imagined. Then you move house, or you shuffle the laundry around, or the plumber puts the standpipe in a spot that made sense on the floor plan and nowhere else. Suddenly the machine sits half a metre from where it should, with a hose stretched tight like a guitar string.
The other version of this problem is age. Drain hoses get stiff. Hot water, detergent and years of bending do their work, and one day you find a damp patch behind the machine that turns out to be a hairline split near the clamp. By then you are mopping.
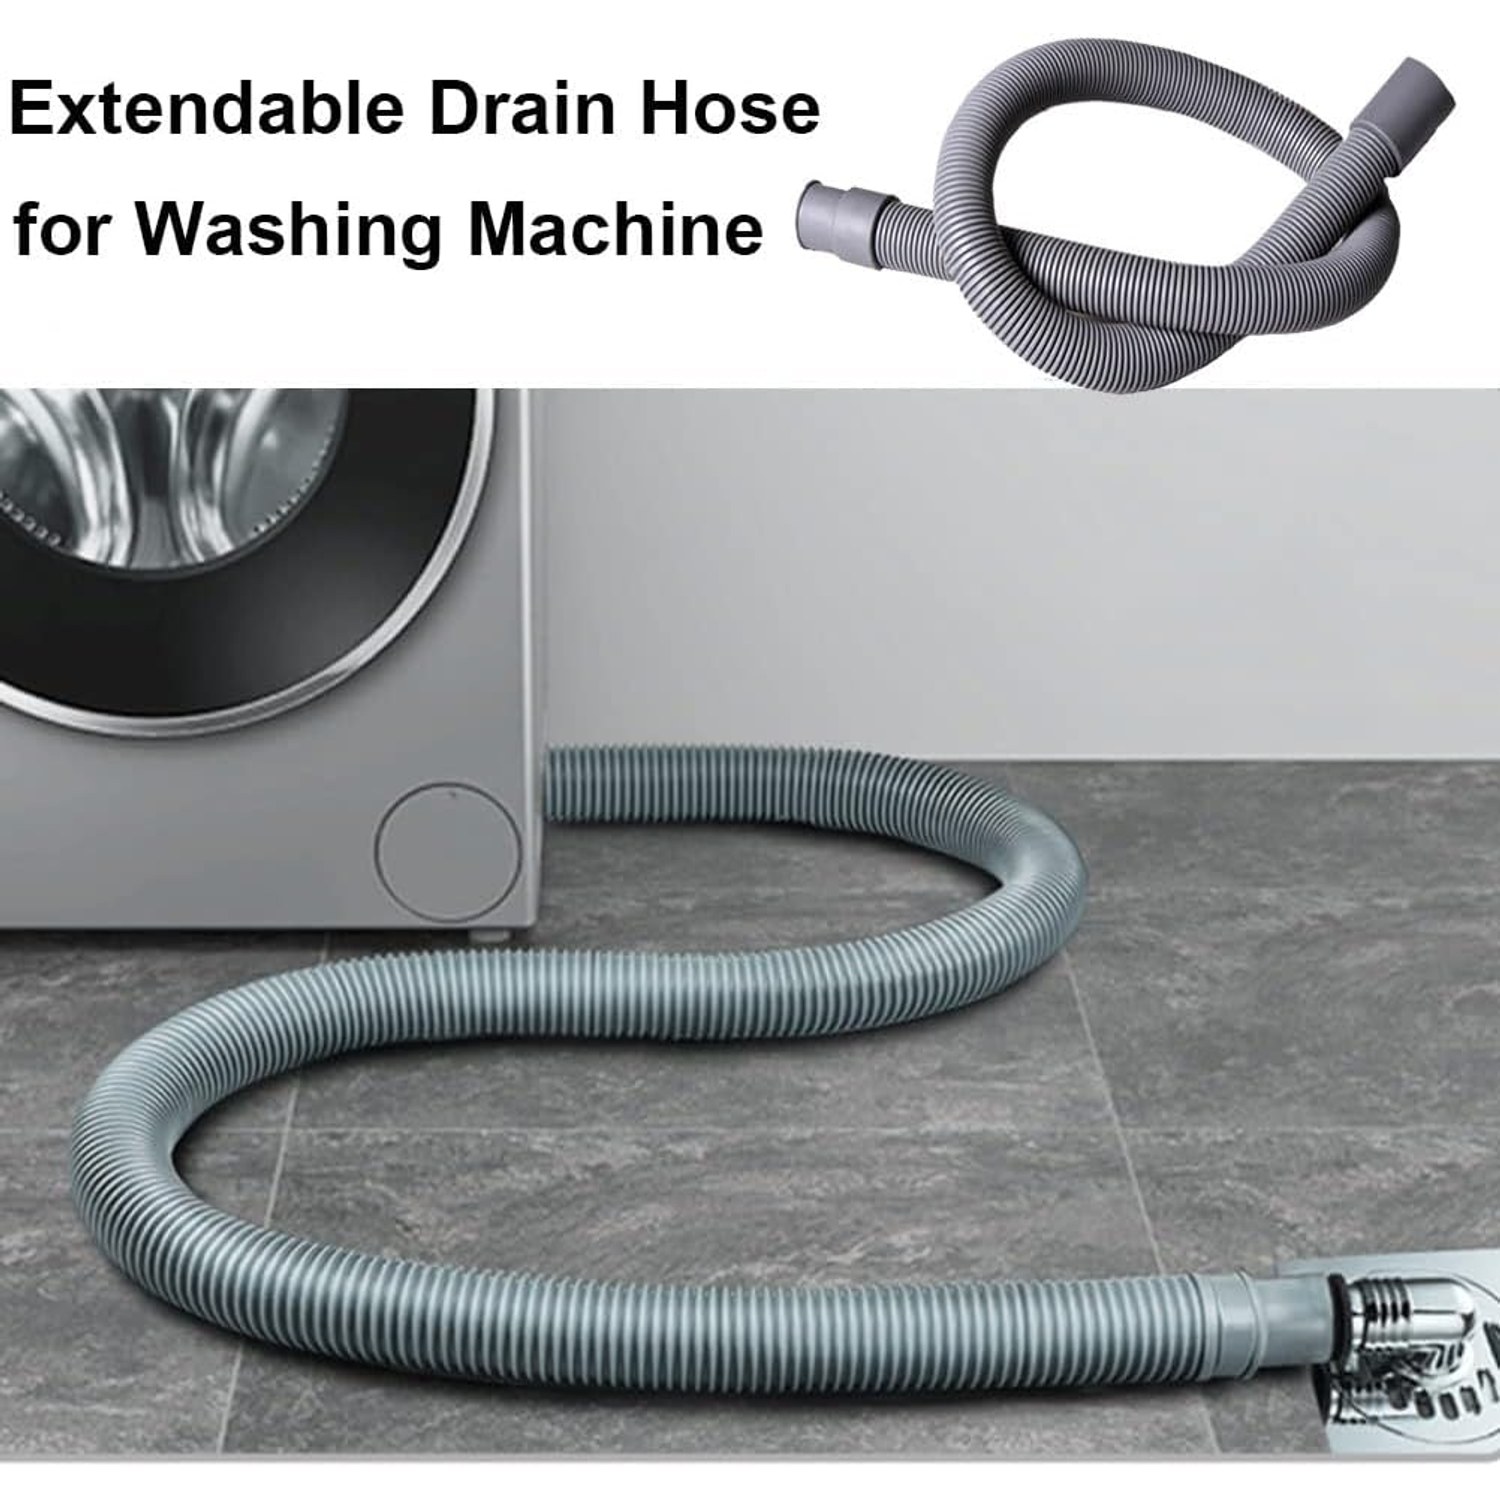
A 1.5 metre washing machine drain hose fixes both situations. It buys you room to position the appliance properly, and it replaces a tired hose before it fails on a full load.
How a drain hose actually works
Your washing machine does not rely on gravity to empty. It has a pump that pushes water out through the drain hose and up to a standpipe, a laundry tub or an under sink connection. That pump has limits, and those limits are what the hose needs to respect.
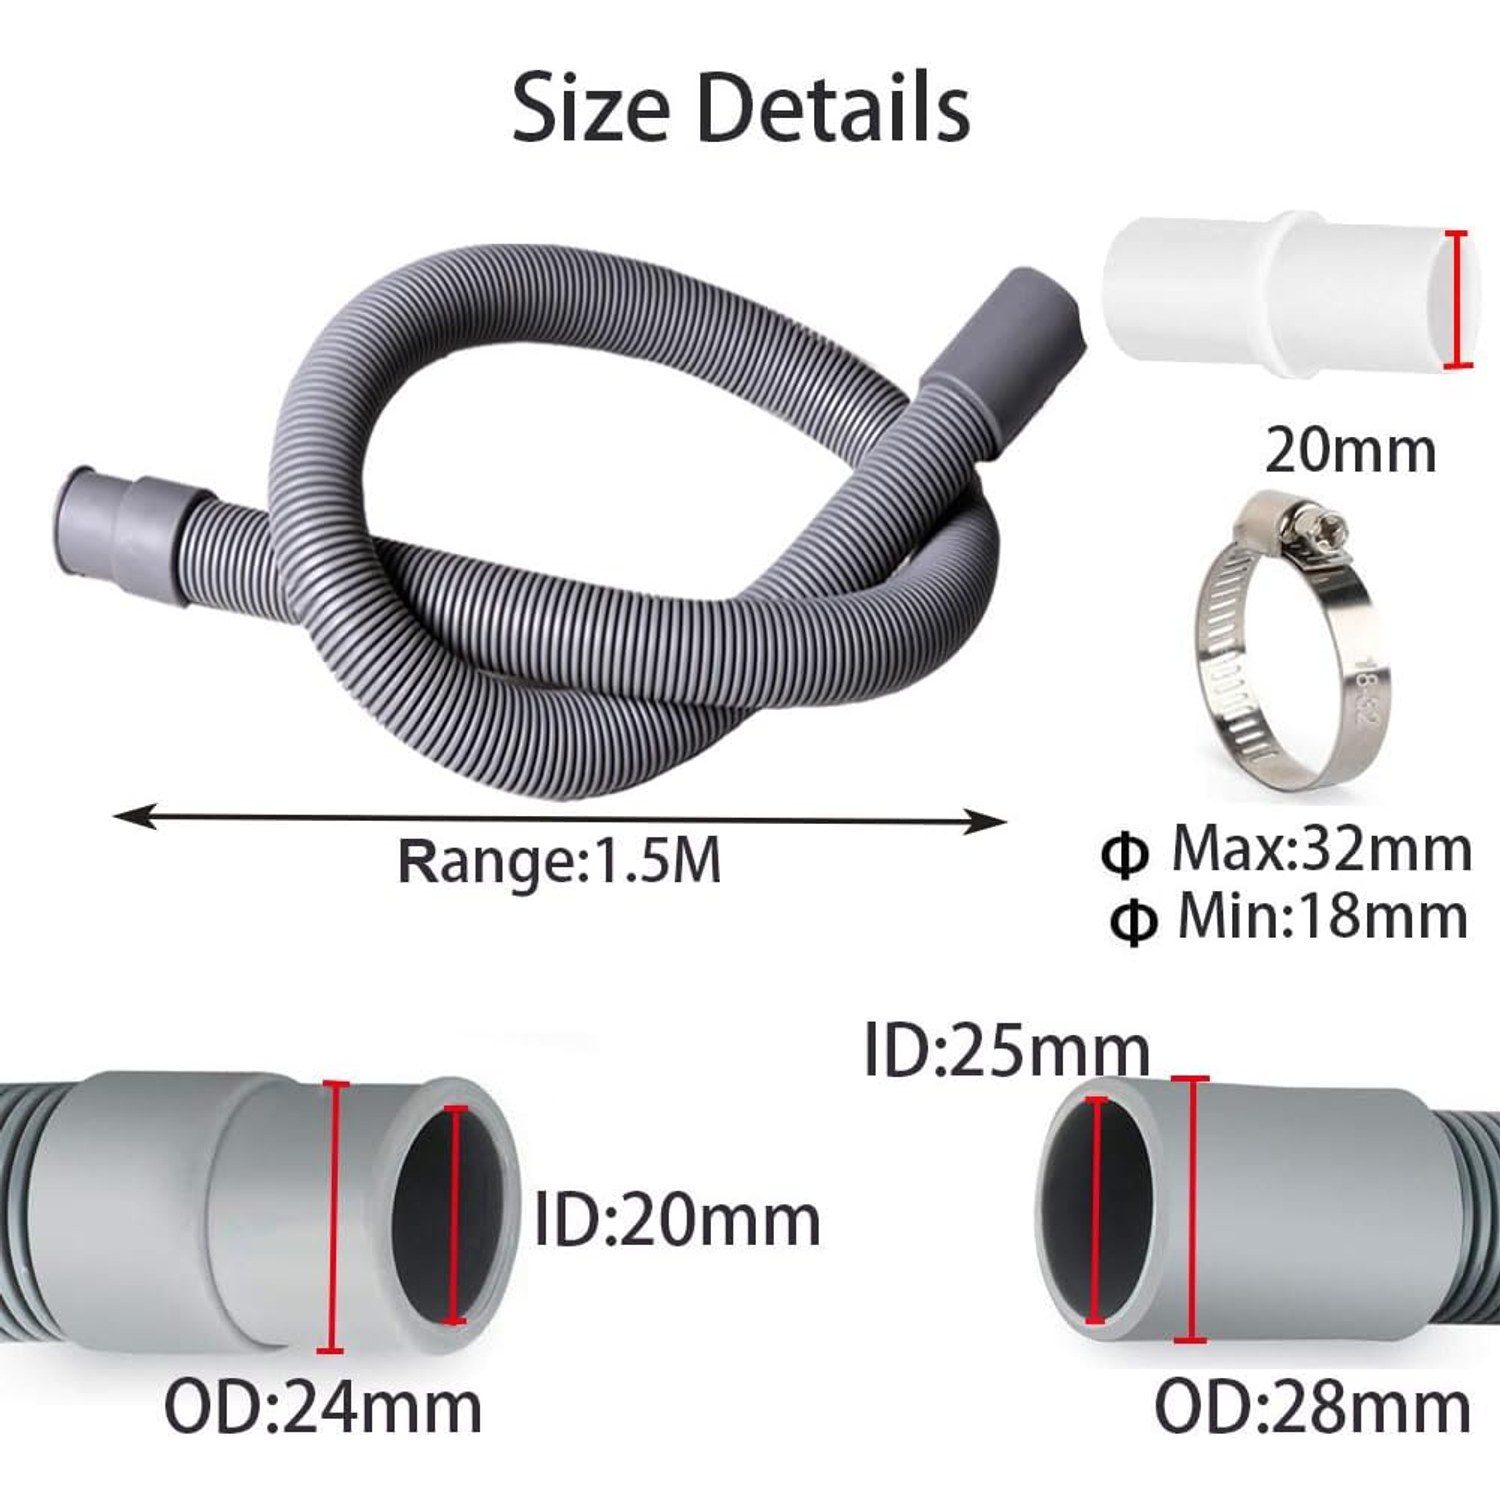
Two things matter. The first is the internal diameter, because a narrower bore slows the flow and makes the pump work harder. This hose has a 20mm inner diameter, which is the standard bore on most front load drum machines. The second is the height the water has to climb. Every machine has a maximum drain height in its manual, often somewhere around a metre or so. Go above it and water either drains slowly or sits in the drum and throws an error code.
Length itself is less of an issue than people expect, within reason. Adding a metre of horizontal run is usually fine. Adding three metres plus a steep lift is where machines start to complain. Check your manual if you are planning an unusually long run.
What the fit comes down to
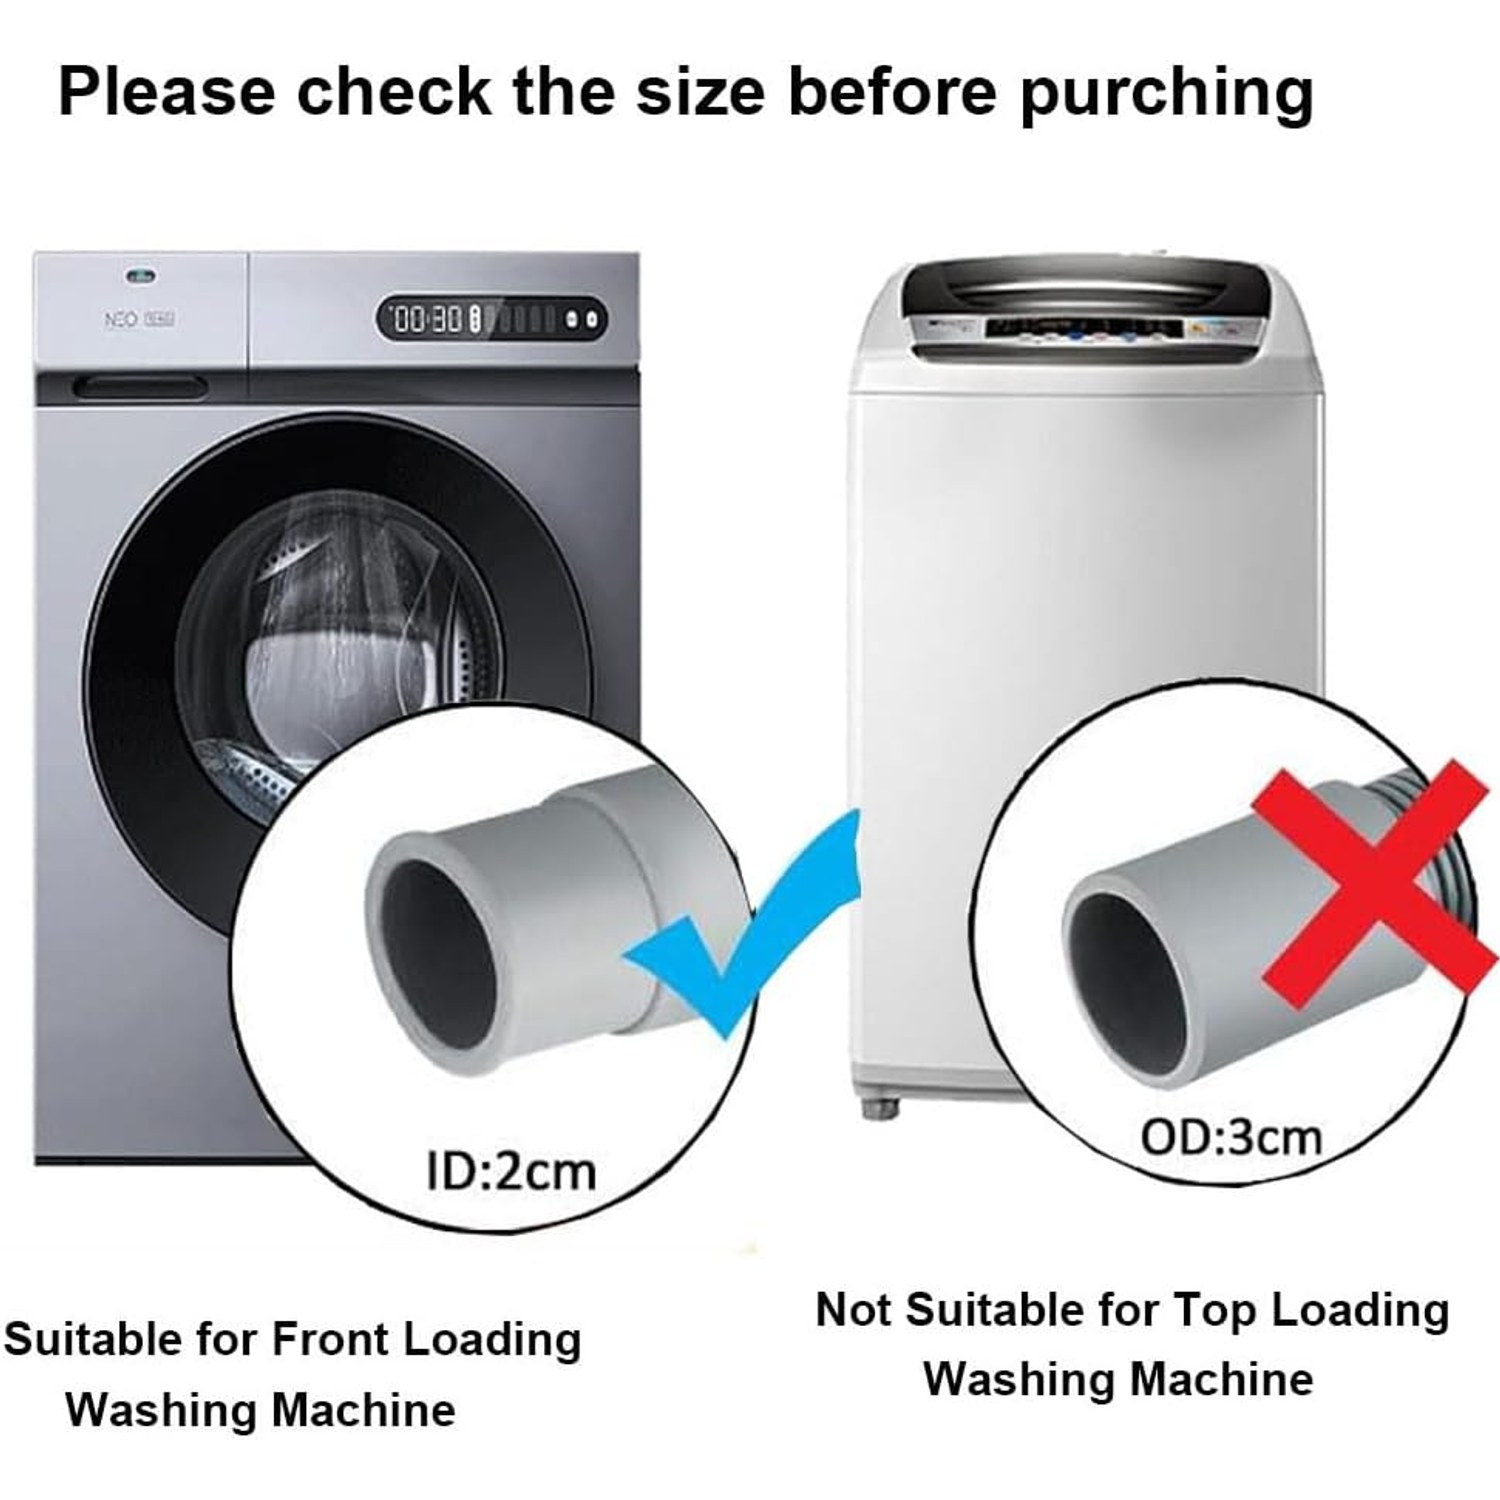
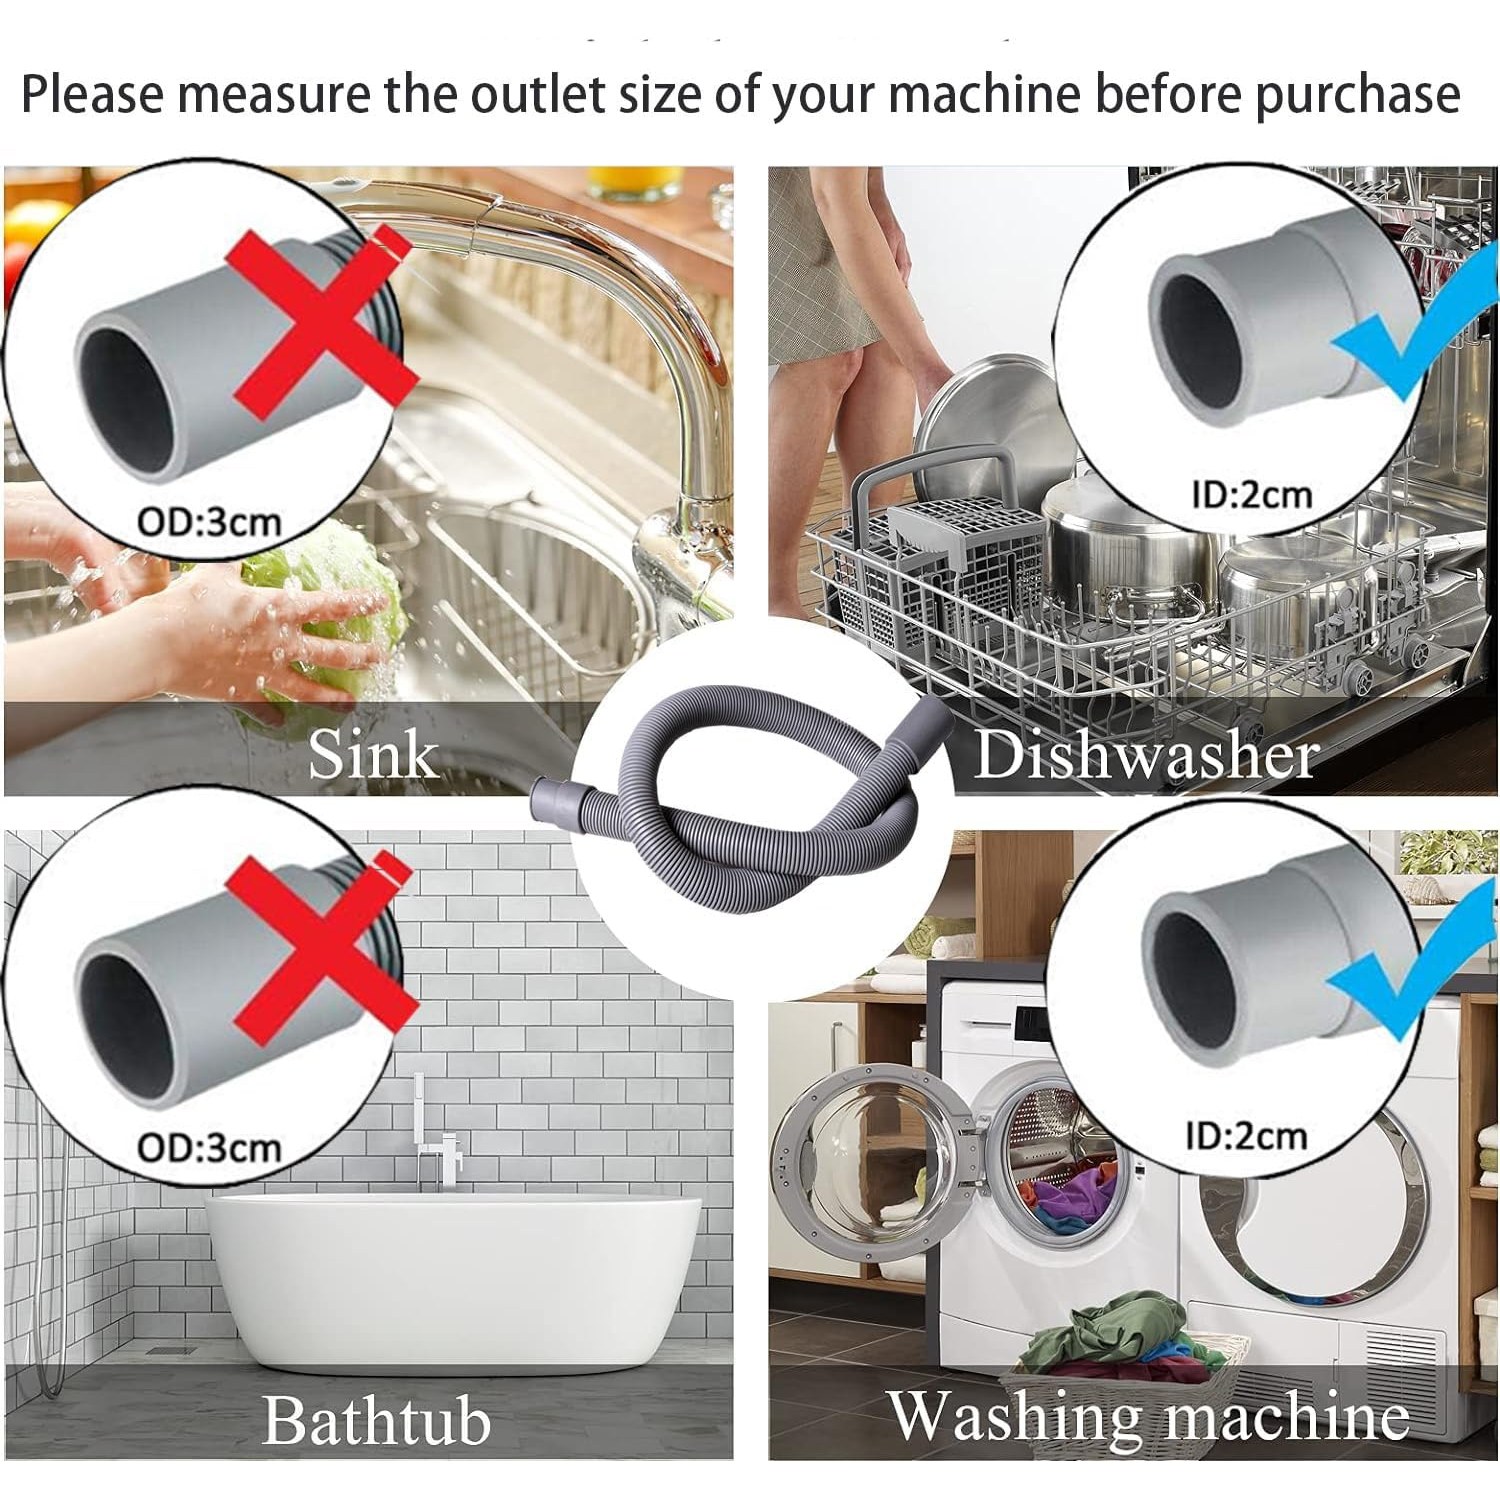
Fit is a single measurement. Find the plastic outlet spigot on the back of your machine, the one the old hose slides over, and measure straight across its widest point on the outside. If it measures roughly 2.0 to 2.2cm, this hose fits.
That is the whole test. It sounds obvious, but it is the single most common reason a drain hose gets returned. People order by brand name instead of by millimetres, and brands use more than one outlet size across their range. Two minutes with a ruler saves a week of back and forth.
The clamps in this kit are sized for 16 to 25mm connections, which gives a bit of room either side of the nominal fit. That range covers slight variations in spigot moulding and the small amount of stretch in an EVA wall.
Material, and why flexibility is not a luxury
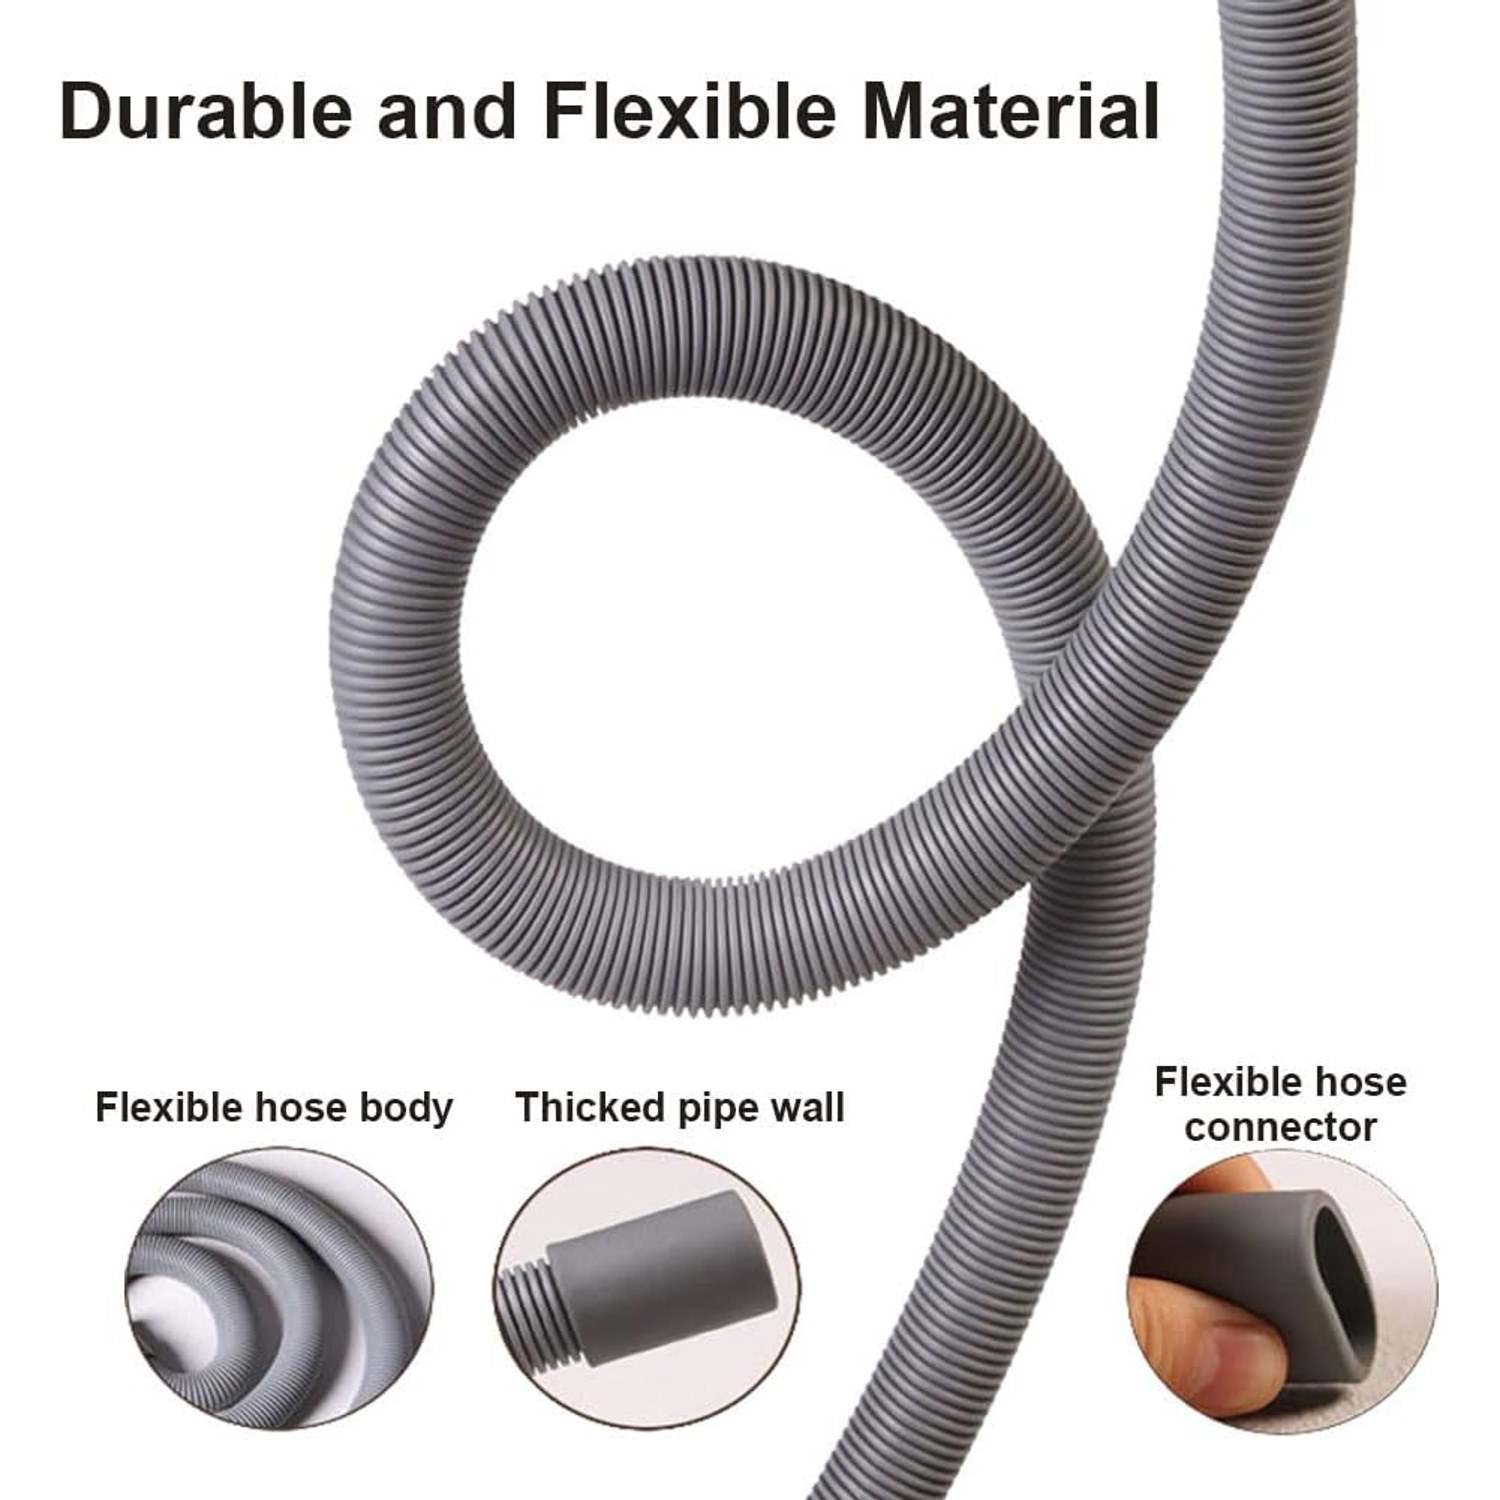
The hose is EVA over polyethylene with a 1mm nominal wall. EVA is the material that keeps a hose supple instead of brittle, and that matters more than it sounds.
Here is why. When you push a washing machine back against the wall, the hose behind it has to fold somewhere. A rigid hose folds flat and stays flat. That kink becomes a permanent restriction, and the machine either drains slowly or triggers a fault. A flexible hose bends into a curve and springs back when the pressure comes off.
Flexibility also helps during installation. Getting a stiff hose over a spigot in a 15cm gap behind a machine, with your arm at an awkward angle, is a genuinely unpleasant job. A hose that gives a little goes on in seconds.
The ribbed corrugated profile does the same work from the other direction. Those ridges let the wall compress on the inside of a bend and stretch on the outside, so the bore stays open.
Clamps and the adapter
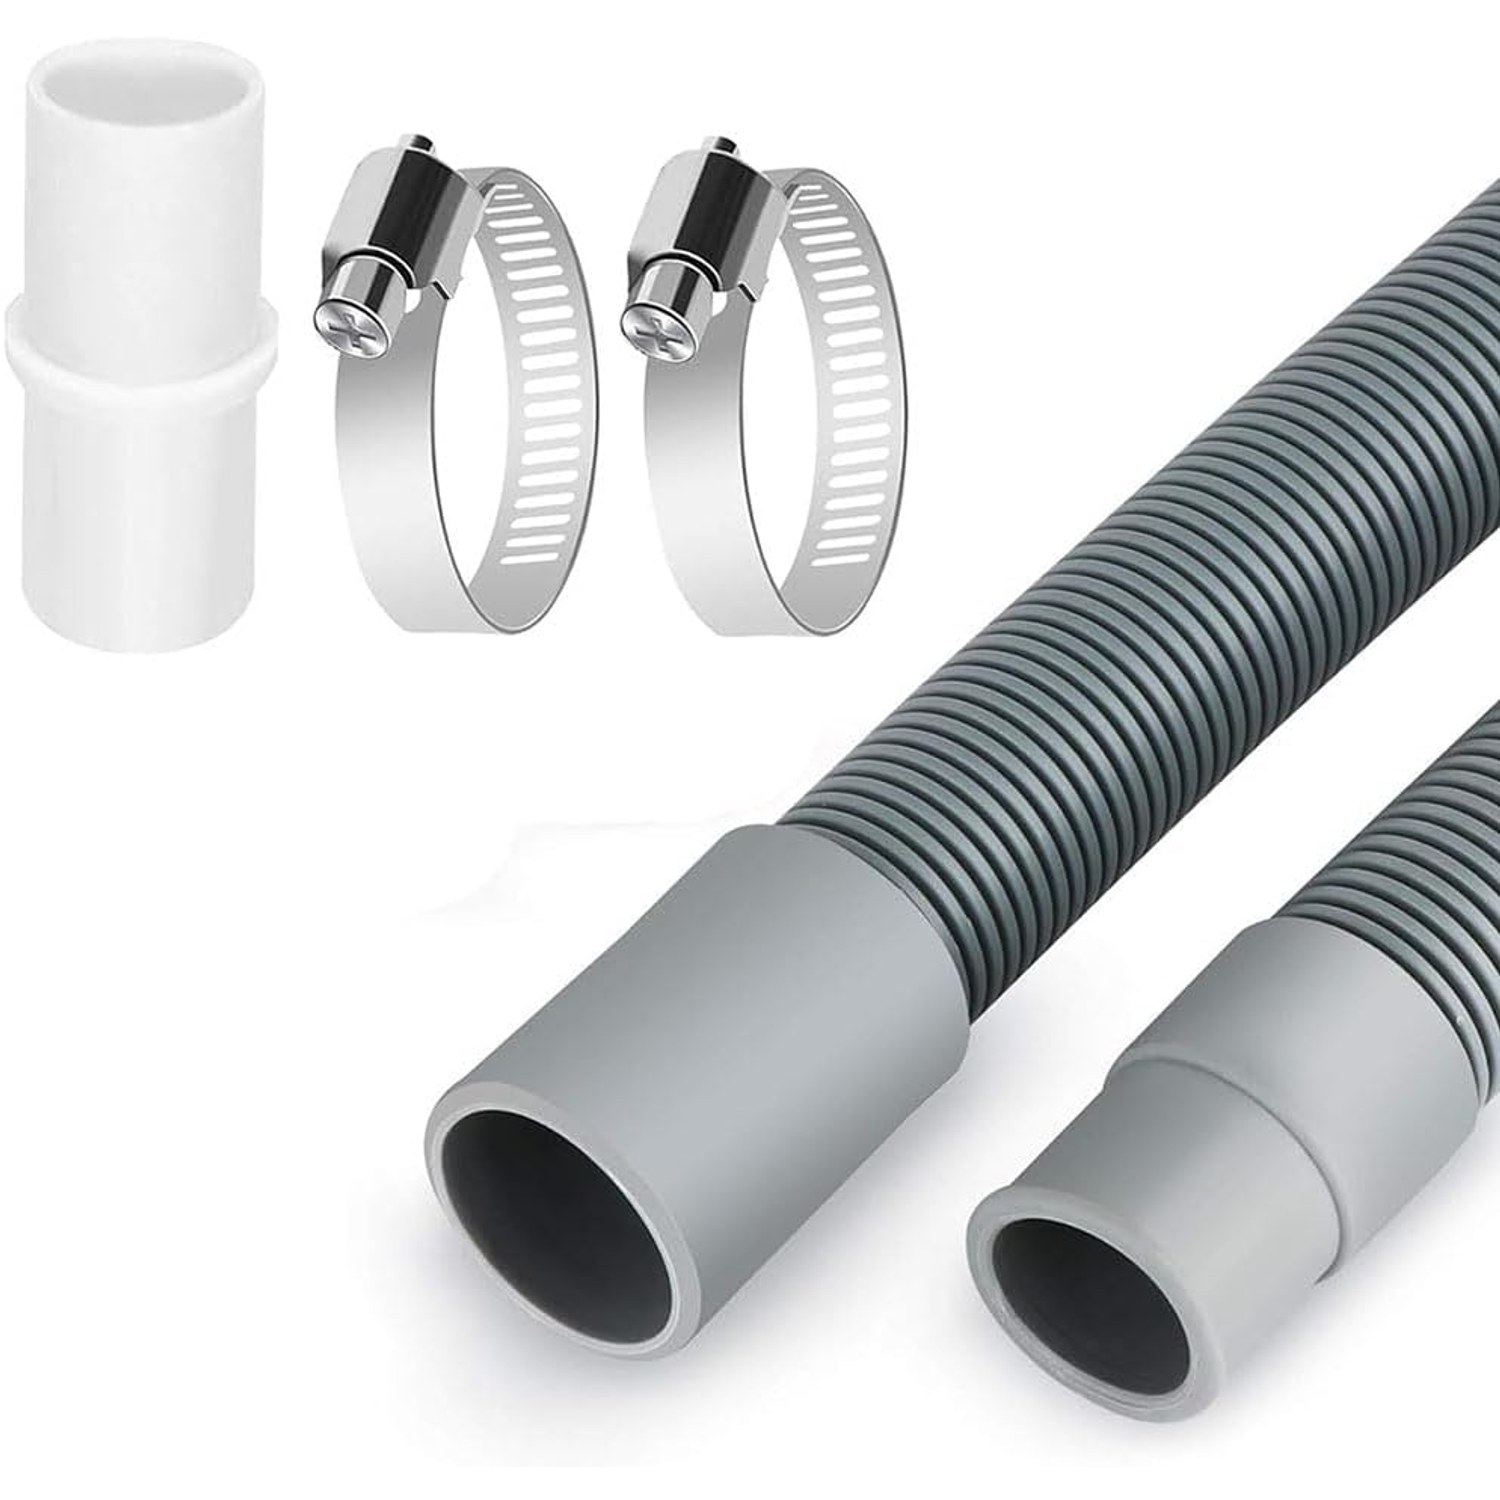
Two 304 stainless steel clamps come in the box. Stainless is worth paying attention to in a laundry. The space is humid by definition, and zinc plated steel clamps corrode, leave rust marks and eventually seize so badly you cannot loosen the screw when you need to. A 304 clamp still turns years later.
The adapter is the piece that gives you options. If your existing hose is in good condition and you only need more reach, the adapter joins the two together. Slide one hose onto each end, clamp both sides, and you have a longer run without discarding anything. If your old hose is the problem, ignore the adapter and fit this one straight to the machine.
Having both paths in one kit is practical. You often do not know which you need until the machine is pulled out and you can see the state of the old hose.
Fitting it, step by step
Turn the machine off at the wall and pull it out far enough to work behind it. Put a towel down, because the old hose always holds a little water.
Loosen the existing clamp and work the old hose off the spigot. If it has welded itself on with age, a gentle twist helps. Slide a new clamp over the end of your new hose before you push it on, because threading it over afterwards is fiddly.
Push the hose fully onto the spigot. You want a good overlap, not a token centimetre. Position the clamp over that overlap and tighten the screw firmly. Firm, not brutal. Over-tightening can bite into the EVA and create the weak spot you were trying to avoid.
Secure the outlet end at the standpipe or tub so it cannot jump free under pump pressure. Then run a short rinse cycle and watch both joins with a dry cloth underneath. Dry cloth after the cycle means you are done.
Who this suits
Anyone with a front load drum machine whose outlet measures 2.0 to 2.2cm. That is the main audience. It also works for people extending a dishwasher drain or any similar appliance line within the same size range.
It suits renters particularly well, because laundry layouts in rentals are rarely ideal and you cannot move the plumbing. A longer hose is the one change you are allowed to make.
It is also the sensible buy for anyone who has just noticed a damp patch. Replacing a hose before it splits properly costs a fraction of drying out a floor.
Keeping it in good shape
Flush the hose through with clean water once a year. Lint and detergent residue build up inside and narrow the bore over time, which slows draining and can cause smells that people wrongly blame on the machine.
Check the clamps when you flush. Vibration loosens screws slowly, and a quarter turn now prevents a drip later. Look at the hose wall near each clamp, since that is where stress concentrates and where cracks appear first.
Leave a few centimetres of clearance when you push the machine back. A hose crushed flat against a wall for two years will not recover.
The short version
Measure the outlet spigot on the back of your machine. If it sits between 2.0 and 2.2cm, this 1.5 metre hose fits, and the 20mm bore matches standard flow. You get two stainless steel clamps and an adapter, so you can either replace a failing hose or extend a working one.
Fit takes under ten minutes with a screwdriver. Keep the run free of sharp kinks, stay under your machine's maximum drain height, and flush it once a year. Done properly, it is a job you will not think about again for a long time.