
The complete guide
Choosing and Fitting a Washing Machine Drain Hose
The problem nobody plans for
A washing machine drain hose is one of those parts you never think about until it fails you. Usually it happens on moving day. The new laundry has the waste outlet on the opposite wall, or the standpipe is a metre further along than it was in the old place, and the hose that came with the machine stops thirty centimetres short. So the machine ends up sitting at an angle, or pulled away from the wall, or balanced on a block of wood so the hose can reach.
The other version of the problem is slower. The original hose has been bent into the same tight curve for five years, the plastic has gone brittle at the fold, and one day it splits and puts a few litres of grey water across the floor mid-spin. Both problems have the same cheap fix: a longer, newer hose.
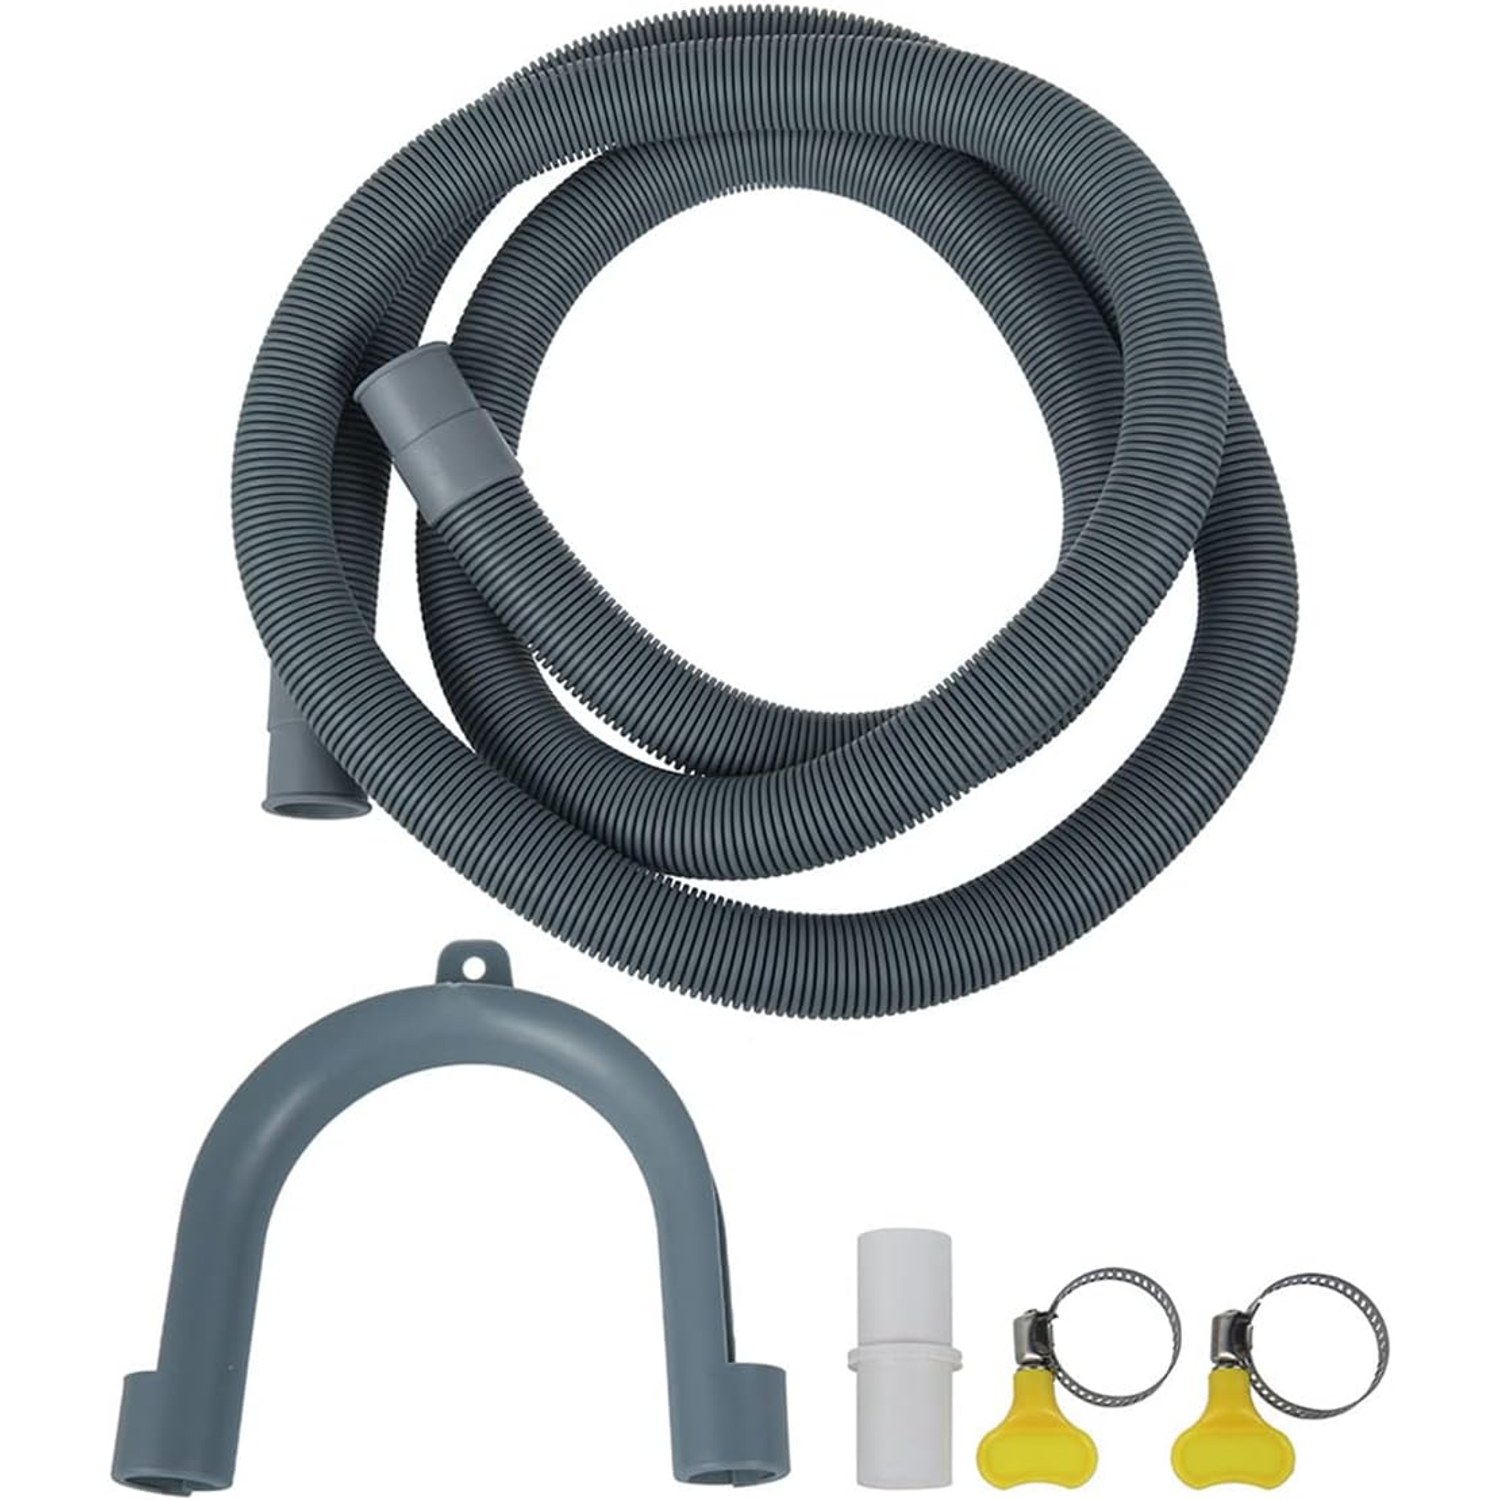
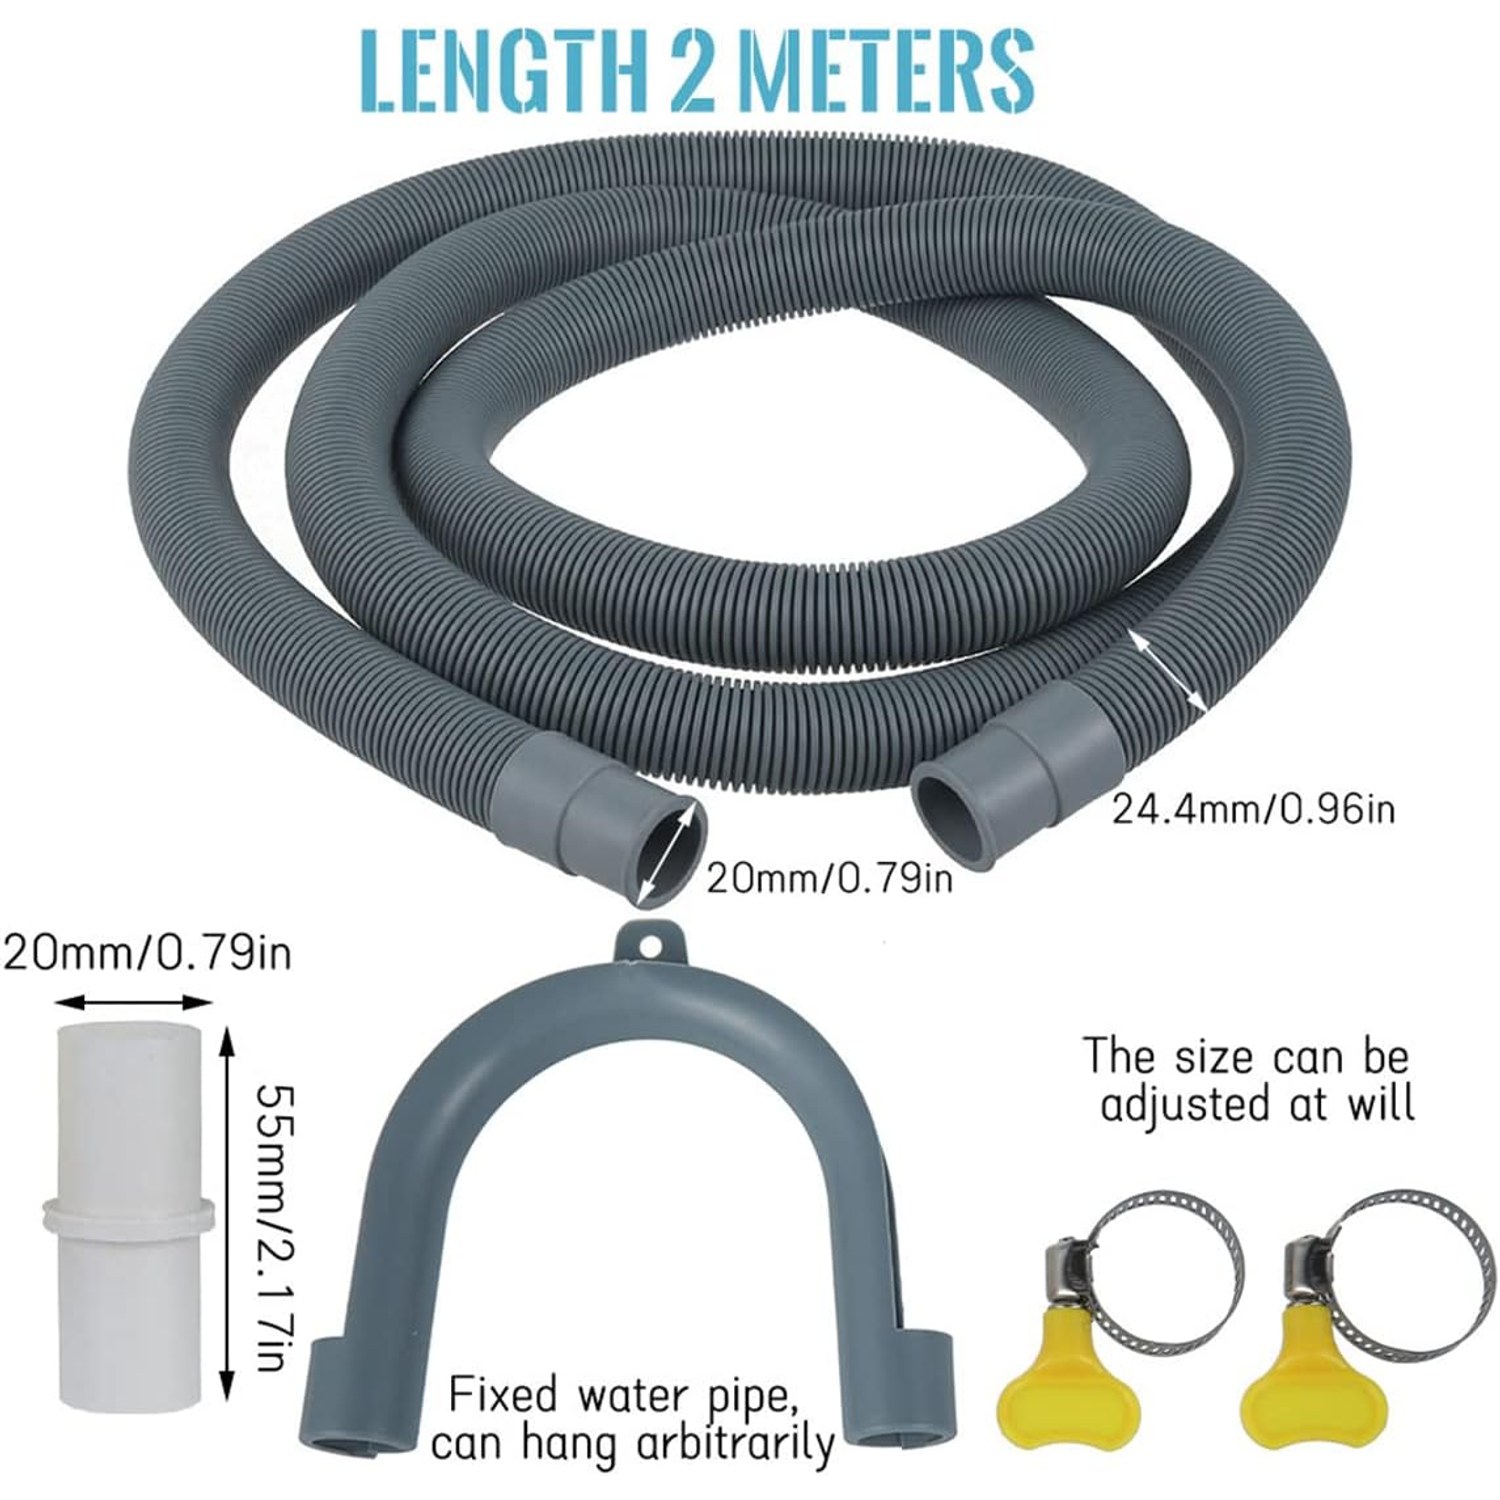
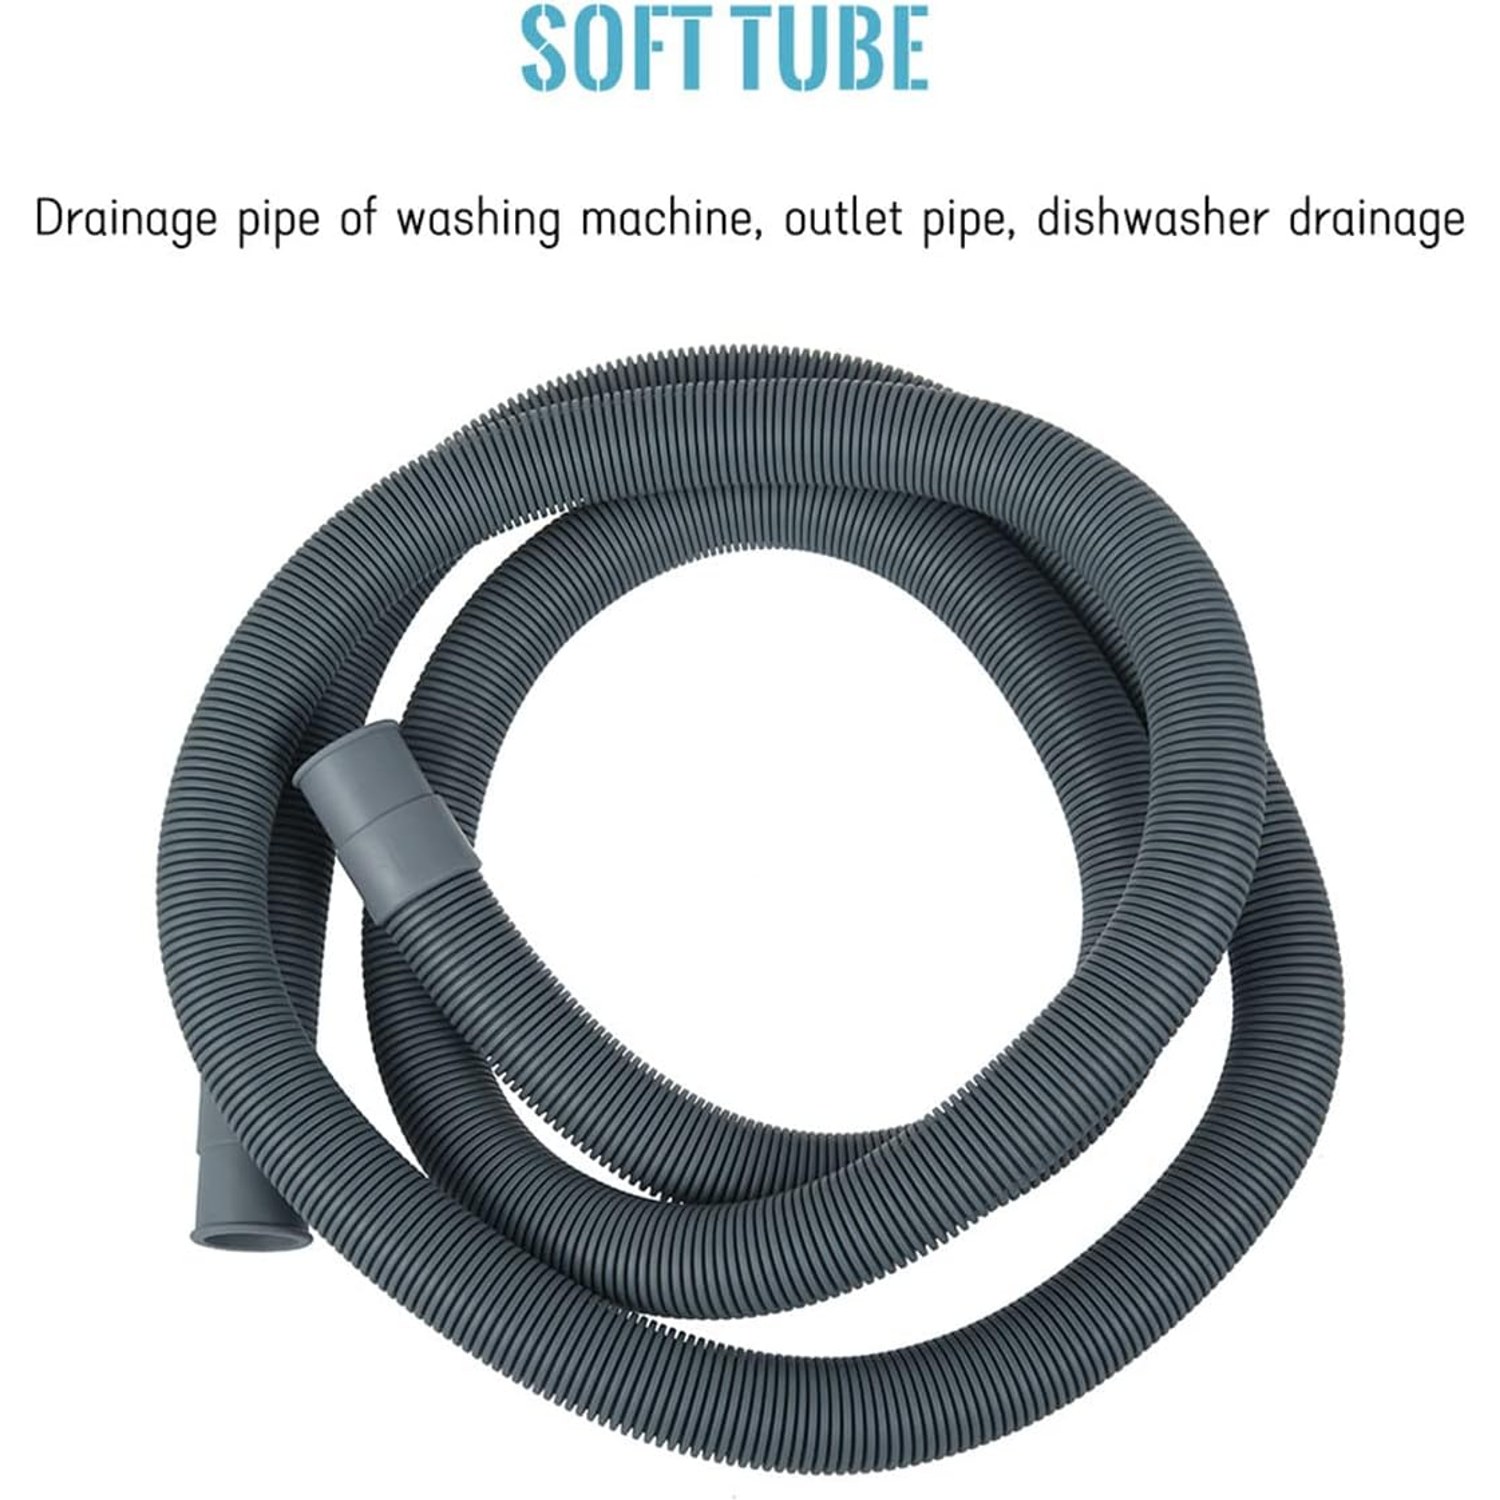
A washing machine drain hose 2m long covers most of these situations. It gives you enough slack to set the machine square against the wall, run the hose along the skirting out of the way, and still have a comfortable loop at the drain end.
How a drain hose actually works
The pump inside your washer is not gentle. At the end of a cycle it pushes a surge of water out through the outlet spigot at the back of the machine, and that water has to travel up and over before it goes down into the waste. That is why your hose end usually sits higher than the drum.
The height matters. If the end of the hose sits too low, the water in the hose can siphon backwards into the drum while the machine is filling, which means your wash never gets up to the right level. If it sits too high, the pump has to work harder than it was designed to and the drain phase drags on. Every appliance manual gives a minimum and a maximum drain height, usually somewhere between sixty centimetres and a metre. It is worth looking yours up rather than guessing.
The hose itself needs two things. It needs a clear bore, so water moves freely without a pinch point slowing it down. And it needs to stay put at both ends. A hose that works loose at the machine end dumps water behind the appliance, and a hose that jumps out of the standpipe mid-cycle puts it on the floor.
What the corrugated shape is doing
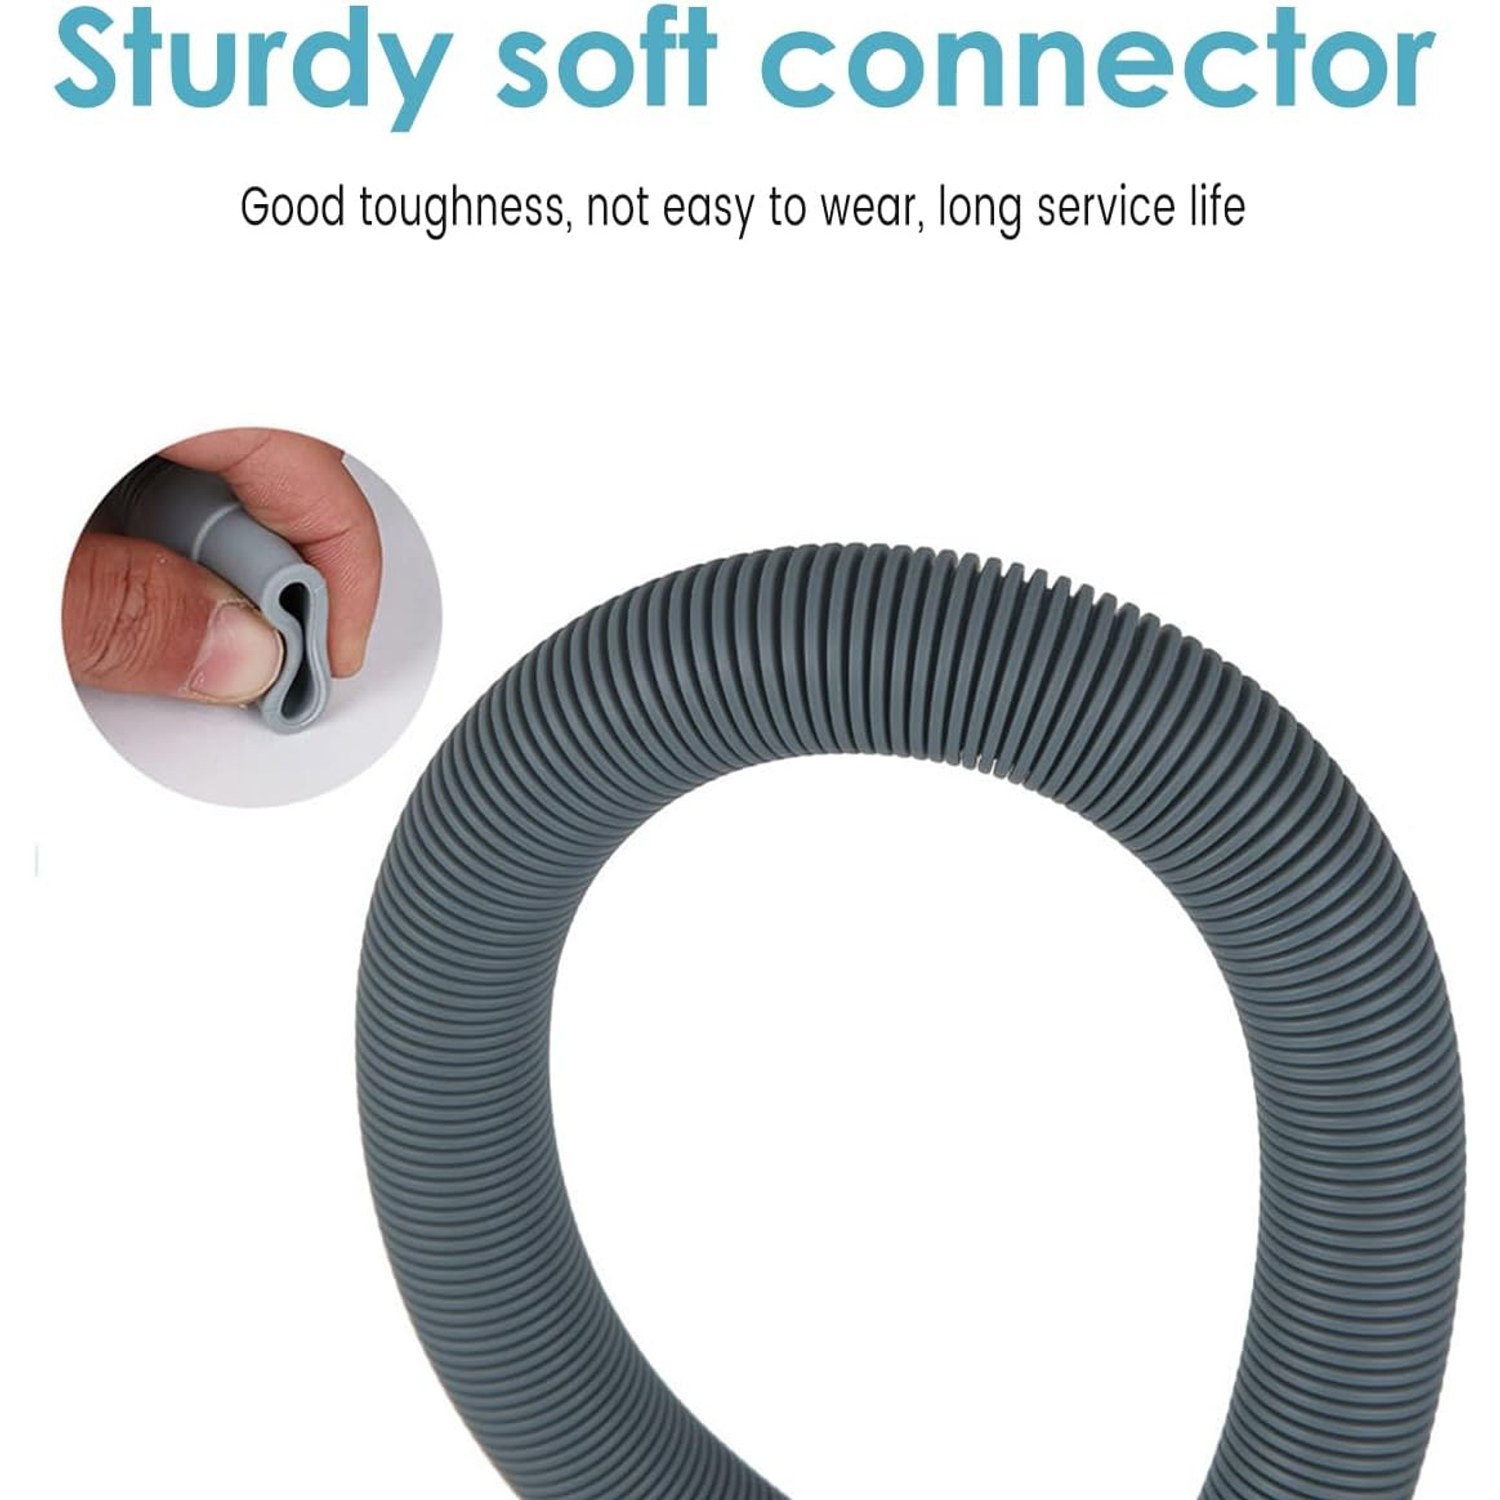
Most drain hoses are ribbed rather than smooth, and there is a good reason. A smooth-walled plastic tube flattens the moment you bend it past a certain angle. A corrugated one keeps its round bore through a much tighter curve, because the ridges act like a spring and hold the shape open.
That flexibility is what makes a 2 metre length workable in a cramped laundry. You can snake it behind a cabinet, around the back of a dryer, and up to the tub without needing a straight run. Polypropylene helps here too. It stays soft enough to bend cold, which matters in a garage or outdoor laundry where the temperature drops overnight.
The trade-off is that a ribbed interior catches lint and detergent residue more readily than a smooth one. That is not a serious issue, it just means an occasional flush is sensible maintenance rather than something you ignore for a decade.
Who this suits
If your machine sits more than a hand span from the waste outlet, a 2 metre hose is the easy answer. It also suits anyone setting up in a rental, where you cannot move the plumbing and have to work with the outlet where it happens to be.
It suits second-hand machines. A used washer often arrives with a hose that has been cut short by a previous owner or left behind entirely. Fitting a fresh length costs very little and removes a known failure point.
It suits dishwashers too. A dishwasher drain spigot is frequently the same diameter as a washer spigot, which is why this kind of hose gets sold as a dishwasher extension hose. Under-bench dishwashers often need more reach than their factory hose gives, especially when the waste connection is on the far side of the sink cabinet.
Where it does not suit is any job involving pressure. This is a waste line. Do not try to use a drain hose on the inlet side of a machine, where mains pressure applies. Inlet hoses are a different, reinforced product.
Getting the size right
Diameter is the one number you must check. The spigot on the back of a drum washer is commonly 20mm, which is what this hose is built around. But commonly is not always. Take a ruler or a tape to the back of your machine and measure across the outside of the spigot where the old hose grips it.
If the spigot is a touch smaller than the hose, a clamp will usually pull the hose down onto it and seal fine. If the spigot is noticeably larger, the hose will not go on and forcing it will split the end. In that case you need a different size or a stepped adapter.
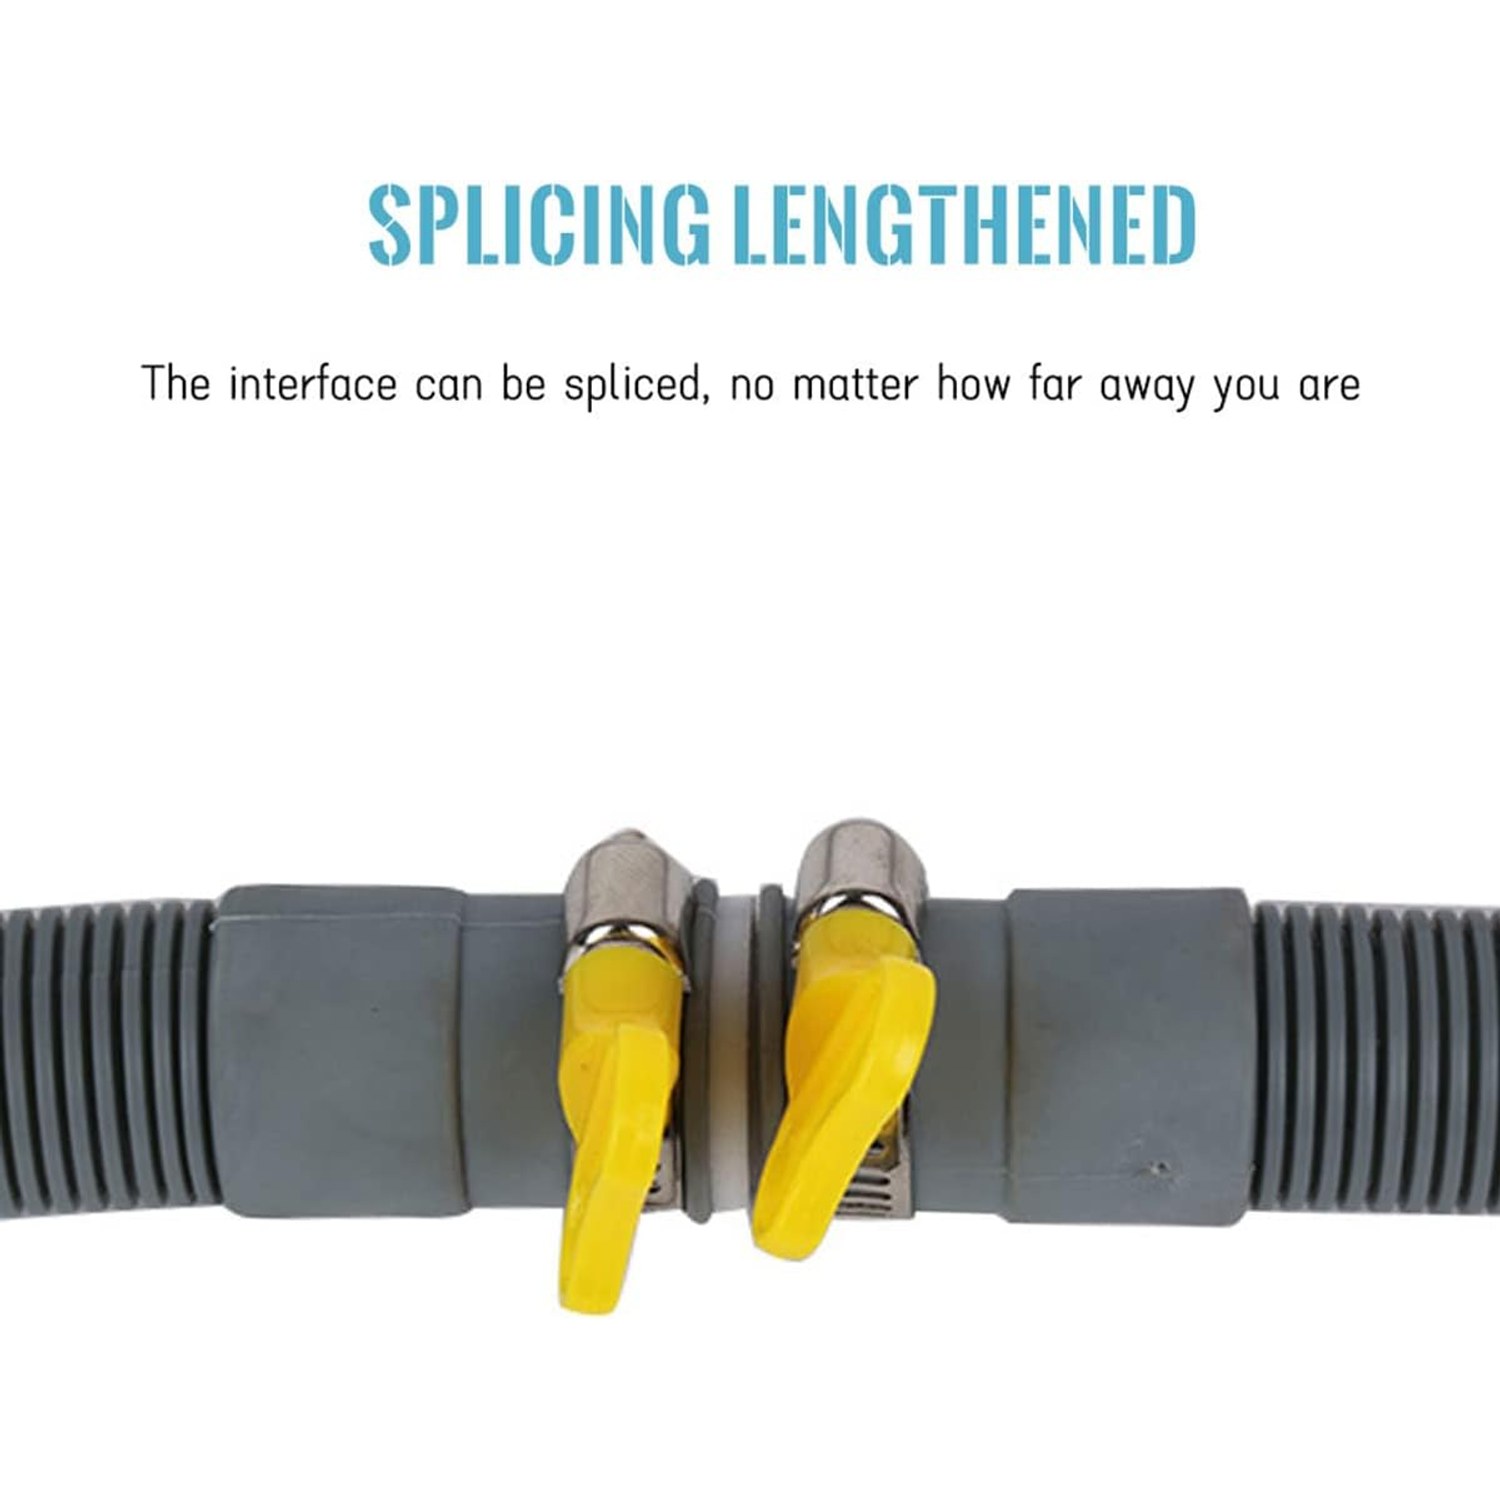
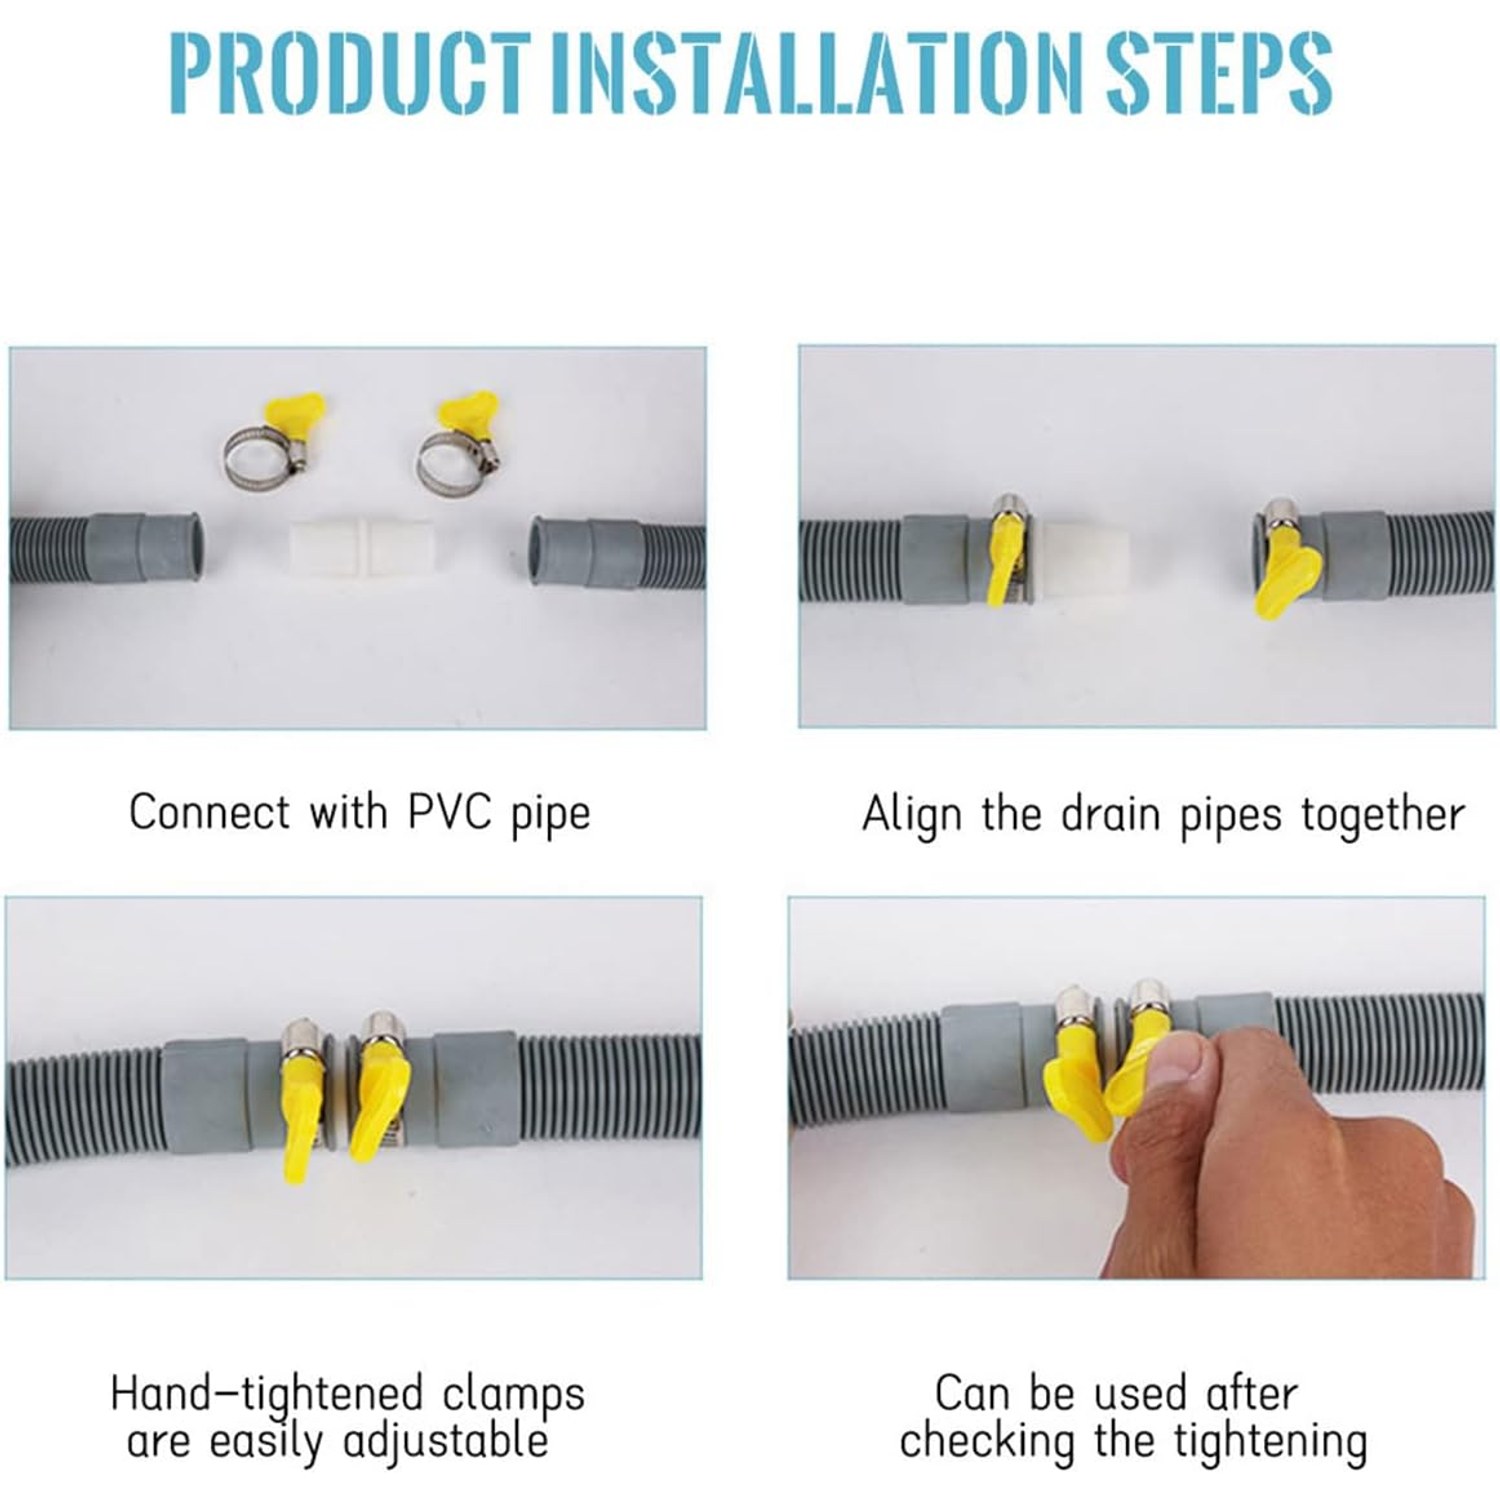
Length is the easier number. Run a piece of string from the back of the machine, along the route you actually want the hose to take, up to the drain point. Add twenty centimetres for the loop at the end. If that total comes in under two metres, you are fine. If it is over, use the white connector to splice this hose onto your existing one.
Fitting it without drama
Turn the machine off at the wall and turn off the water taps. Pull the machine out far enough to reach behind it comfortably. Have a towel and a shallow tray ready, because the old hose will still hold water.
Loosen the clamp on the old hose, twist it off the spigot, and let it drain into the tray. Slide the new clamp onto the new hose first, then push the hose fully onto the spigot so it covers the whole barbed section. Slide the clamp down over that overlap and tighten it. Firm, not crushing. Over-tightening a clamp on plastic can cut into the hose wall.
At the other end, clip the U-shaped bracket onto the hose so it forms a fixed hook. Hang that hook over the lip of the laundry tub or slot it into the standpipe. The bracket is what stops the hose jumping free when the pump surges, so do not skip it.
Now run a short rinse cycle before you push the machine back. Watch both connections while the pump runs. A slow weep at the clamp means a quarter turn more. A fast drip means the hose is not pushed far enough onto the spigot. Fix it now, while you can still see it.
When you slide the machine back, make sure the hose is not pinned under a foot or crushed against the wall. Leave it a gentle curve.
Keeping it working
Once a year, pull the hose off and flush it with a garden hose or under a tap. You will be surprised what comes out. Lint, grey detergent sludge, sometimes a sock button. Clearing it keeps the drain phase quick and stops the sour smell that builds up in a neglected line.
While it is off, look at it. Check for hairline cracks around any tight bends, check the ends where the clamps bite, and give it a gentle flex to see whether the plastic has gone stiff. A hose that crackles when you bend it is on borrowed time.
Also check the clamps. They can loosen slightly as the plastic relaxes over the first few months, so a tighten after the first dozen washes is good practice.
The short version
A drain hose is a cheap part doing an important job. Get the diameter right, give yourself enough length to route the hose sensibly, clamp both ends properly, and use the bracket so the end stays where you put it. Two metres of flexible polypropylene handles most domestic laundry layouts, and the included connector means you can go further if you need to. Check it once a year, flush it when you do, and replace it the moment it starts looking tired.