
The complete guide
Choosing And Fitting A Washing Machine Drain Hose Extension
The problem nobody plans for
You move the washing machine, or you move house, and suddenly the drain hose is six inches too short. So it gets stretched. Or it gets looped tight around the back of the machine so the end can just about reach the tub. Or somebody props the end over the rim of a bucket as a temporary fix that lasts two years.
None of that ends well. A stretched hose pulls on the pump outlet every time the machine shakes during spin. A tight loop creates a low spot where lint settles. A hose end that is not held in place will eventually flick out of the tub mid cycle and put thirty litres of grey water across the floor.
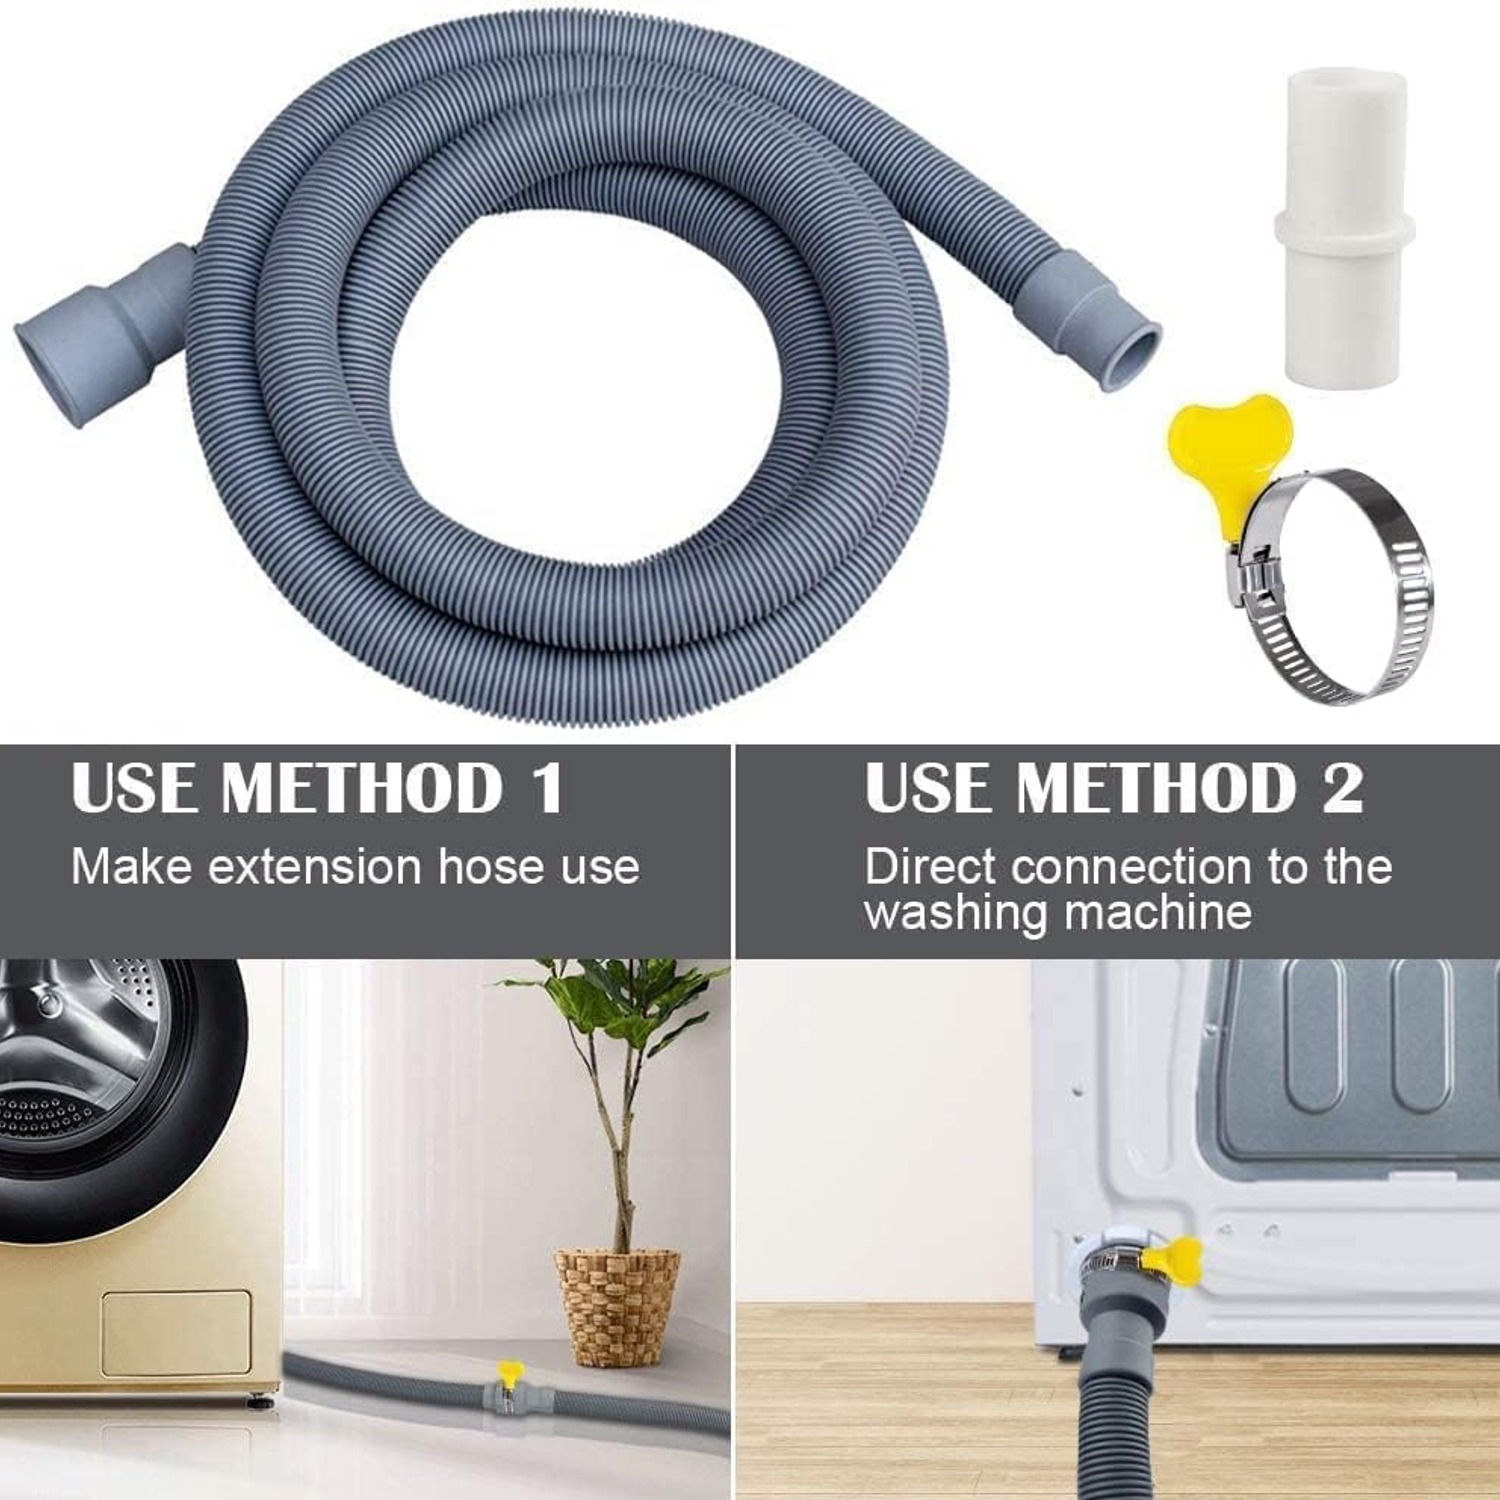
A drain hose extension solves the whole thing for less than the cost of a plumber turning up at the door. It gives you the slack to route the hose sensibly, and it gives you a way to hold the discharge end where it is meant to be.
How a drain hose extension actually works
The hose that comes out of your washing machine is not under mains pressure. It carries water pushed by a small pump inside the appliance, and that pump has limits on both how high it can lift and how far it can push.
This is why length matters more than you might expect. Every extra metre of hose adds friction. Every vertical rise adds load. Most machine manuals set a maximum total hose length and a maximum discharge height for exactly this reason. Three metres is a common sweet spot, long enough to reach across a laundry but short enough that the pump is not labouring.
The hose in this kit is corrugated polypropylene. The ribbing does two jobs. It lets the hose bend around corners without folding flat, and it gives the wall enough memory to spring back if something presses on it. A smooth-walled hose creased behind a machine stays creased, and that crease is where the trouble starts.
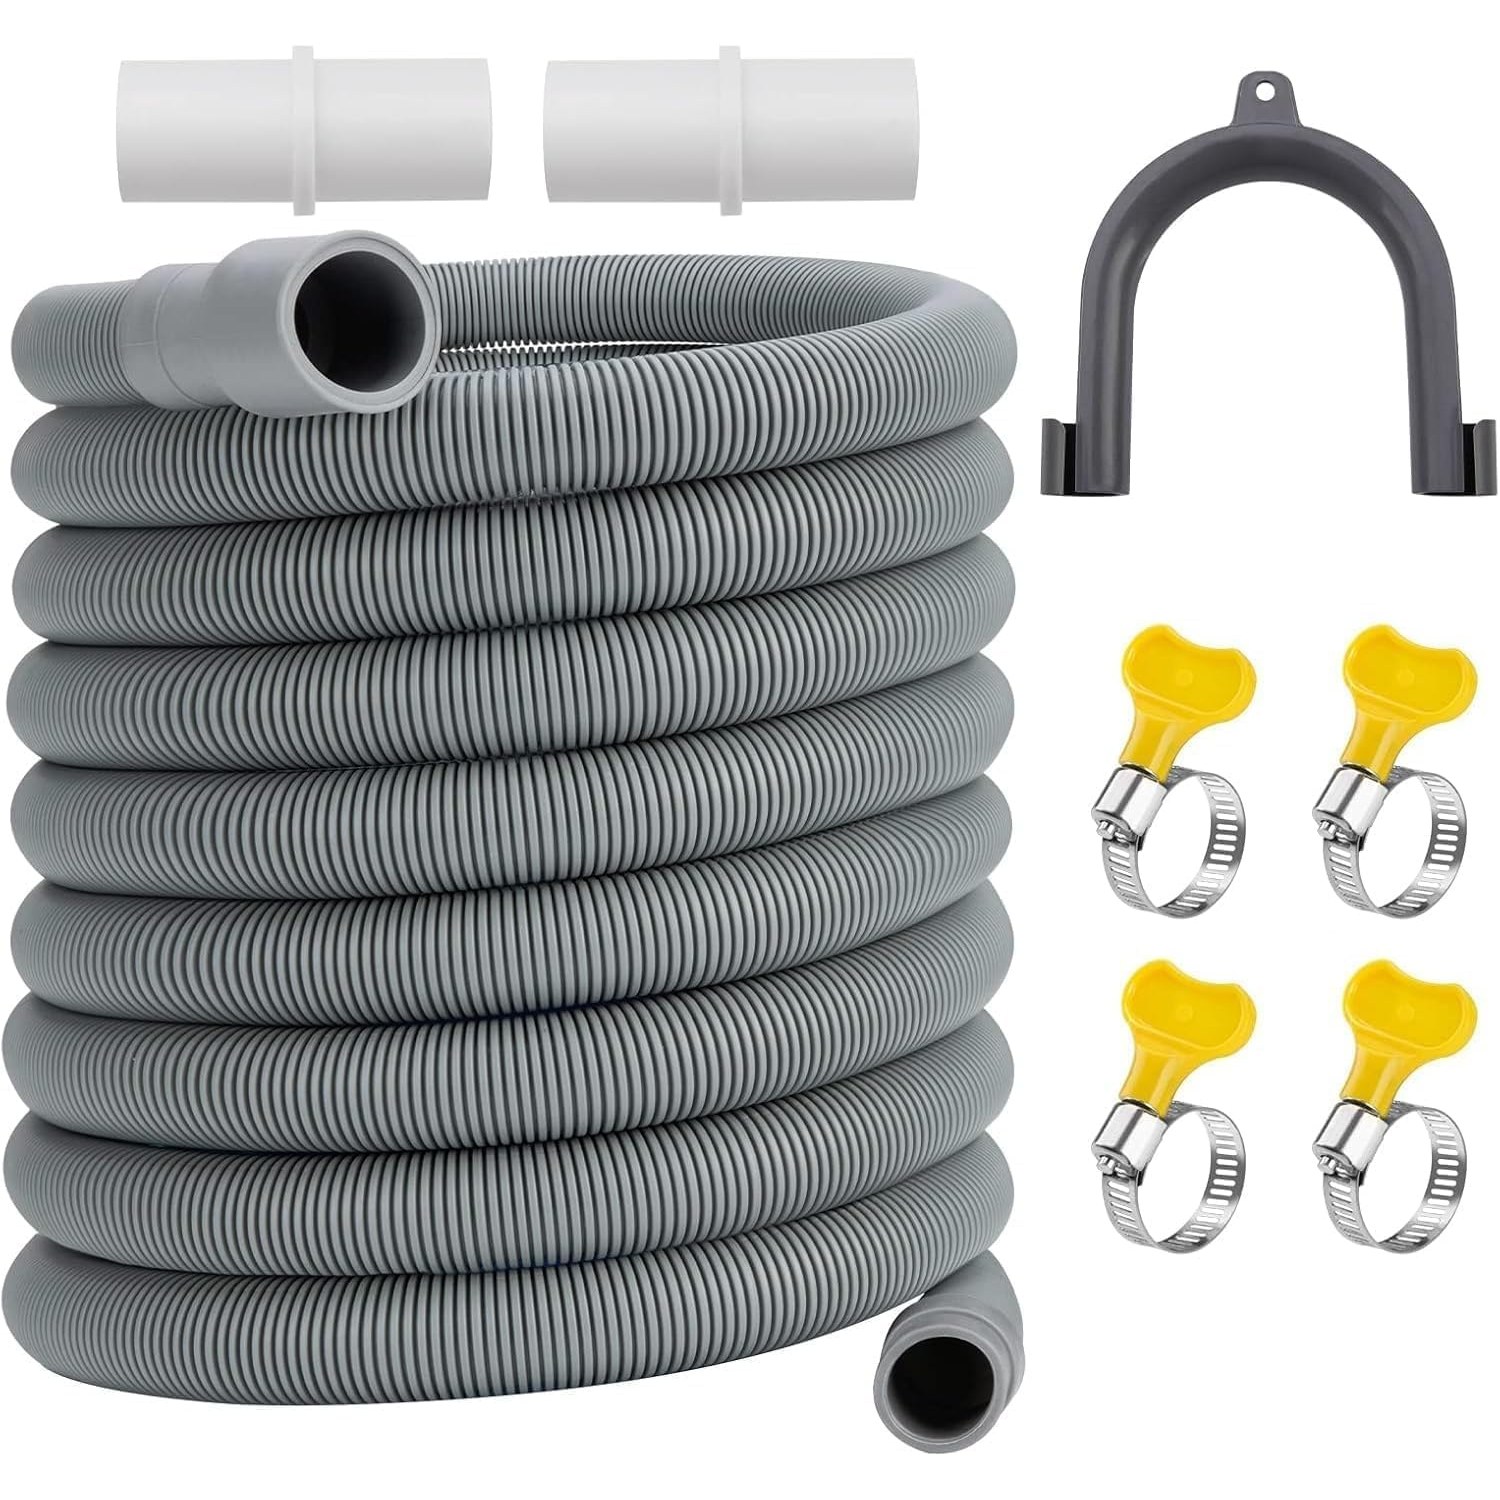
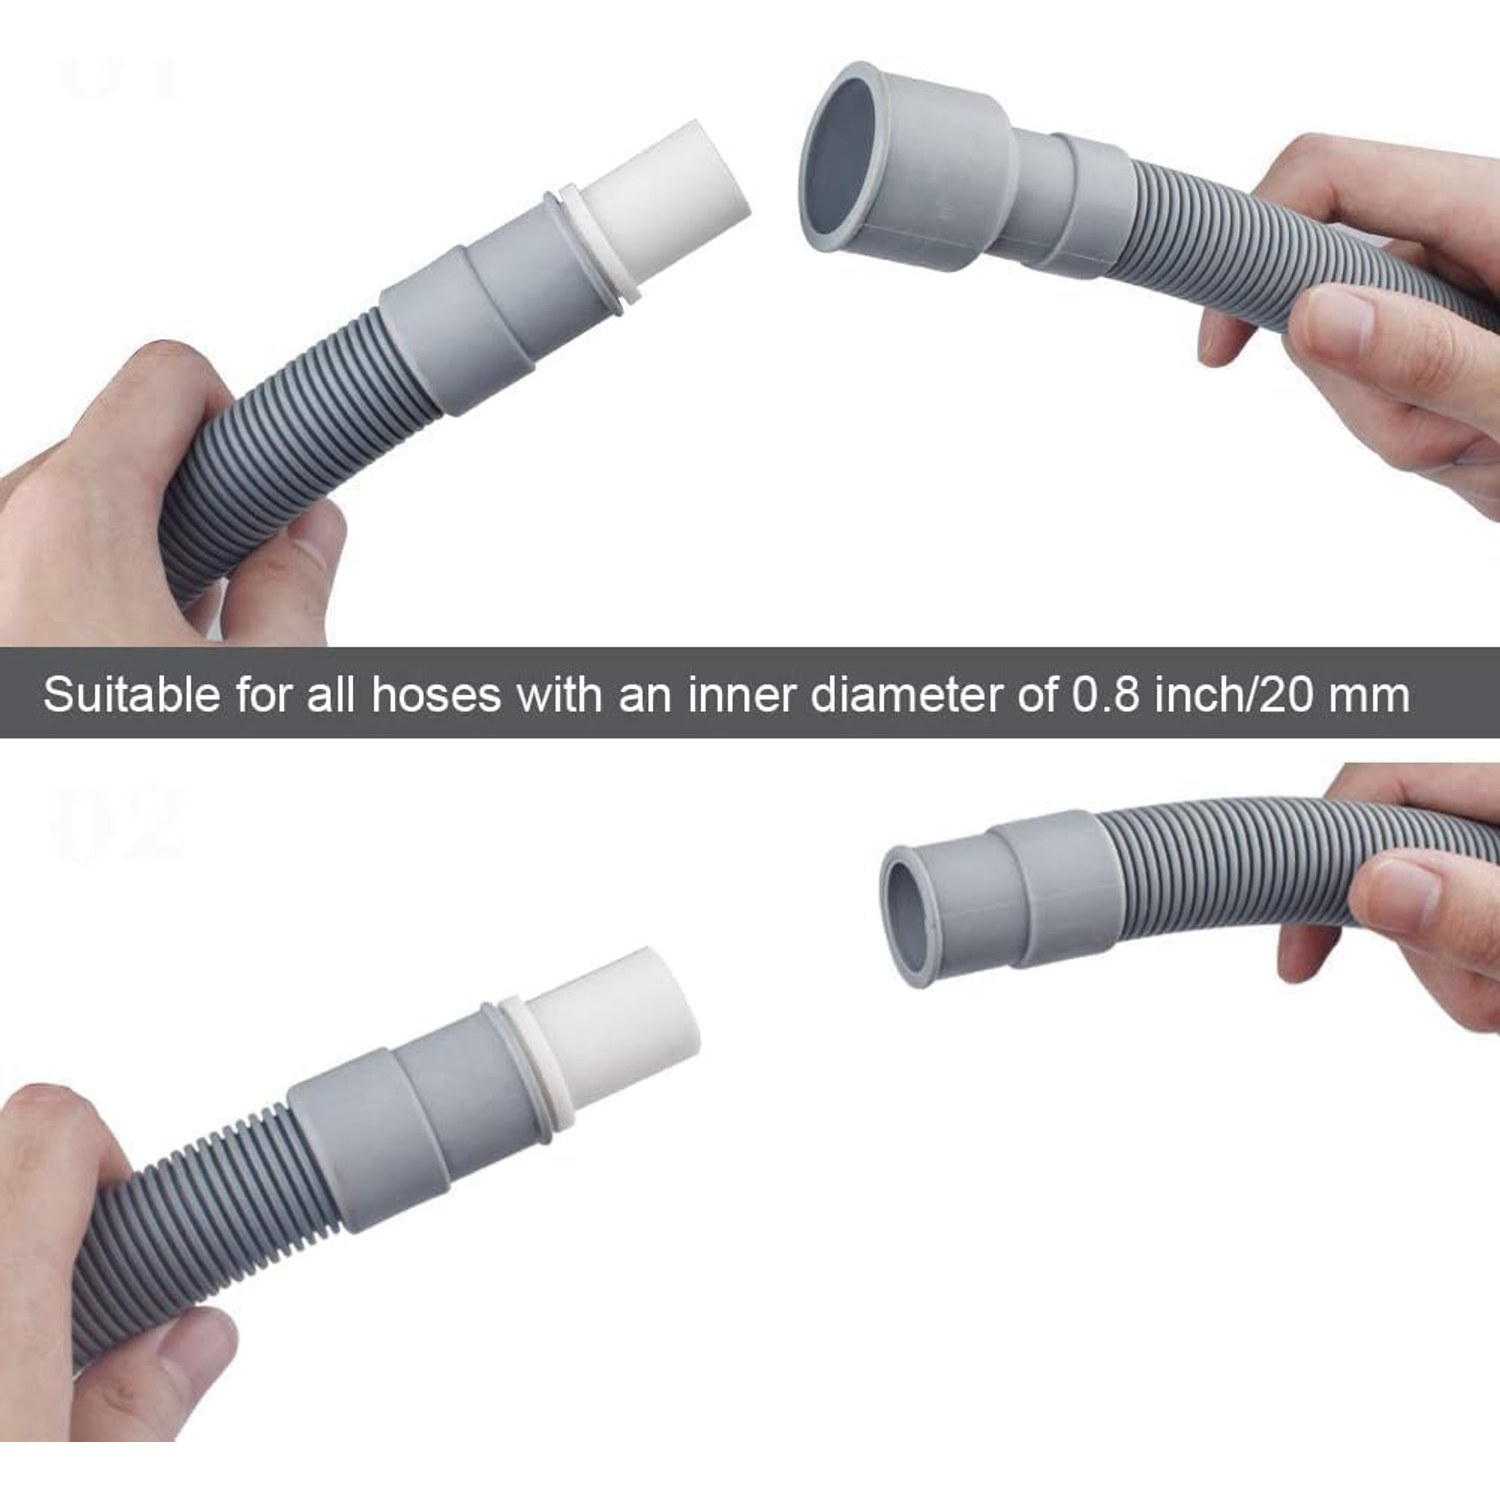
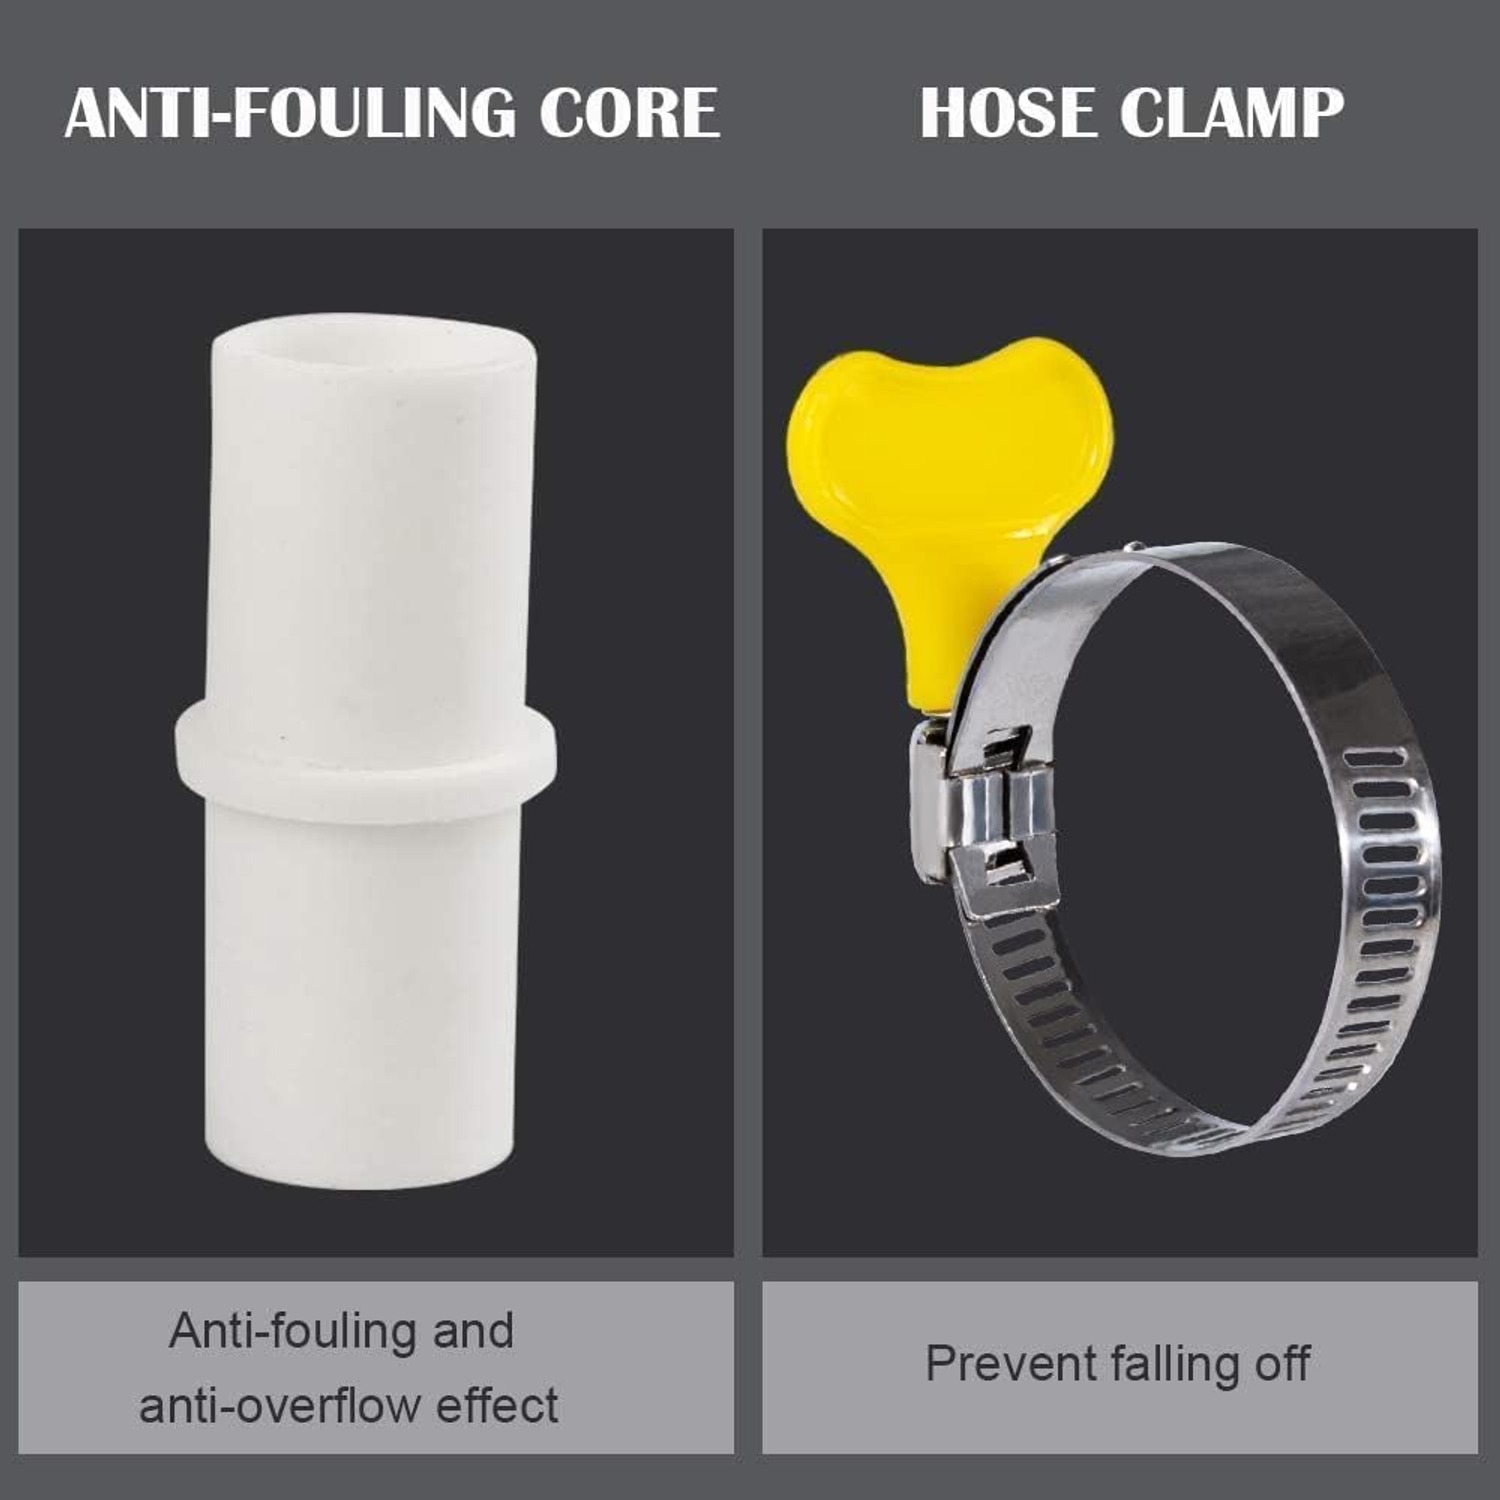
At each end you have a tapered step-down connector. This is the part that makes one kit fit many machines. The connector is moulded in rings, each ring a different diameter. You find the ring that matches your appliance outlet, cut cleanly just below it with scissors, and push the hose on. A screw clamp pulls the join tight.
Who this suits
Anyone who has moved a washer away from the wall. Pedestals, new cabinetry, a repositioned laundry sink, or just a deeper machine than the last one, all of these eat up hose length.
It also suits people running a portable washer. Those machines ship with a very short hose intended to hook over a kitchen sink, and the moment you want to drain somewhere else, you need more reach.
Dishwasher owners are in the same boat. A dishwasher drain hose extension is the same idea, and the stepped connectors cover the common dishwasher outlet sizes. The one extra rule for dishwashers is the high loop. The hose must rise above the machine's water level before it drops to the drain, otherwise waste water can run back into the tub.
Condenser dryers that pump condensate to a drain can use this too. Vented dryers cannot, because exhaust ducting is a completely different product carrying hot air, not water.
How to choose the right hose
Start with a tape measure. Run it along the path the hose will actually take, not the straight line through the machine. Add the vertical rise to the tub rim or standpipe. Then add about 30 cm of slack so the hose is not under tension when the machine vibrates.
Next, check the outlet. Put a tape or a calliper across the outside diameter of the spigot on the back of your appliance. Write the number down. That number tells you which ring on the connector to cut at, and it tells you before you order whether the kit will work at all.
Then check your manual for the discharge height range. Most machines want the drain end somewhere in the region of 60 cm to 100 cm above the floor, though this varies. Sit the end too low and water siphons out of the drum by gravity, so the machine keeps refilling. Sit it too high and the pump struggles, cycles run long, and you may get an error code.
Finally, look at the drain point itself. A standpipe needs to be wide enough that the hose sits loosely inside it, with an air gap around the hose. Jam the hose in tight and you create a seal, and a sealed drain line siphons. A laundry tub is more forgiving, as long as the tub drains faster than the pump fills it.
Fitting it without drama
Turn the machine off at the wall and pull it out far enough to work behind. Have a towel and a shallow tray ready, because there will be water left in the old hose.
Loosen the clamp on the existing hose, twist and pull it off the outlet spigot, and let it drain into the tray. Check the spigot while you are there. If it is cracked, chalky or split, no clamp will seal it and the spigot needs replacing first.
Cut your new connector to the measured size. Cut square, not at an angle, and cut at the groove between rings rather than through the middle of one. Push the connector firmly onto the spigot until it seats, then slide a clamp over the join and tighten with a screwdriver. Firm is enough. Crushing the plastic does not make it seal better.
Repeat at the hose end if your connector arrangement needs it, fit the U-bend holder, and hang the discharge end at the right height. Then run a short rinse or spin cycle and watch both joins for the first minute. A weep will show up straight away.
Push the machine back with a gentle curve in the hose, not a fold. Check nothing is pinched against the wall.
Keeping it working
Once a year, pull the hose off and flush it through with a garden hose or a running tap. Lint, fibre and detergent residue build a soft coating on the inside wall, and over a few years that narrows the bore enough to slow drainage.
Check the clamps at the same time. Plastic relaxes slightly over months of heat cycles, and a clamp that was tight in January can be finger-loose by the following summer. A quarter turn is usually all it needs.
Keep the hose away from heat sources. Polypropylene is fine with warm wash water but it is not meant to rest against a hot water pipe or a heater.
If the hose develops a split, replace it. Patching a drain hose with tape is a temporary fix at best, and the leak usually reappears somewhere you cannot see.
Troubleshooting the usual complaints
If the machine drains slowly after fitting a longer hose, clean the pump filter first. Nine times out of ten that is the cause, and the new hose simply made you notice a problem that was already there.
If water keeps trickling out of the drum, check the discharge height. A hose end sitting too low acts as a siphon and the machine will keep refilling to compensate.
If the hose jumps out of the tub, use the U-bend holder properly. It needs to hook over the rim, not just sit in the water.
If there is a smell, it is usually the drain trap or lint in the hose, not the plastic itself.
The short version
A washing machine drain hose extension kit 3m buys you the slack to route the hose the way your laundry is actually shaped. Measure the path, measure the outlet diameter, cut the connector at the matching ring, clamp both ends firmly and hang the discharge end at the height your manual asks for.
Fifteen minutes of work, no specialist tools, and no more stretched hose waiting to pull free in the middle of a spin cycle.